Read the community standards!
Before signing up, it’s a good idea to know the rules and regulations: many people get into trouble for not understanding what they can and cannot do on a social media platform. Sites like Facebook are, of course, allowed to decide who they want to have on their platform, and it is especially important to understand the guidelines if you’re looking to promote your own content or to create a business.
Things like hate speech, sexually explicit content, violations of copyright and many other such expressions are not allowed on Facebook.
Facebook’s community standards are available here.
Create an account
If you’re browsing this guide, you’re probably here with the idea of streaming on Facebook Live. This will require a Facebook account. Even if you already have one, it is a good idea to create a completely separate profile as a streamer for privacy reasons.
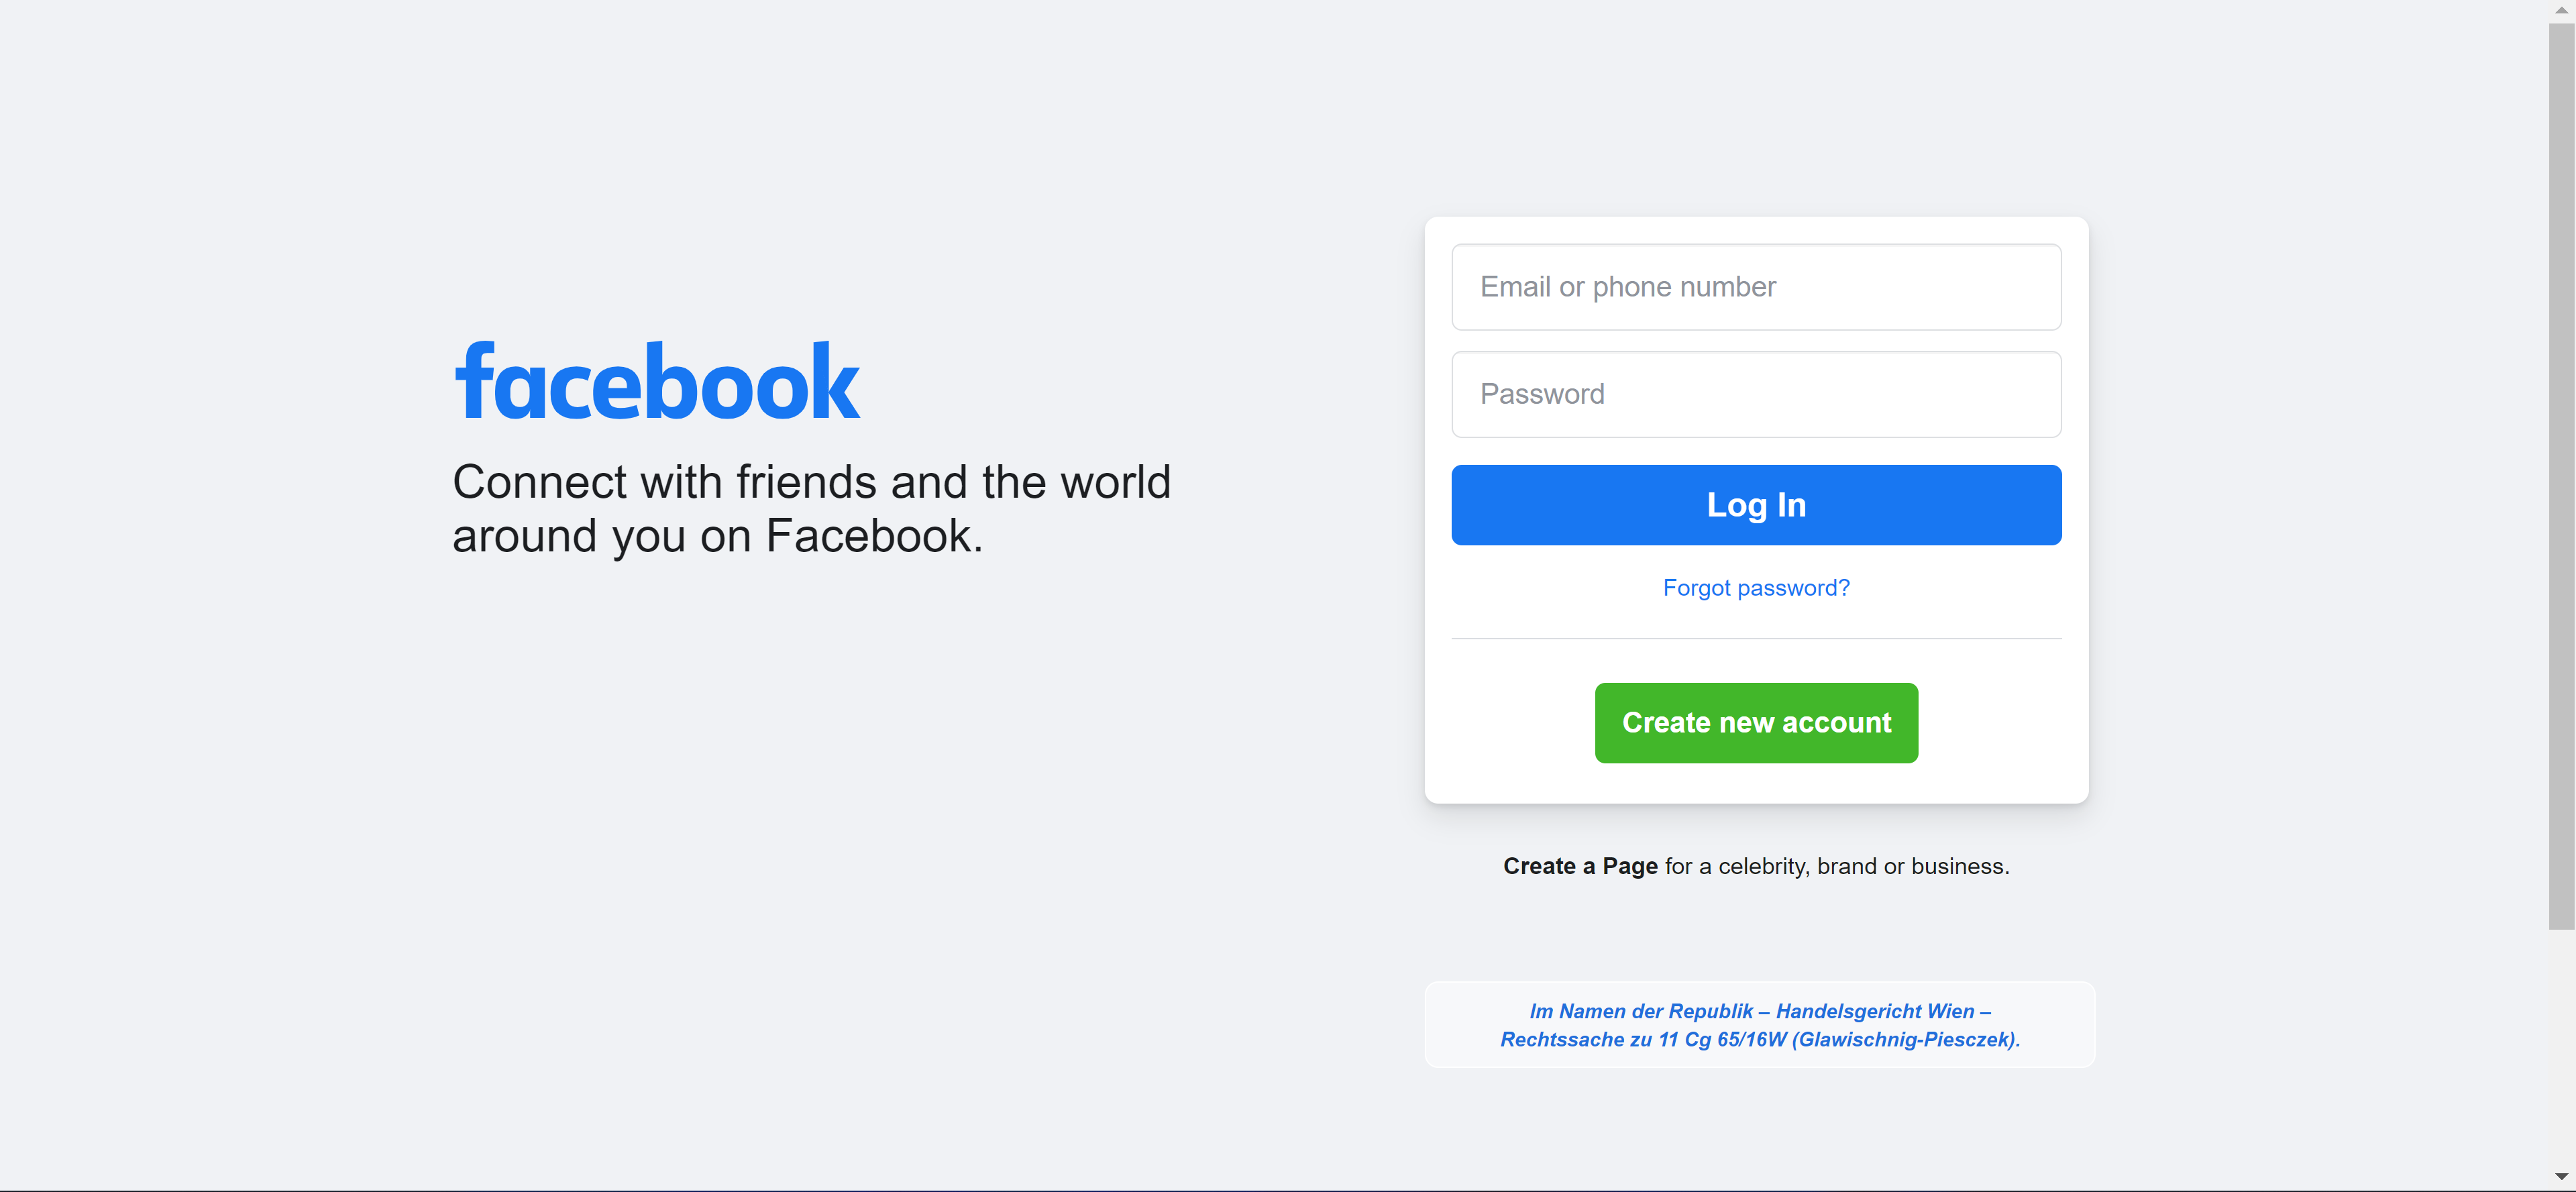
Go to facebook.com and click on the green “Create new account” button.
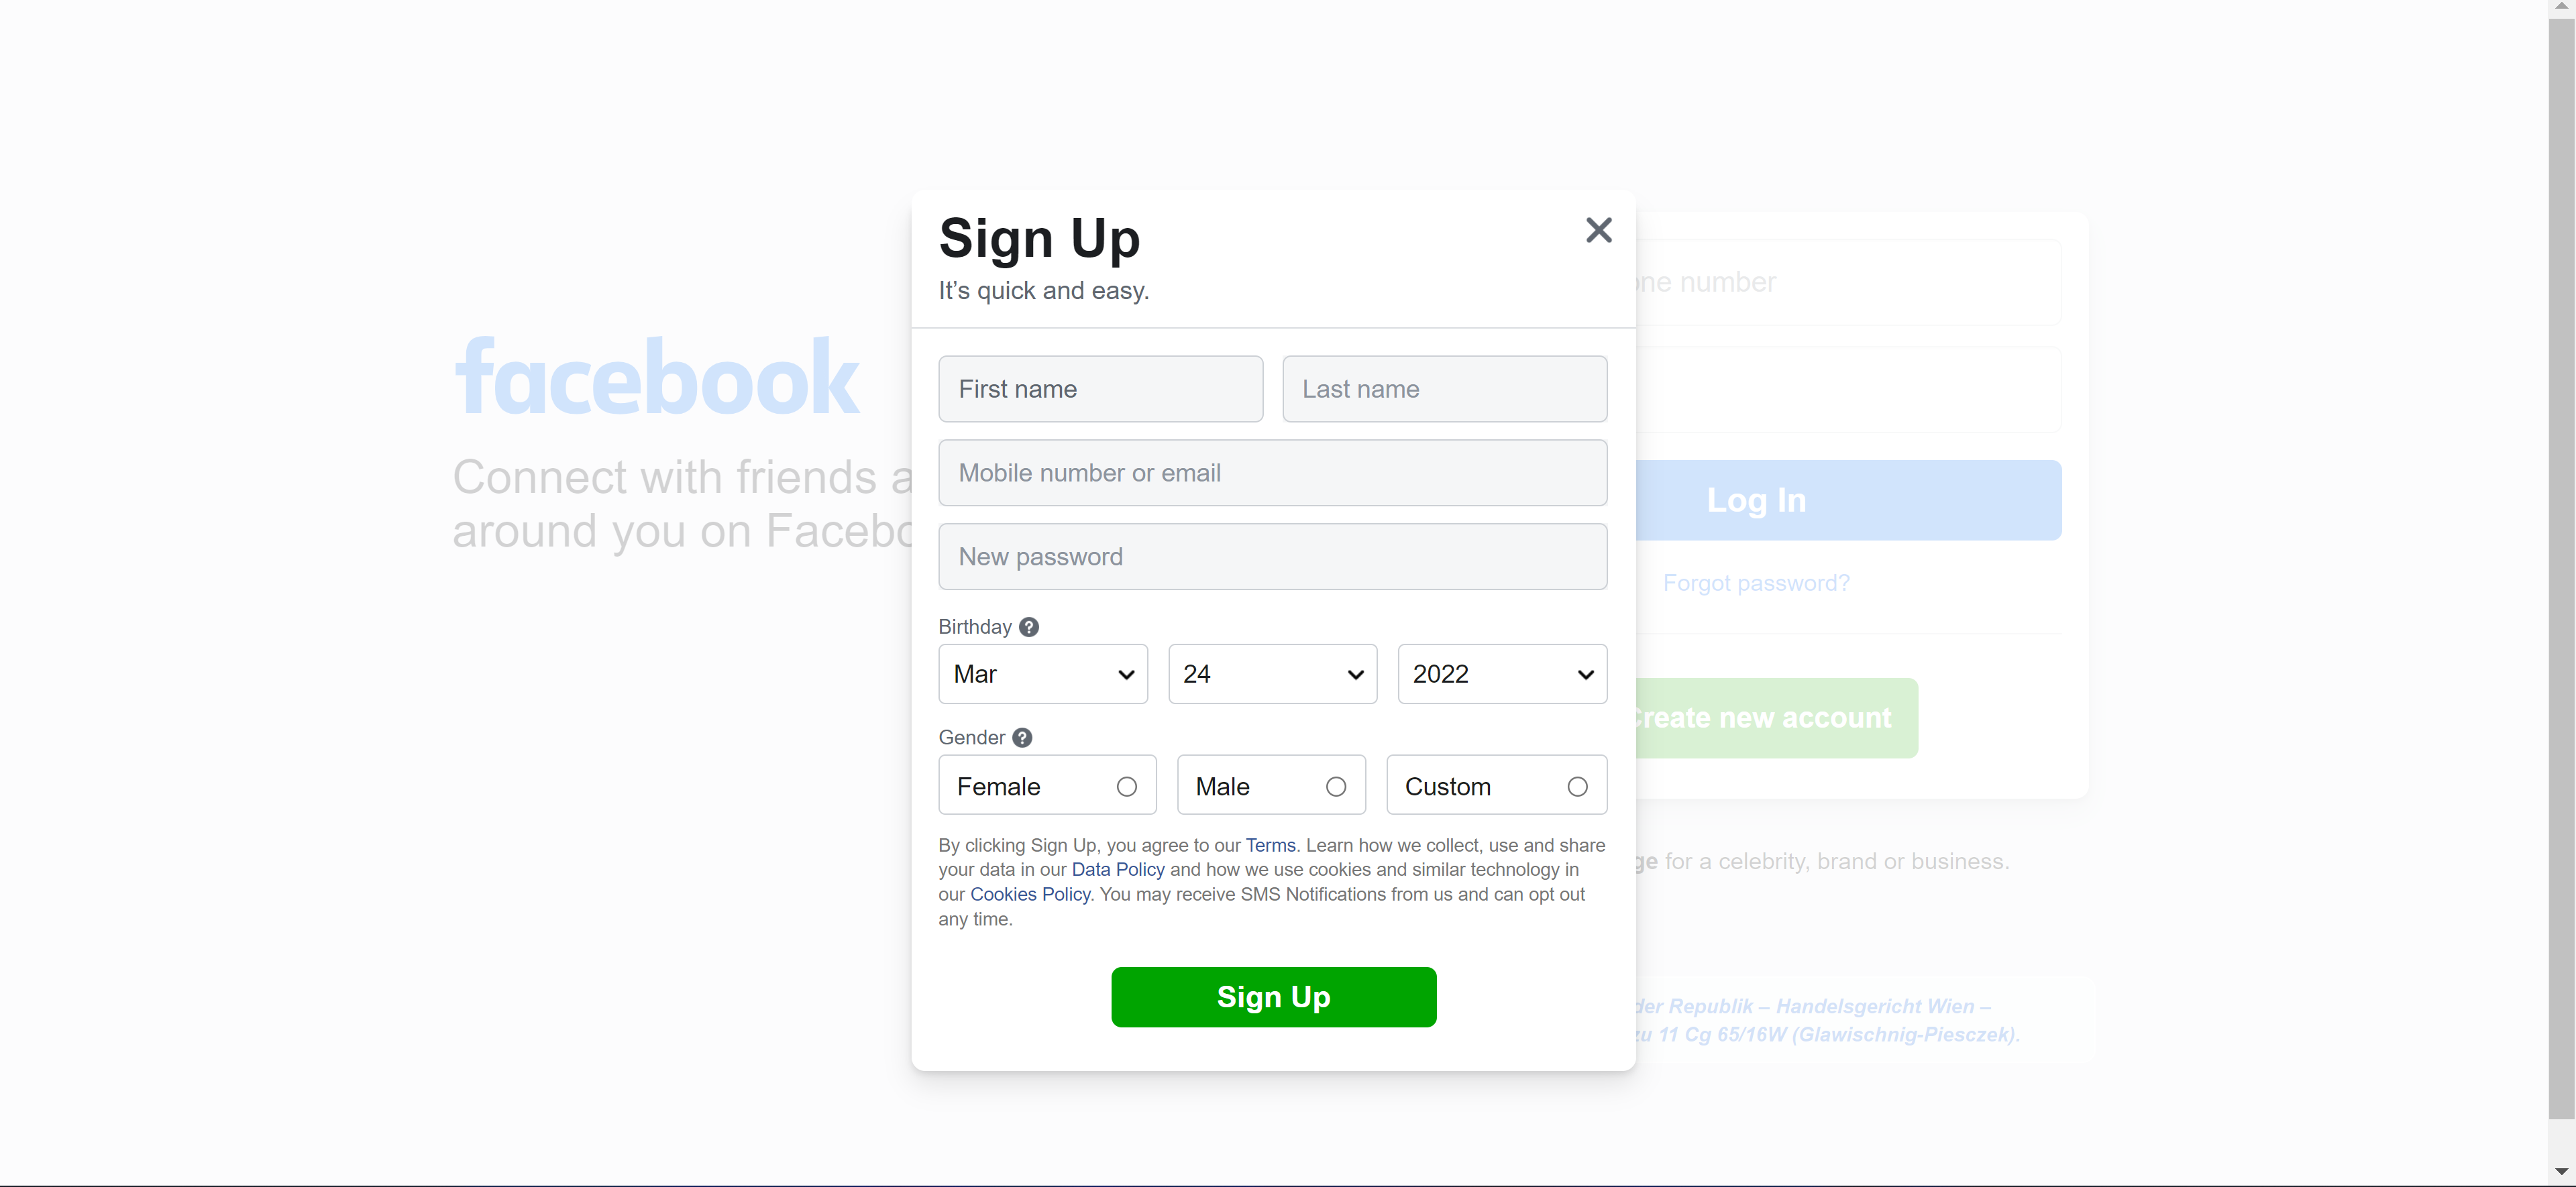
Fill in the required information (first name, last name, mobile number, email, password, date of birth and gender), then confirm the account using the authentication code sent to your phone.
You can set up two-factor authentication to secure your account, and we recommend that you do so. Go to the Security and Login Settings, click on Use two-factor authentication, then click on Edit. You will be offered multiple options. This Facebook help page will offer further information about how you can use your account in a safe and secure manner.
With this, you’re ready to go! Now it’s time to customize your new profile.
Customizing your Facebook profile and page
As a streamer, you’ll want to have a dedicated page for yourself and your content. It is a separate sub-profile that will not be publicly associated with your main account. It works the same way as a regular profile would, except for the fact that it doesn’t need to be associated with a specific person. It can be a fan page, a company’s page, or, as in our case, the page of a streamer or other such content creator.
Click on “Pages” on the left side of the home screen (you may have to click on “See more” and scroll down: look for the flag icon). This will take you to a list of your pages. If you have already made any, they will all show up here. You will also find a big + prompt here to create a new one. This is what you should click on to get started.
Enter the basic information about yourself: who you are, what you do and where people can find you. Keep it super short and simple. Select the right category – Gaming Video Creator is a good shout – and everything else you may need to include.
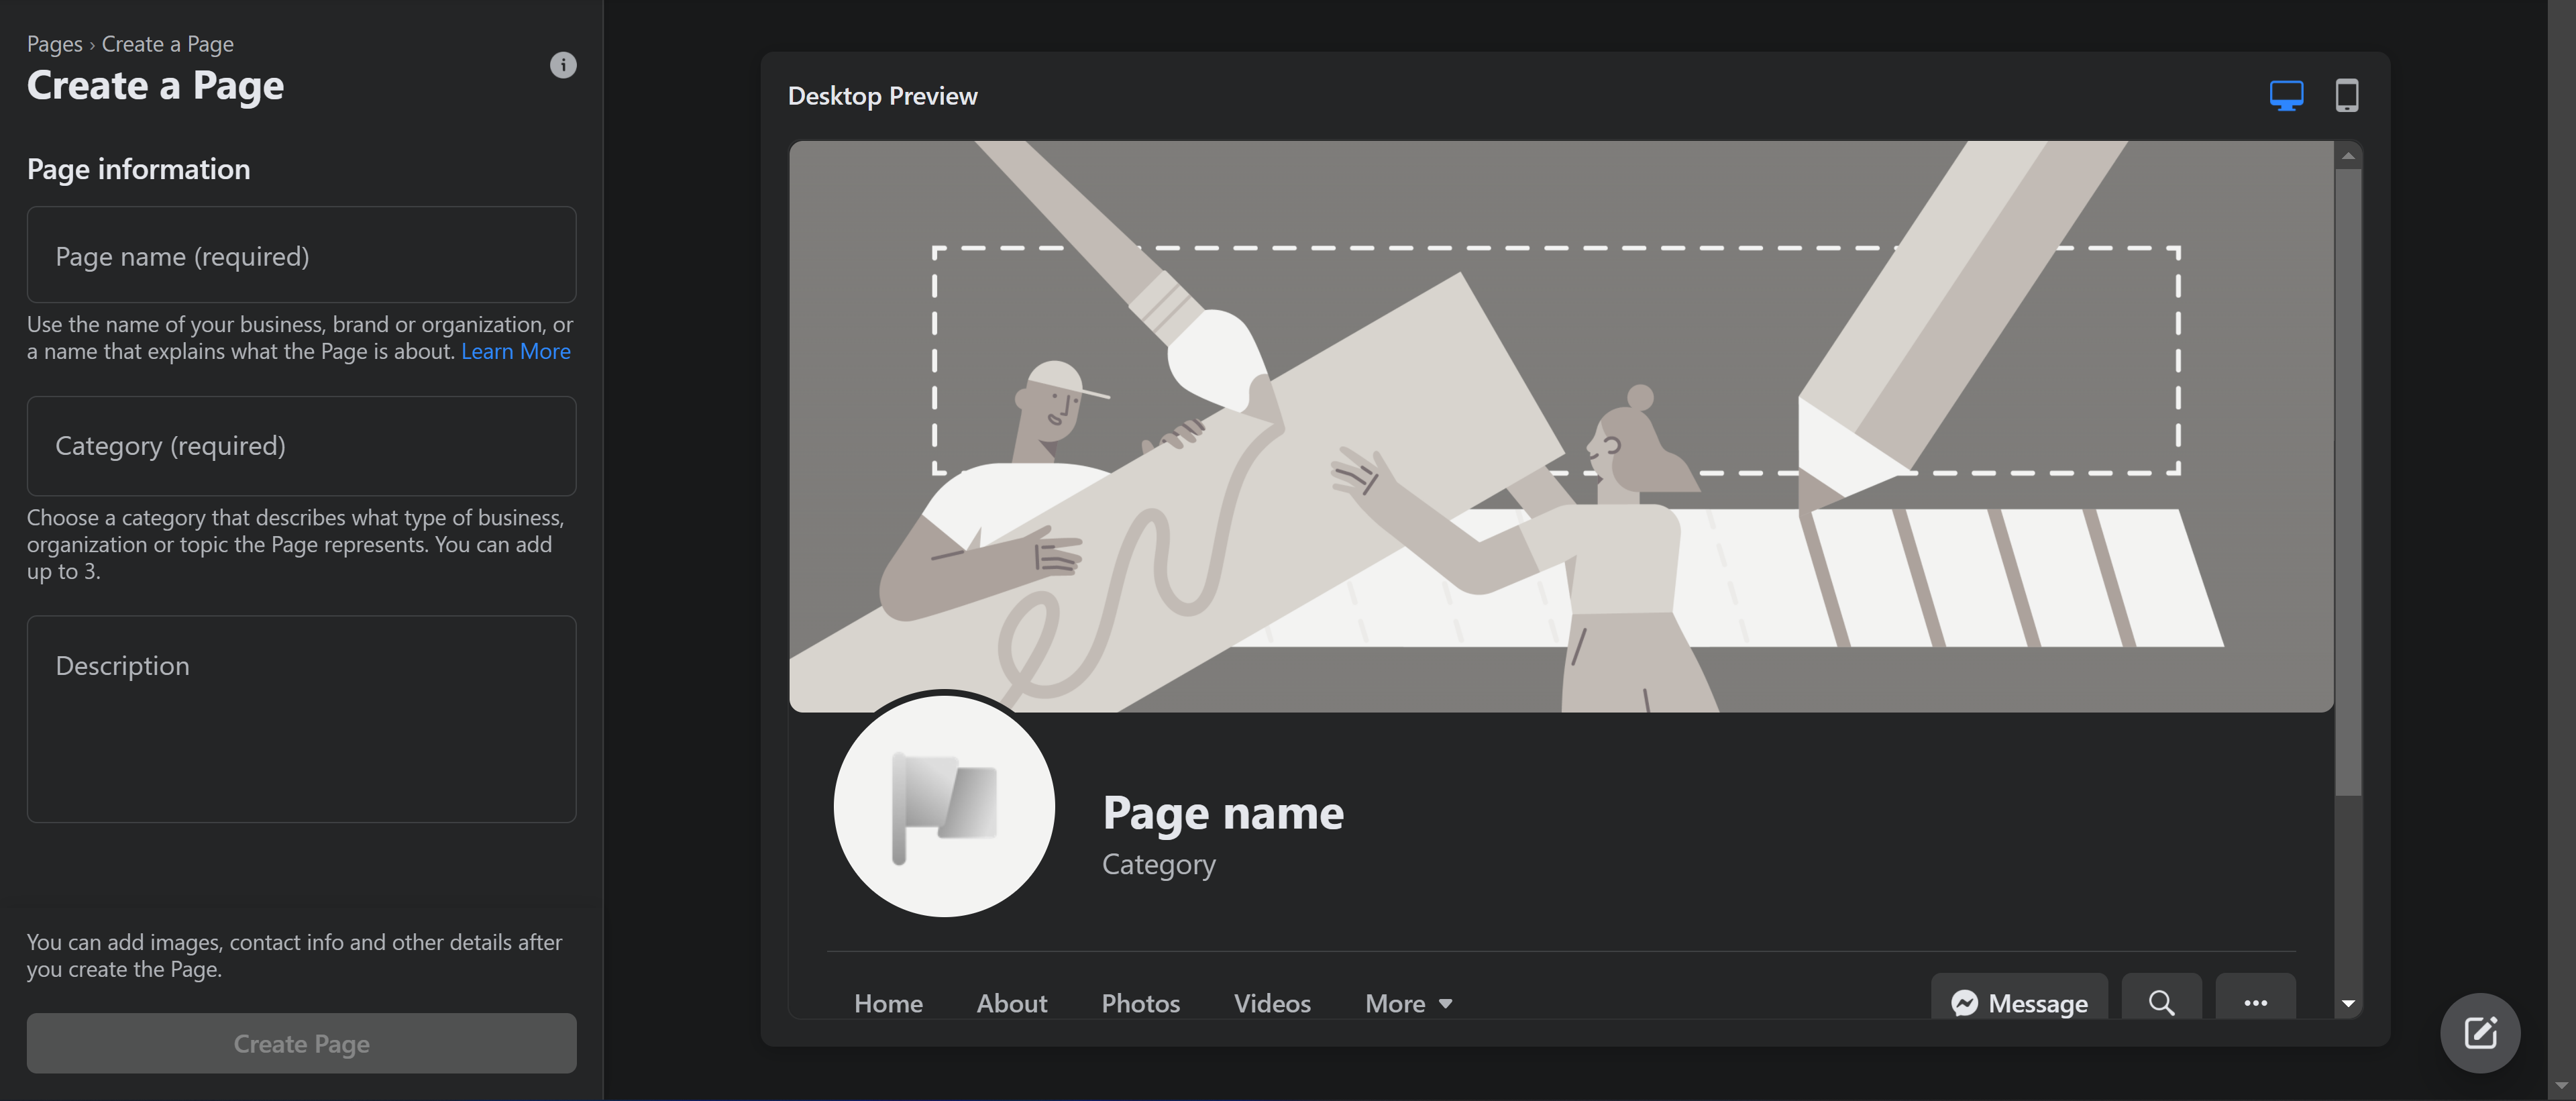
Make sure to add a profile picture and a cover image (also known as page cover). Look for something that fits well with your personality and individual brand: don’t just leave it as something generic. You can also use unique graphics for this, like OWN3D.tv’s stream banners for the page cover or the Avatar Maker for your profile picture. Here is the size and resolution information you need to know:
Native size of profile pictures:
- Profile picture minimum size: 180 x 180 pixels
- Profile picture recommended size: 2048 x 2048 / 720 x 720 / 360 x 360
Displayed sizes of profile pictures:
- PC: 170 x 170 pixels
- Mobile: 128 x 128 pixels
- Other: 32 x 32 pixels
Native size of page cover:
- 1250 x 463 pixels (this displays the best on pc and mobile devices alike).
Unique Facebook link
Once your page hits 25 likes, you can customize its username, which will give you a unique link. For example, if your page is called "TimsGamingRoom", you should use this as your username as well so that you can link to fb.com/TimsGamingRoom.

