Download and installation

Install and configure OBS Studio.
To begin, copy this URL https://obsproject.com into your web browser and select the appropriate client for your operating system. The download option will appear as soon as you open the website, Windows, macOS 10.13+, and Linux are all represented in the middle of the page.
Select the desired version by clicking on it. In this article we will use Windows; we will download OBS Studio for Windows for this instruction. Complete the installation process by opening the installation file you downloaded.
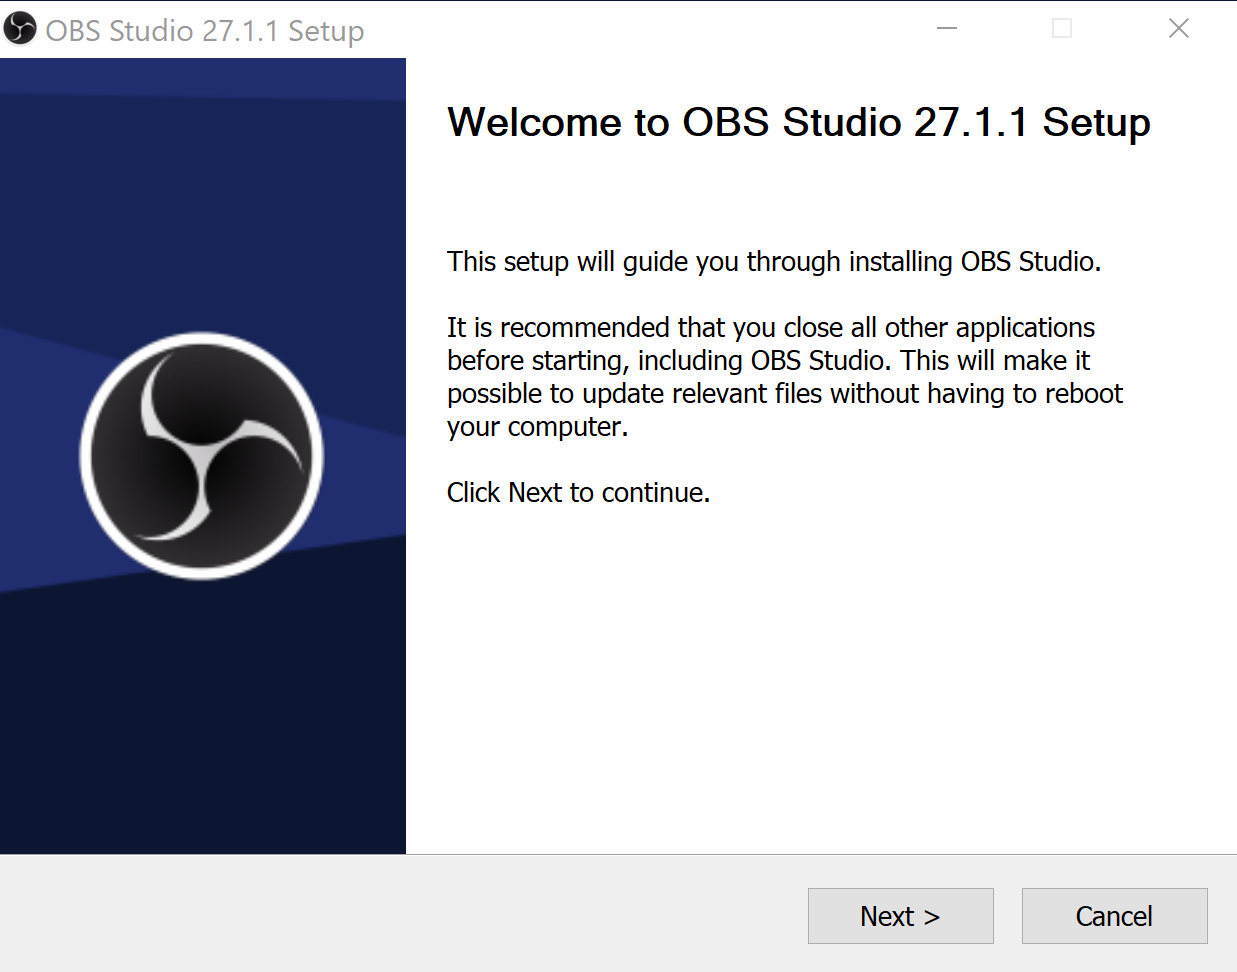
Click "Next," then accept the license information by clicking “Next” again (read the Terms and Conditions first, of course ;-), then select the folder and click Install to begin the installation.
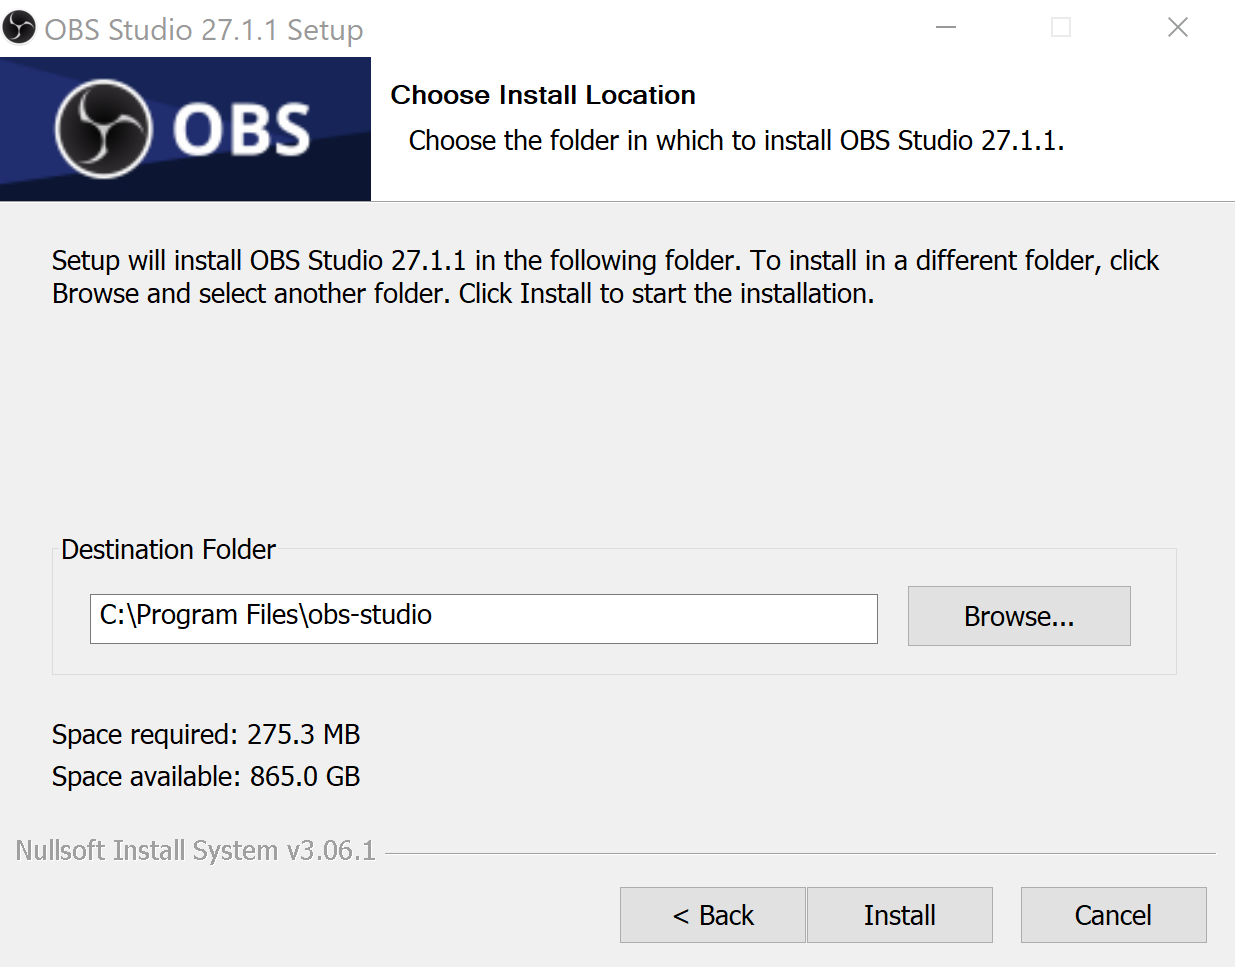
When the installation is complete, click "Finish," and OBS Studio will launch immediately.
Configuration OBS
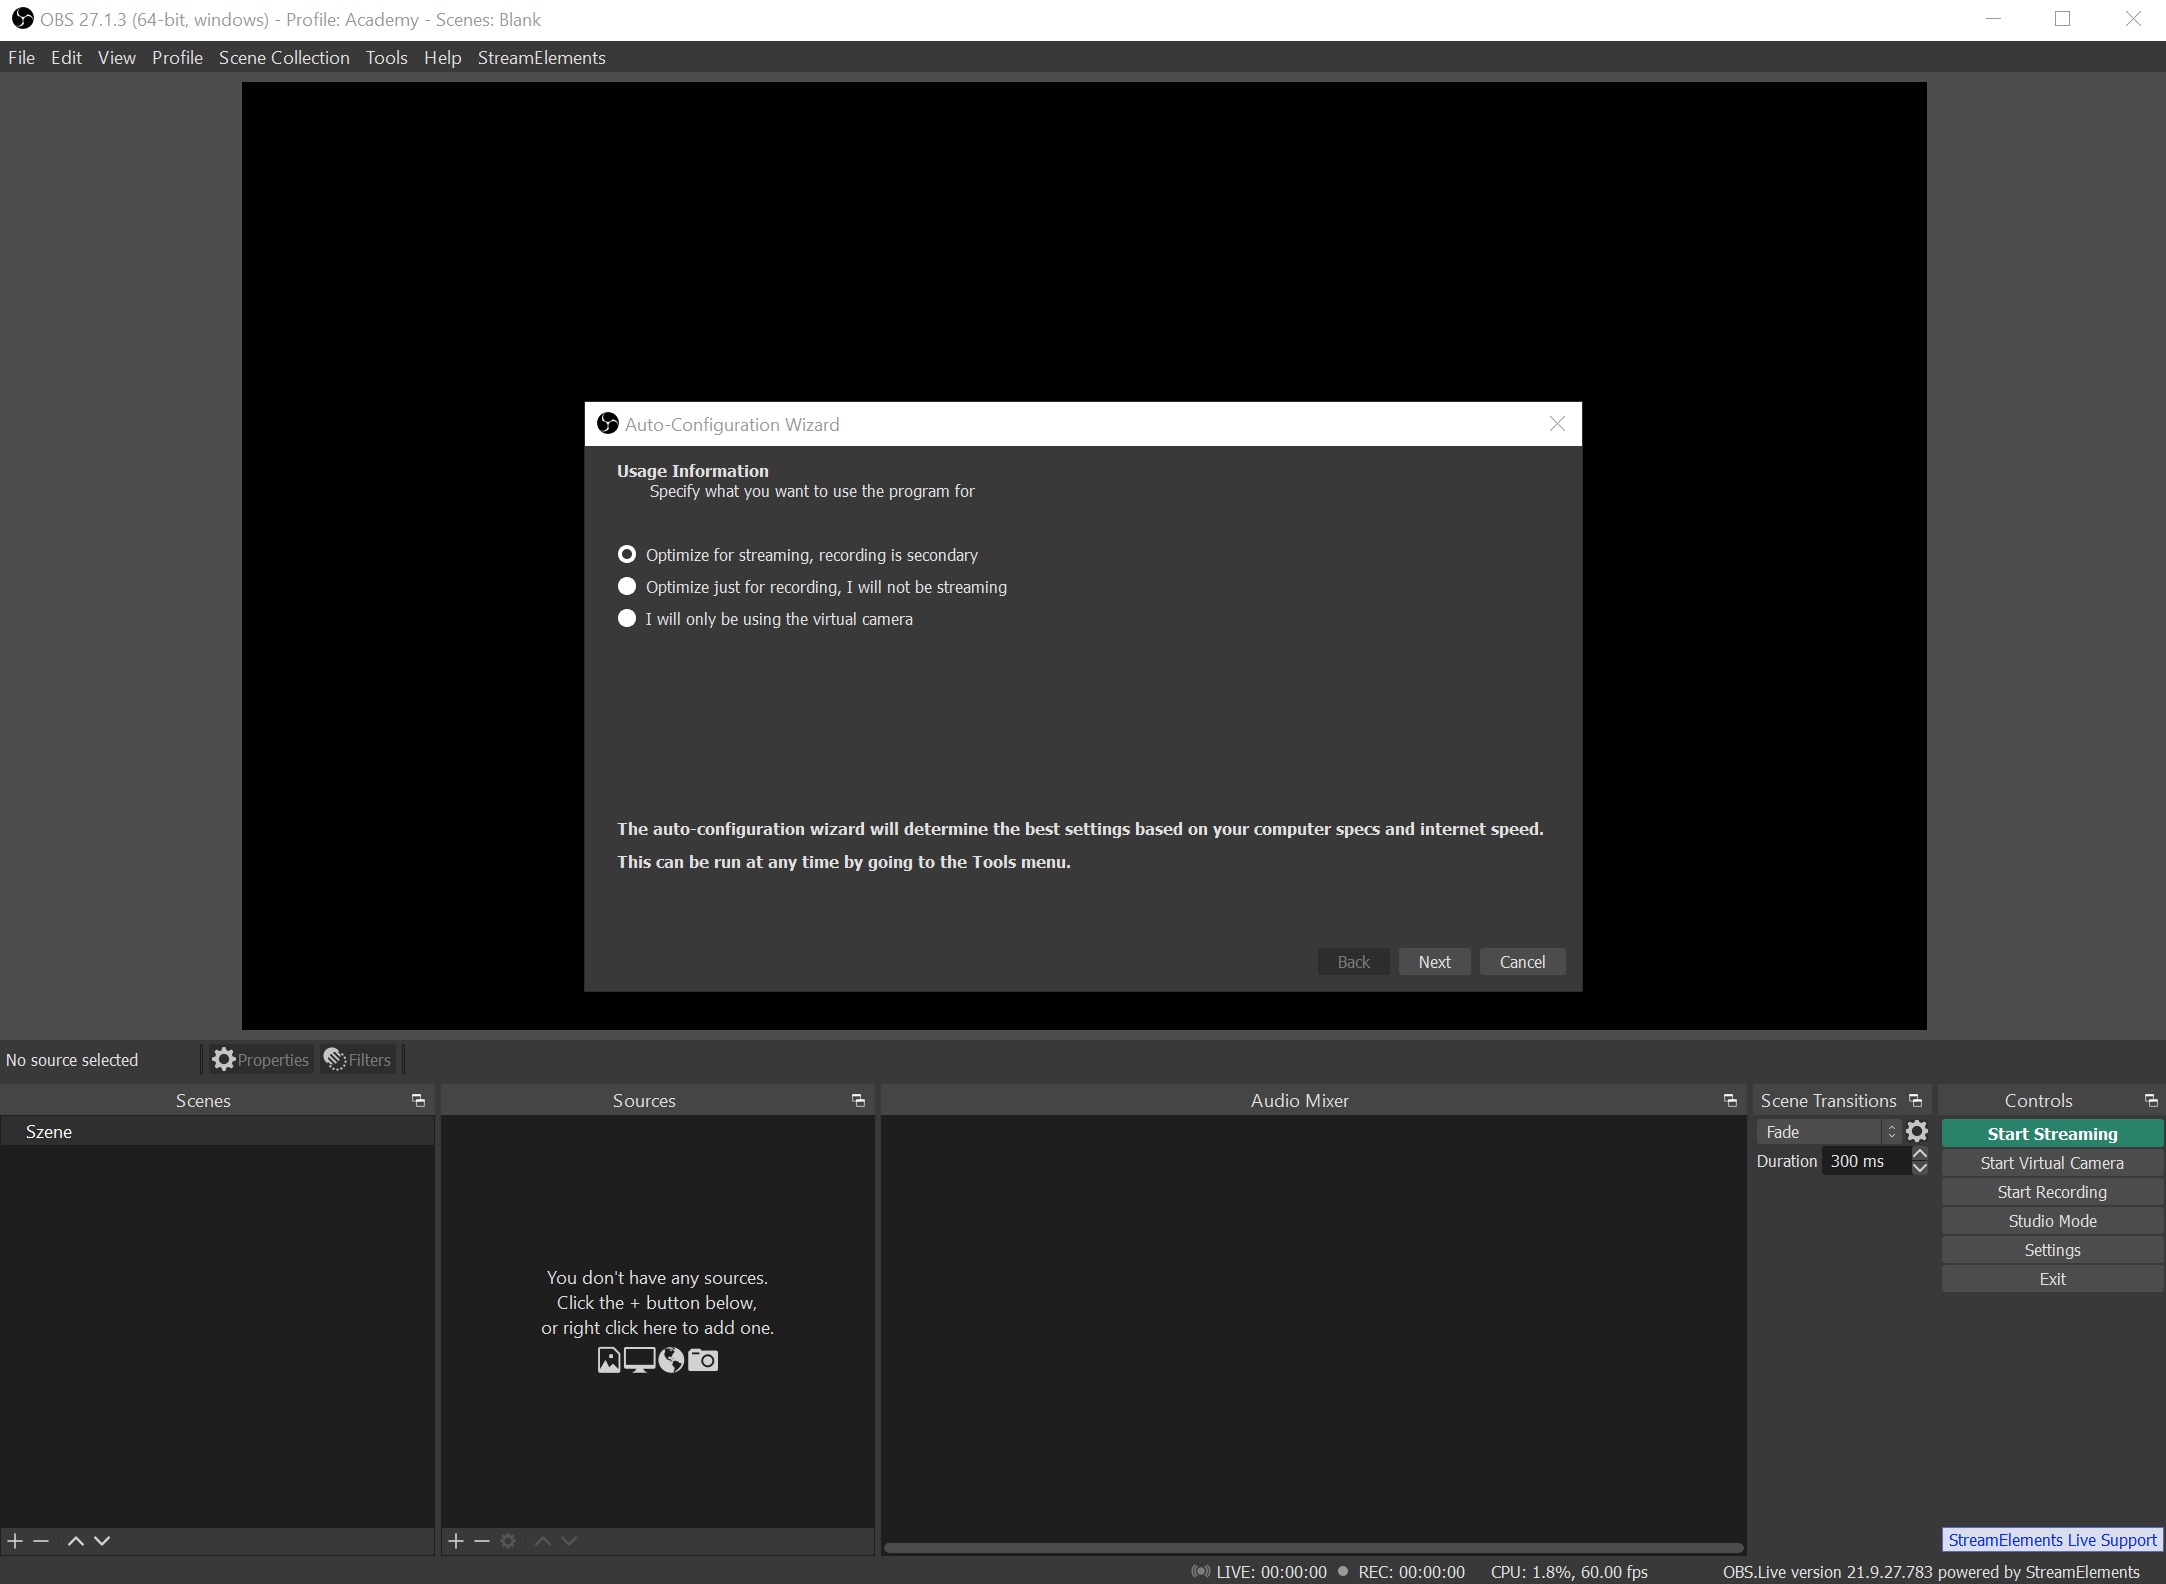
When you launch OBS Studio for the first time after installation, the software is configured using the "Auto Configuration-Wizard." However, you can change all of the following options later. If the wizard does not appear right away, you can find it in the menu under "Tools."
If you want to use OBS primarily for streaming, select "Optimize for streaming, recording is secondary" and then "Next." There is also the option to optimize OBS for recording or solely as a virtual camera. However, you can still change these settings or use external plugins later, so feel free to select "Optimize for streaming."
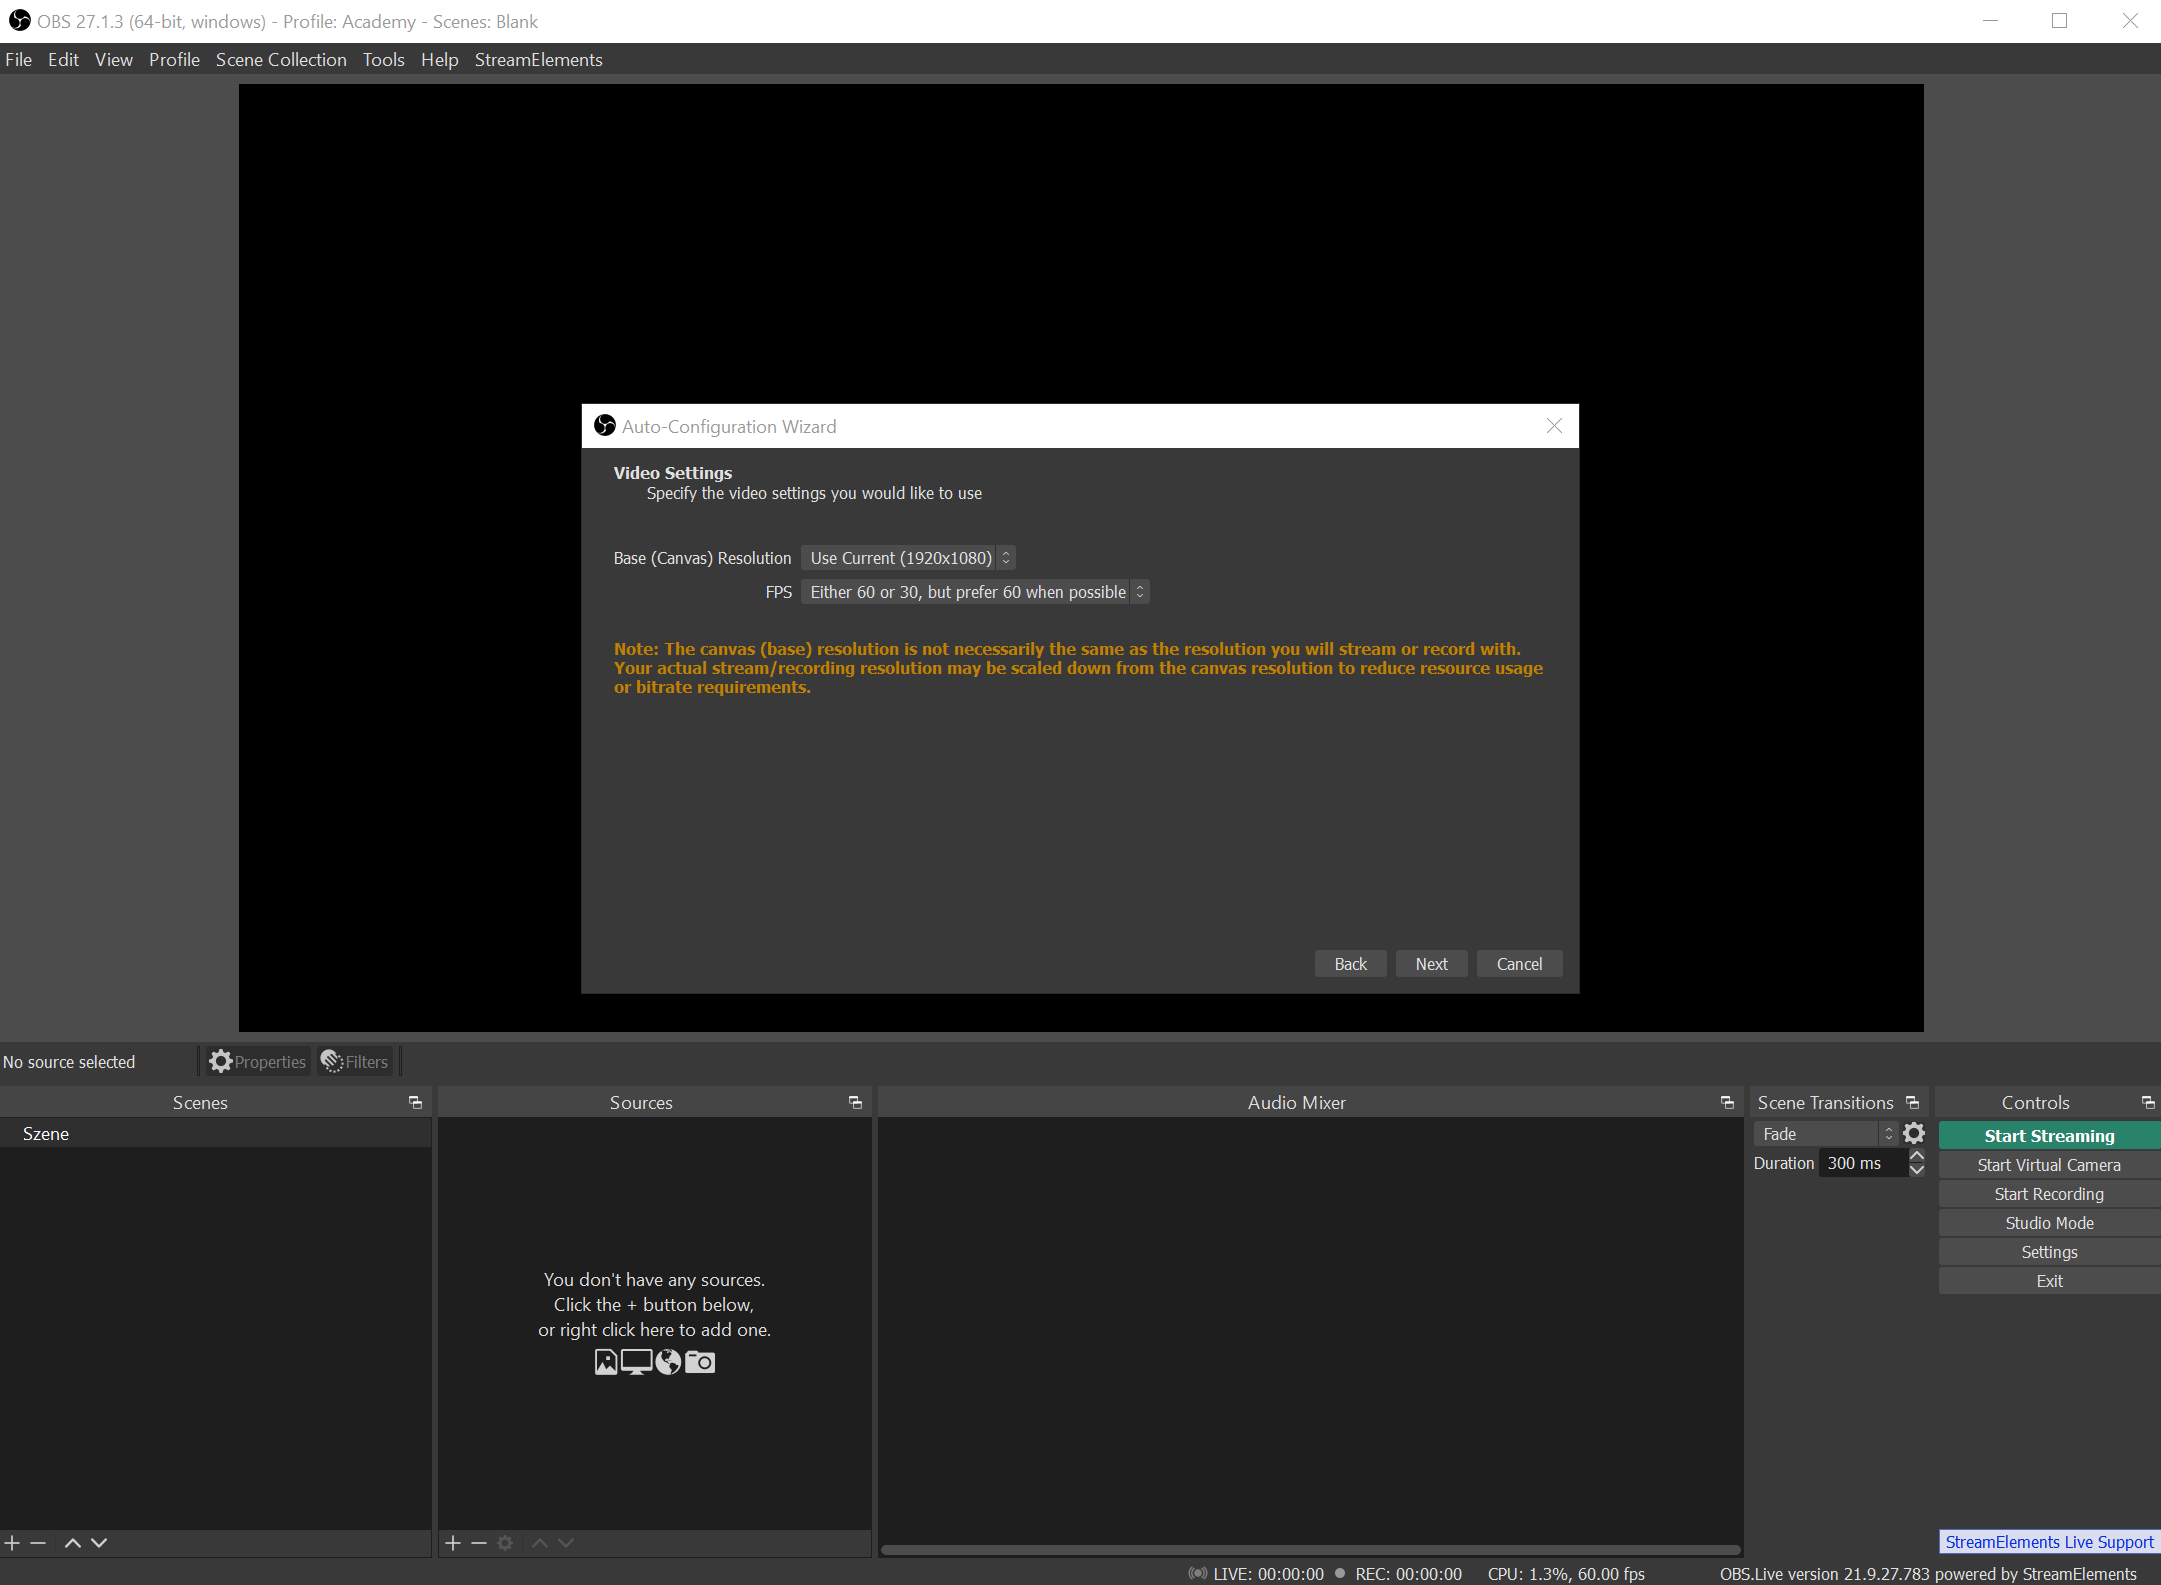
Choose your resolution here based on the size of your screen. We went with 1920x1080. Then, depending on whether you want to stream faster games or if you have a powerful PC, choose the desired FPS (frames per second).
We chose 60 frames per second because both conditions apply to us. If you are streaming with a laptop or a weaker PC, we recommend using a lower FPS.
In the following window, select the desired streaming platform, in this case, Twitch.
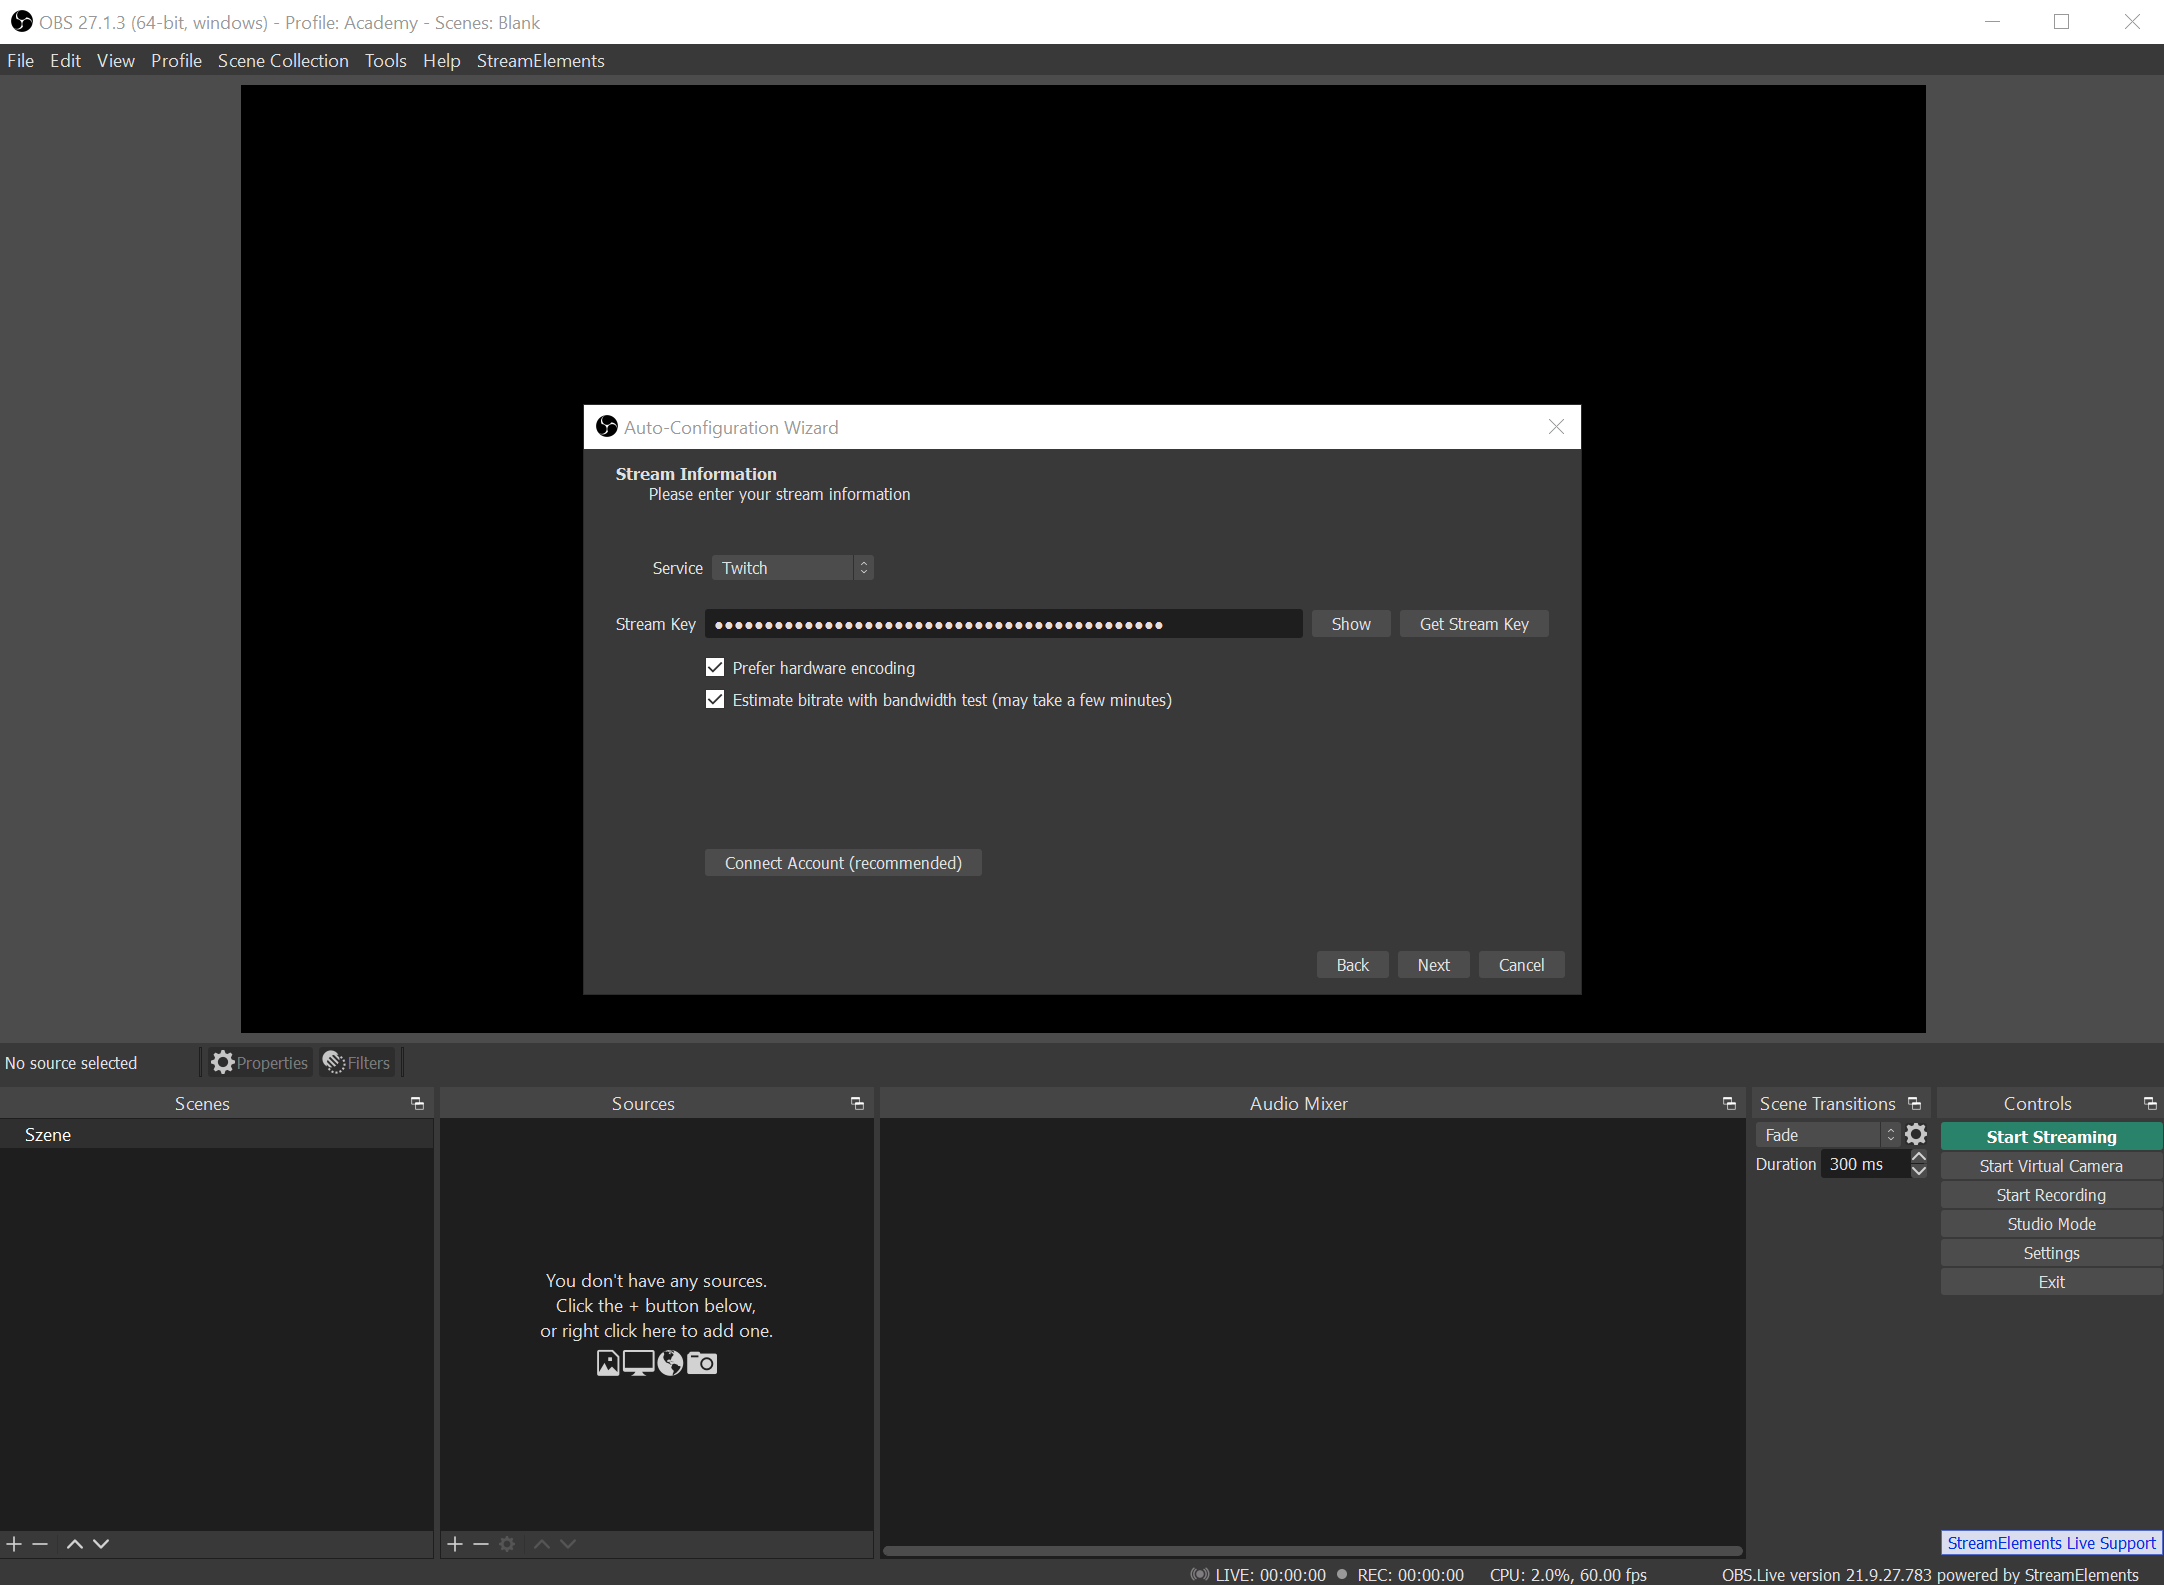
Connect your account and then select whether you want hardware encoding or not. To reduce the load on your PC, enable this option if you have a sound graphics card. It removes the majority of the CPU load but requires a higher bitrate to maintain the same level of quality. You can also let OBS determine which bitrate is best for you and your internet connection. Both options are optional, and you can change them at any time.
Our article "Most important settings in OBS" contains more hardware encoding and bitrates information.
The result will show you what OBS would suggest. These settings, however, are optional and, as previously stated, can be changed at any time.
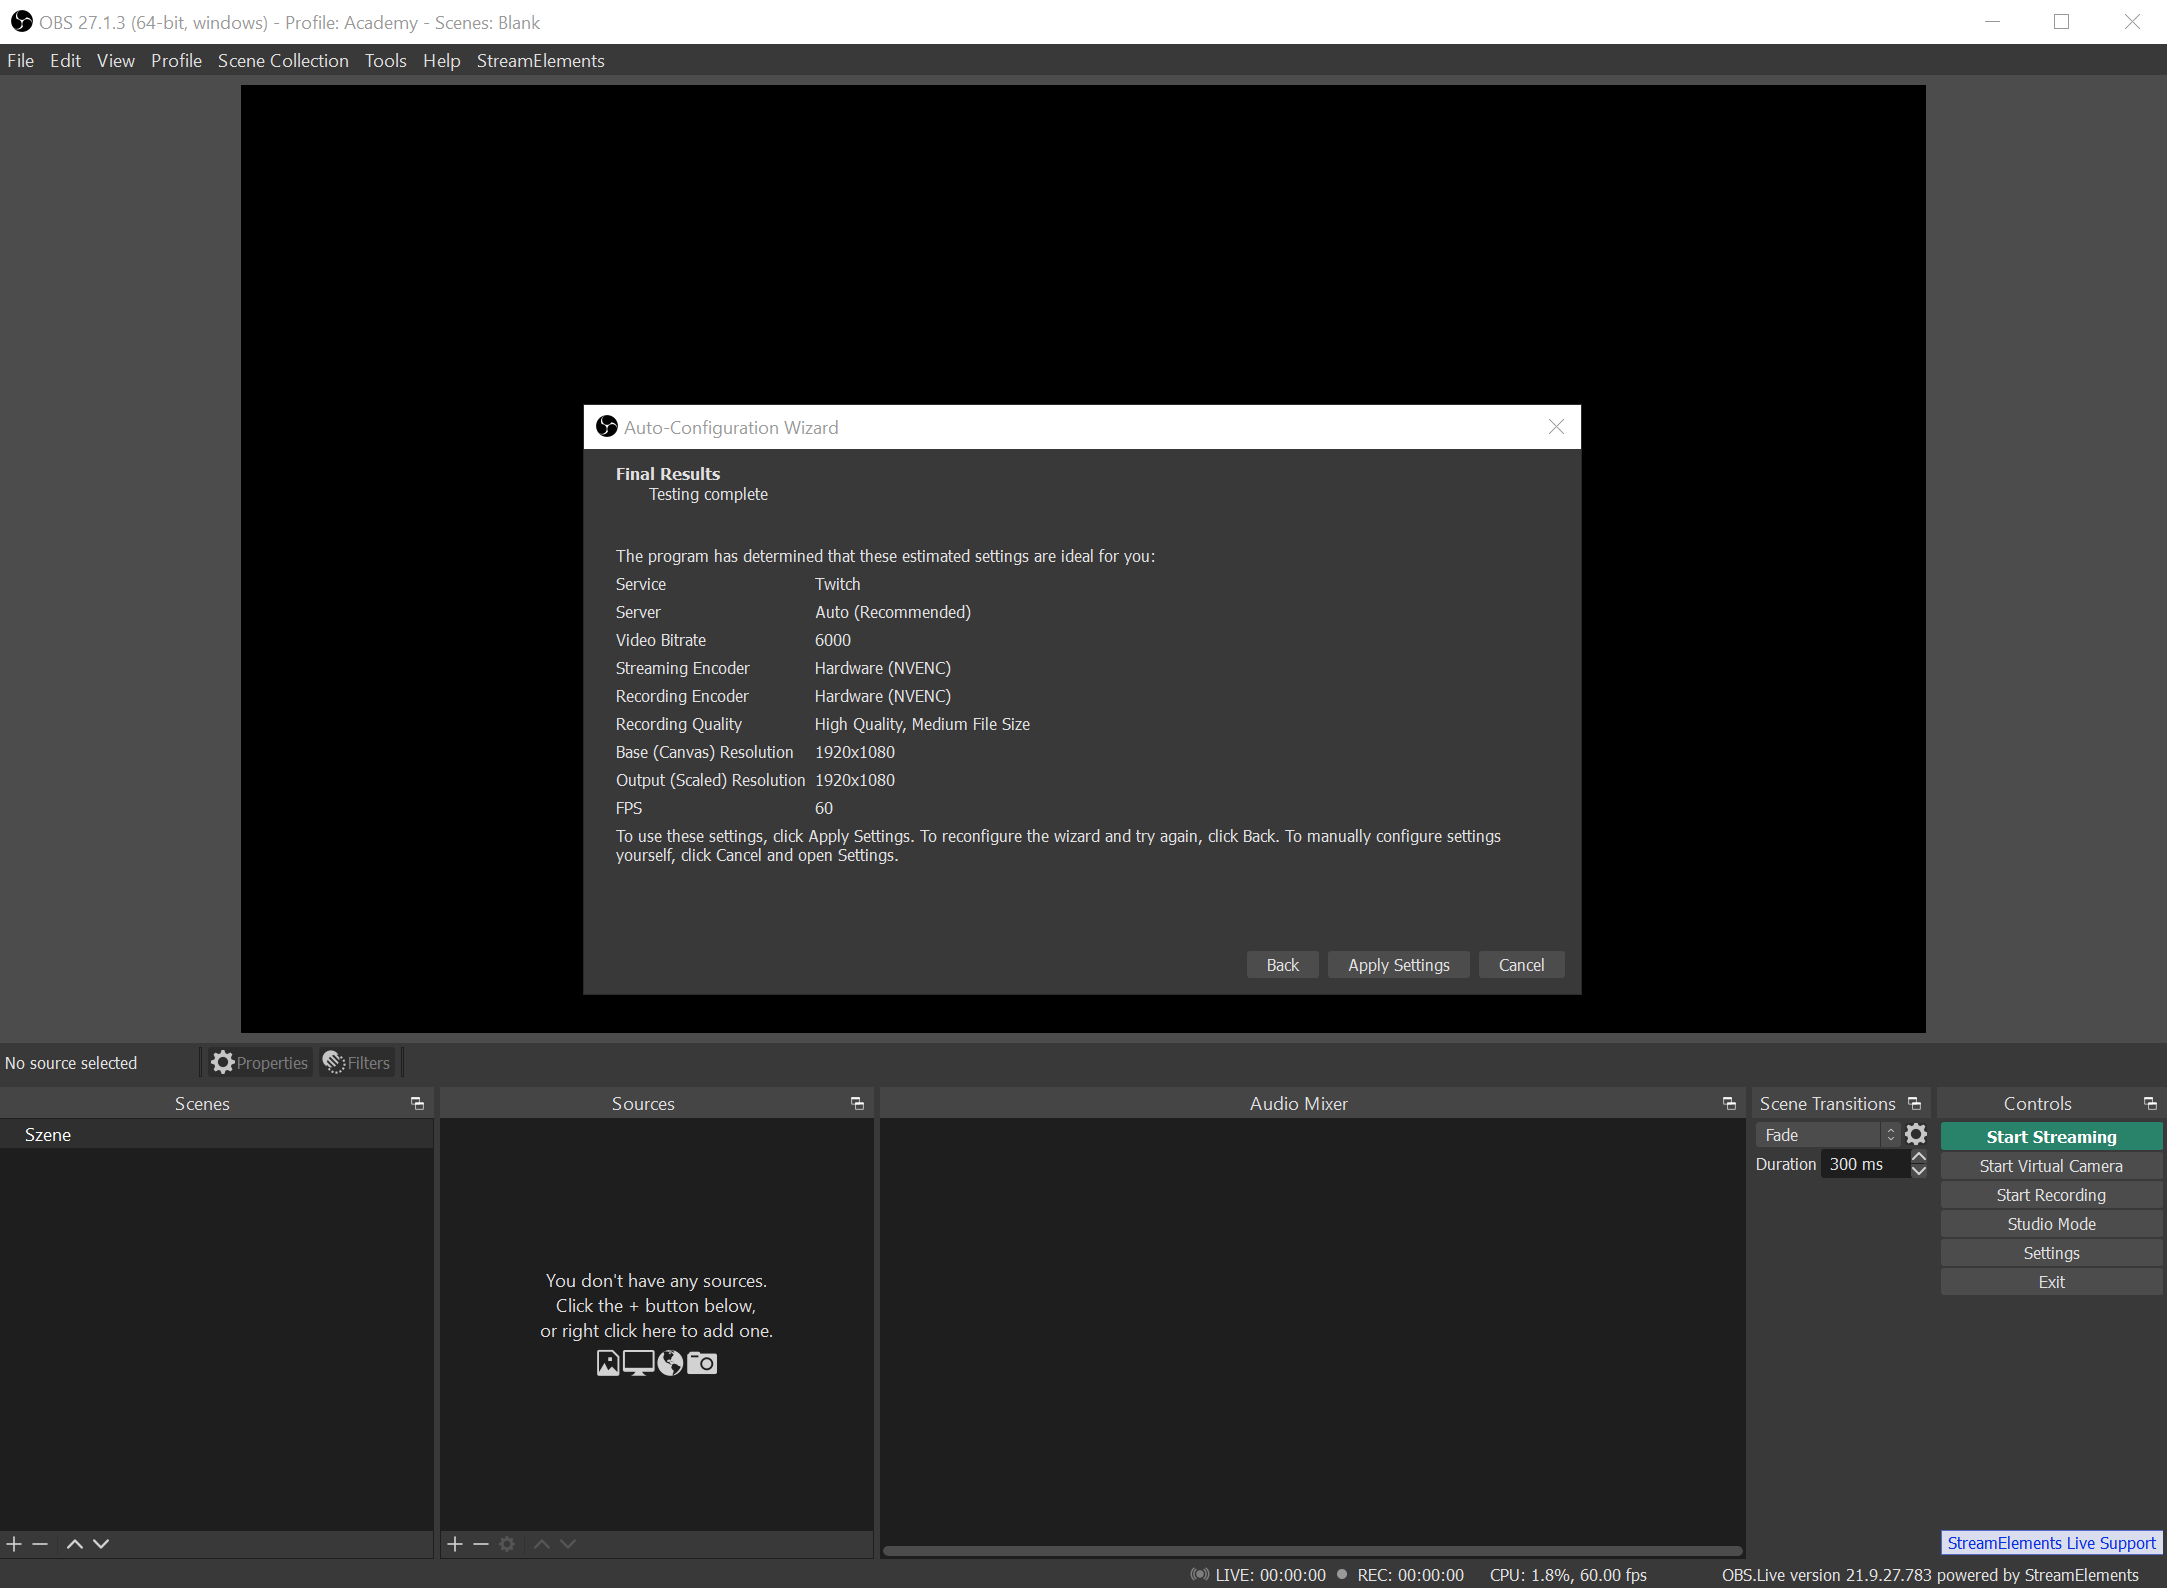
In our case, OBS selects 6000 as the video bitrate and the graphics card as the encoder (NVENC). Finally, you have the option to accept or reject the settings.
Now your OBS is set up, and you can move on to the basic settings and start adding scenes and sources to your stream.

