OWN3D Pro: How to Get Started
The unique streaming tool OWN3D Pro facilitates the everyday life of many streamers and creators.
The installation is user-friendly and relatively easy to handle; we would like to guide you through the complete process and show you what you should pay attention to during the setup.
Create an account
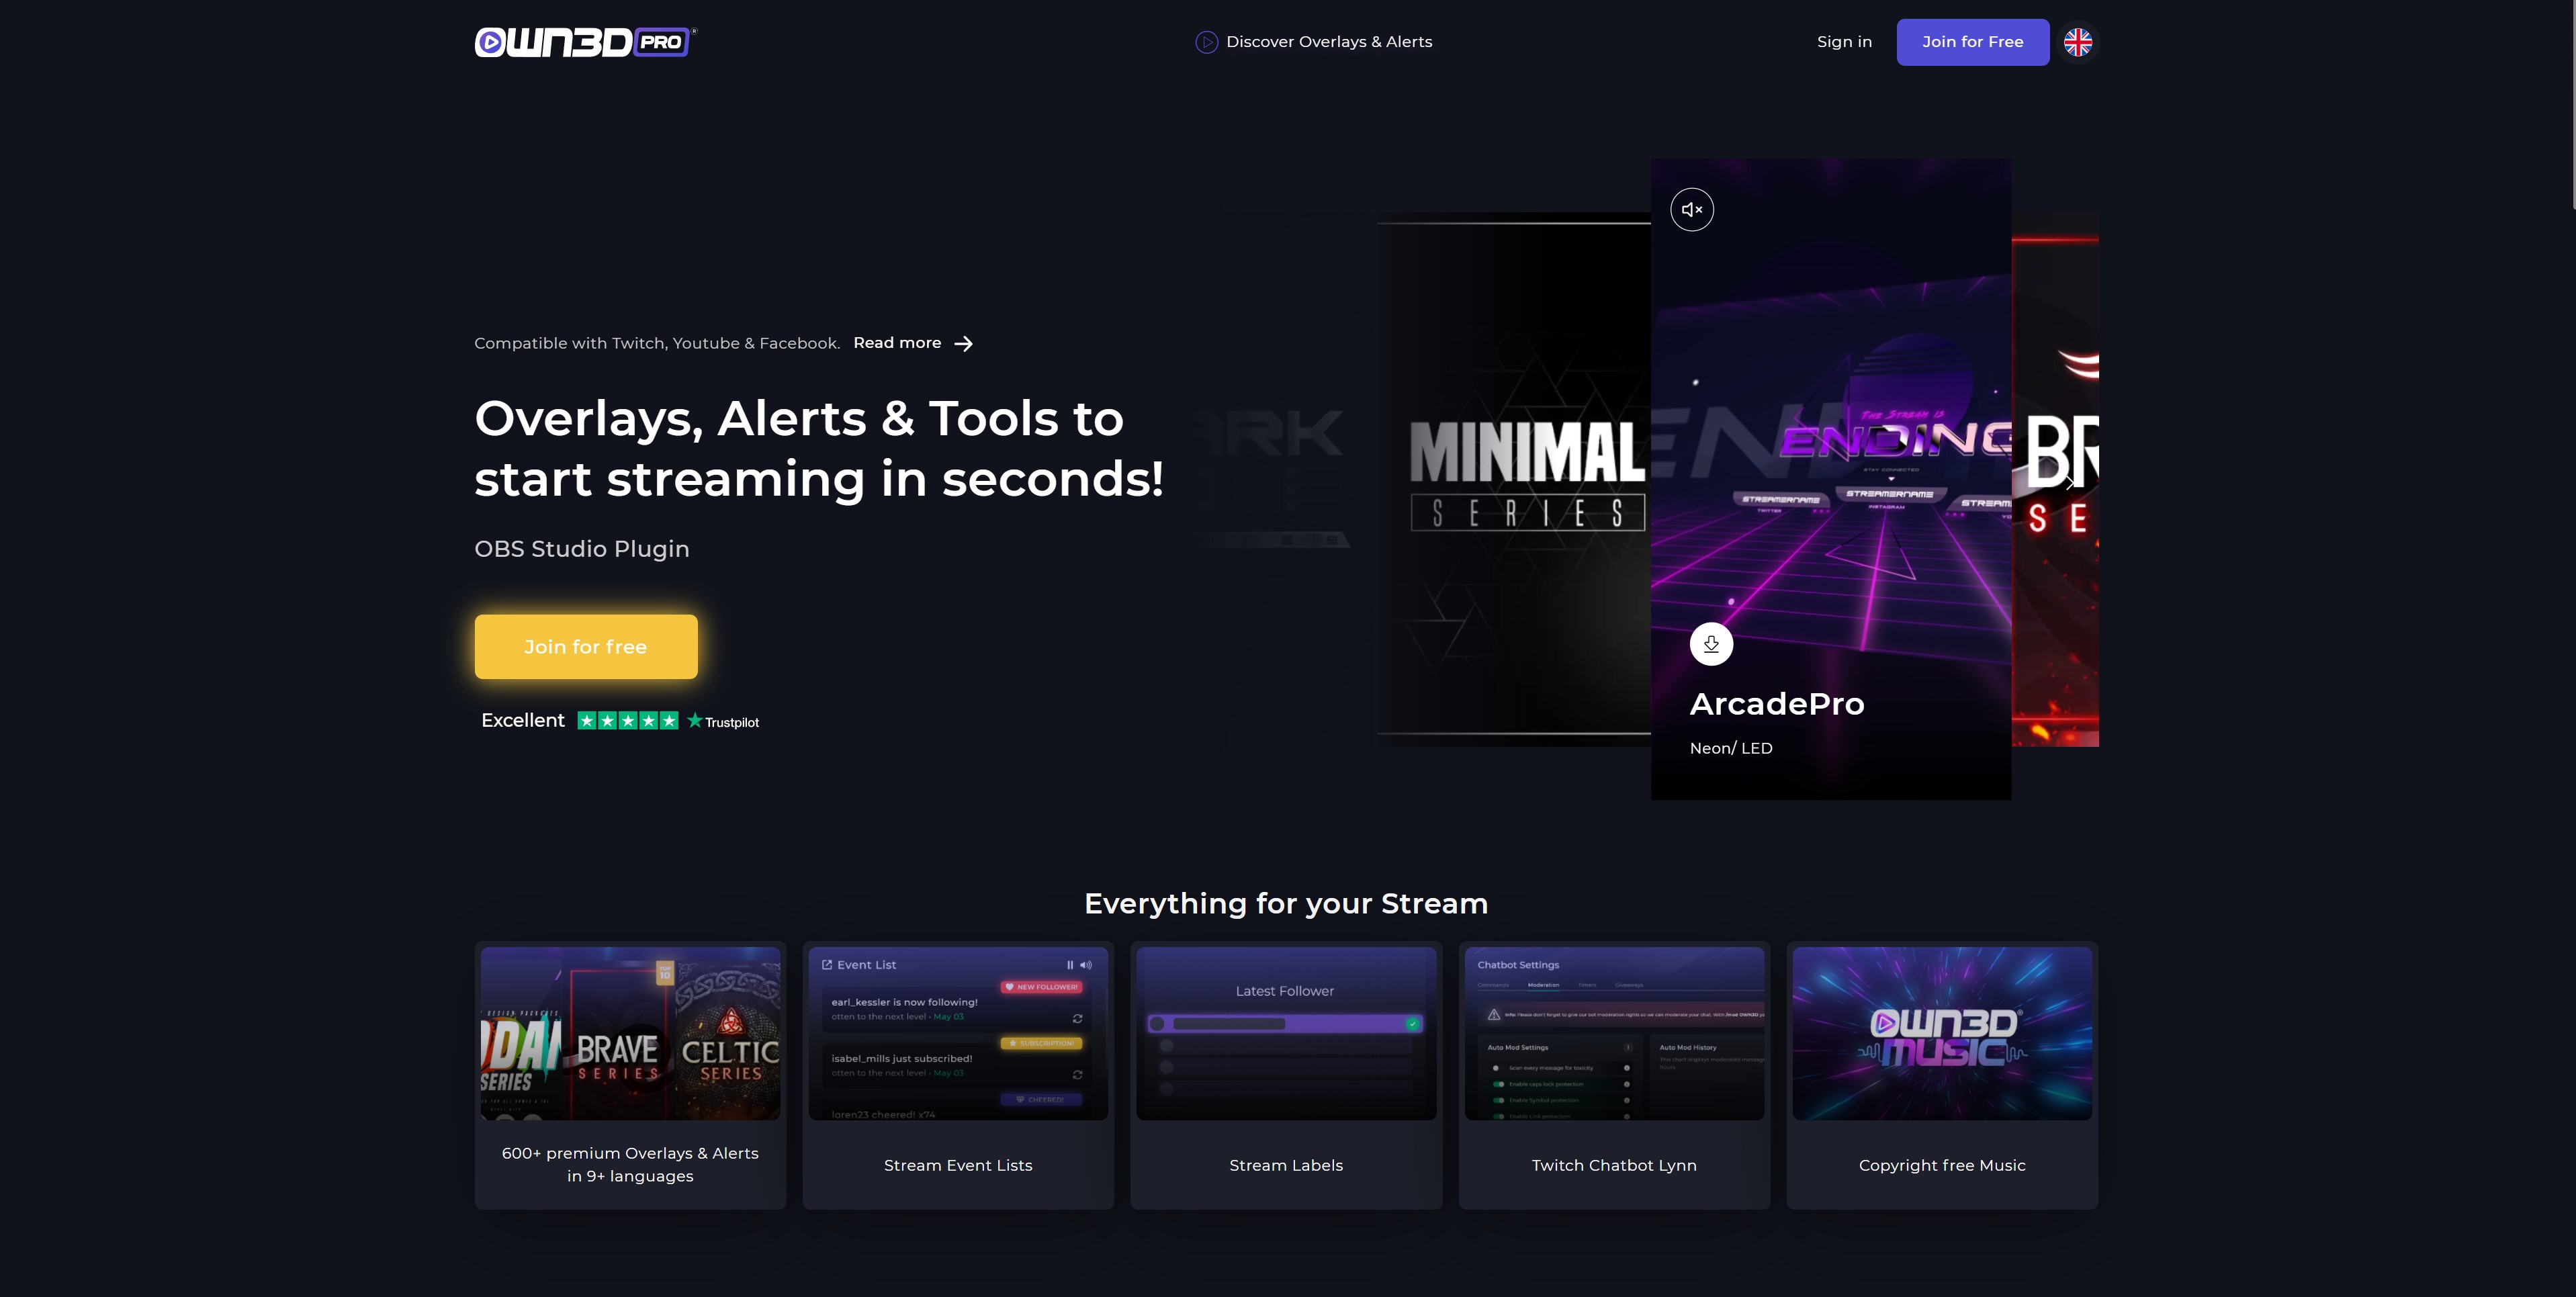
To sign up for OWN3D Pro, go to the homepage and click on the yellow button "Join for Free."
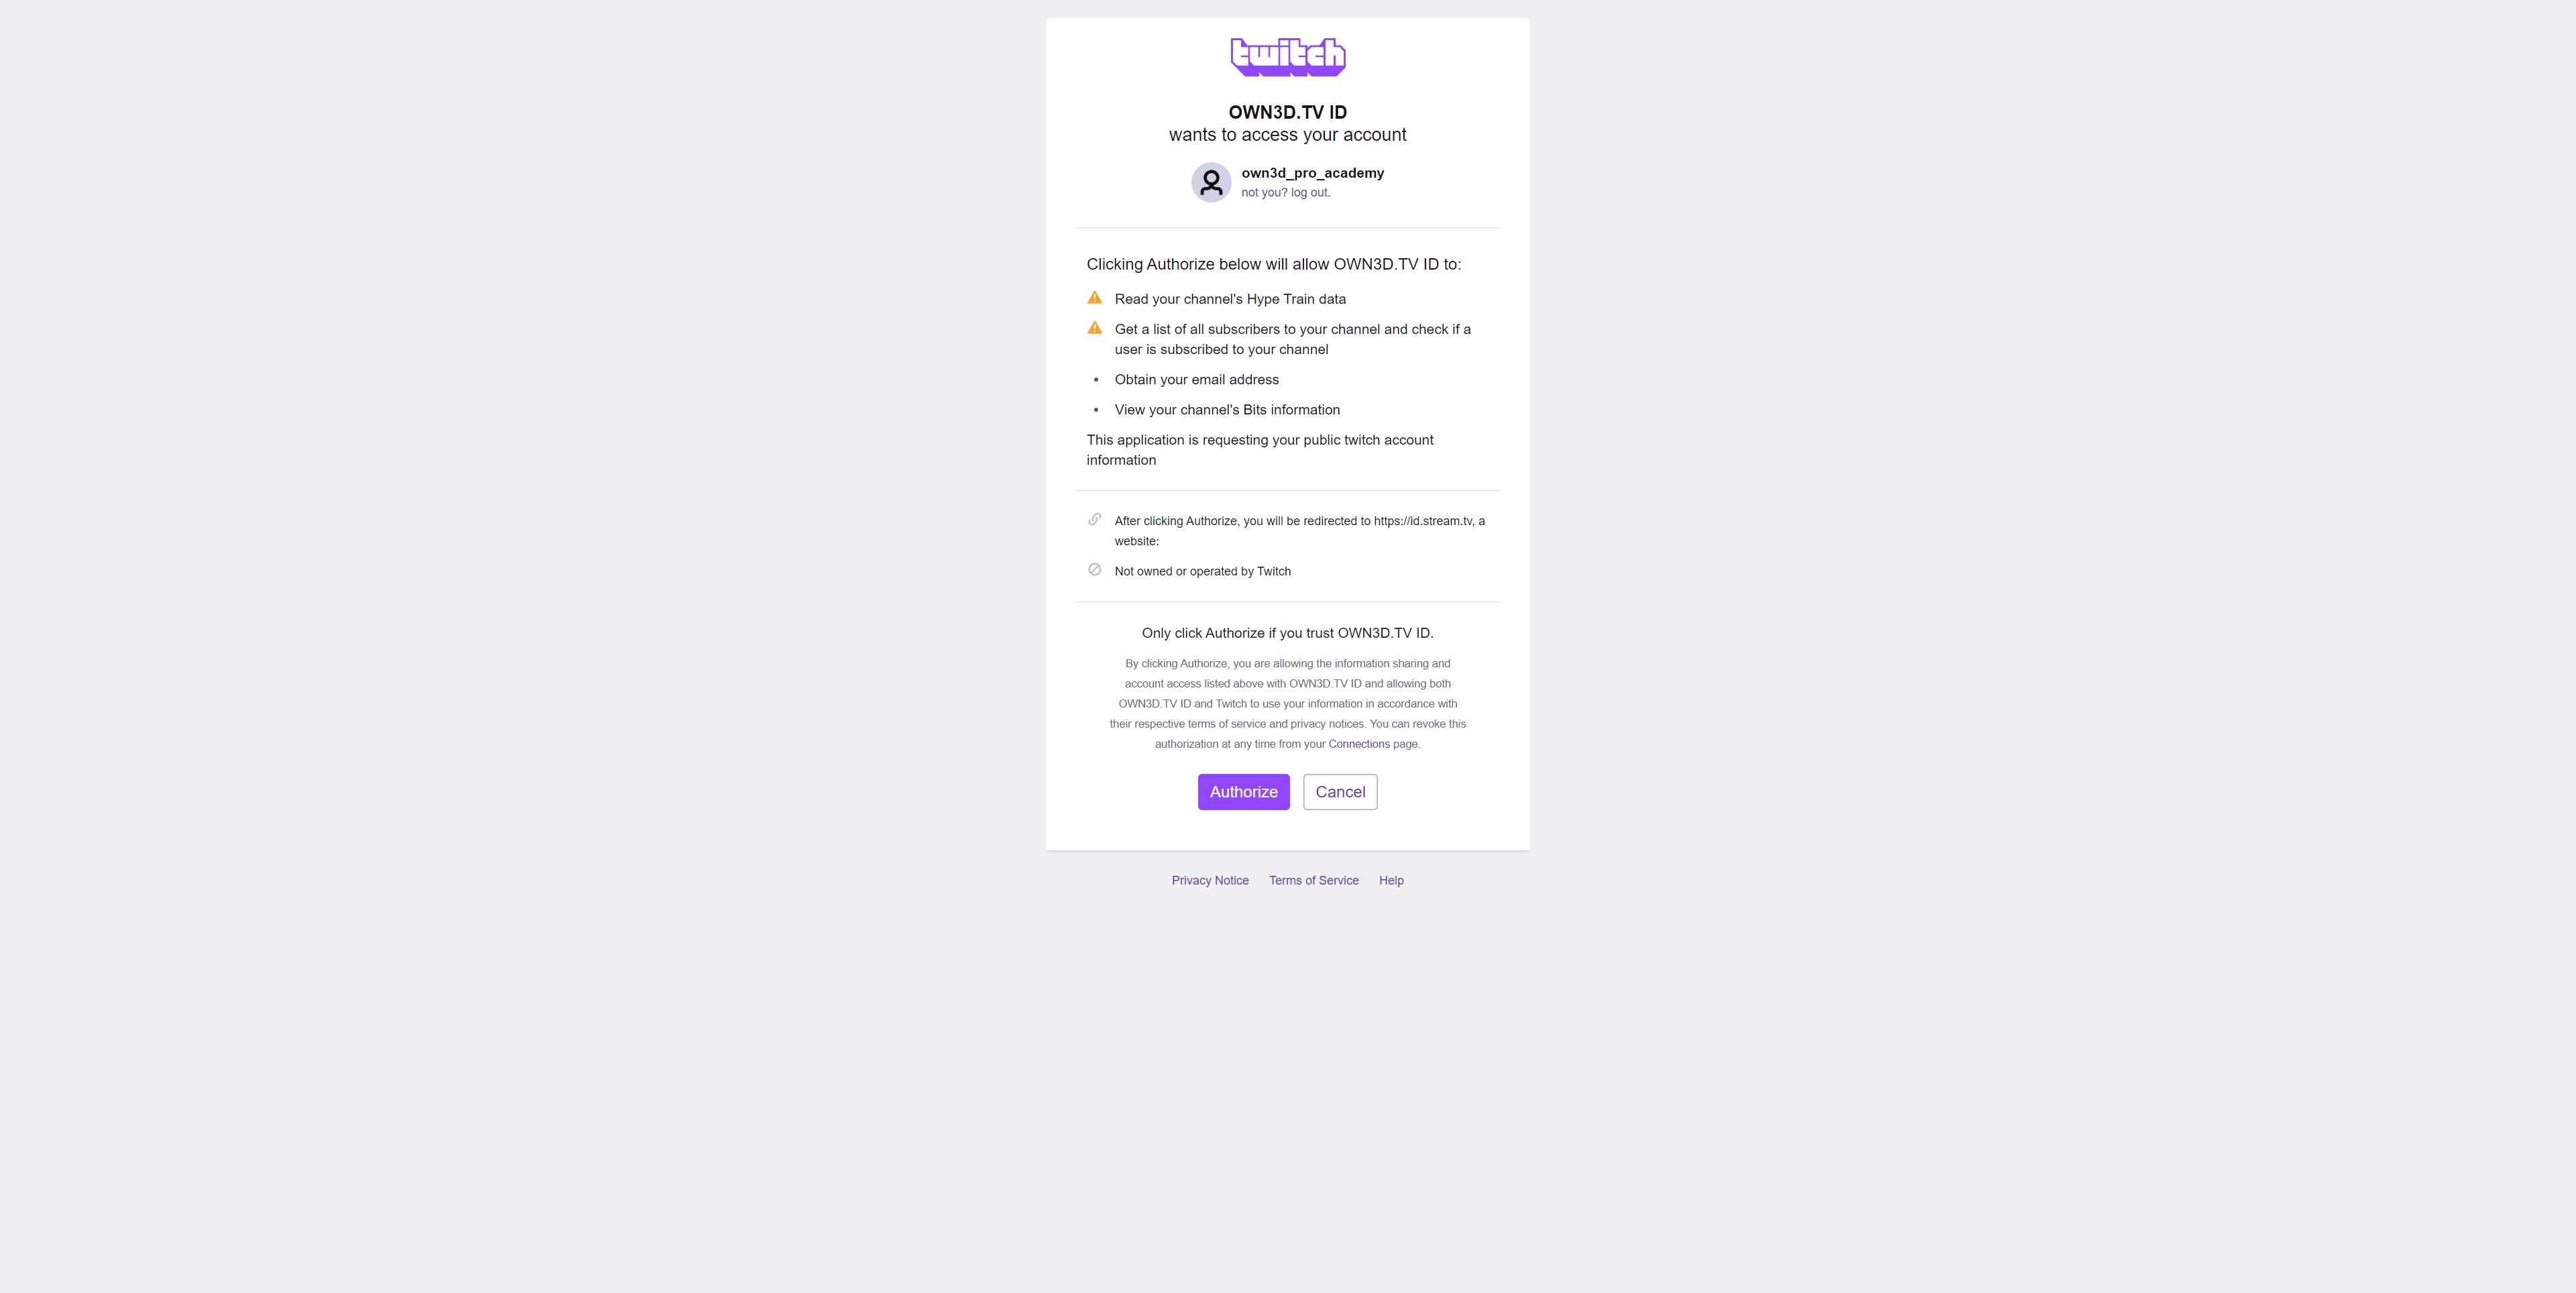
OWN3D Pro has the advantage of seamlessly integrating with Twitch and not requiring a traditional registration process. All you have to do is sign in with your Twitch account.
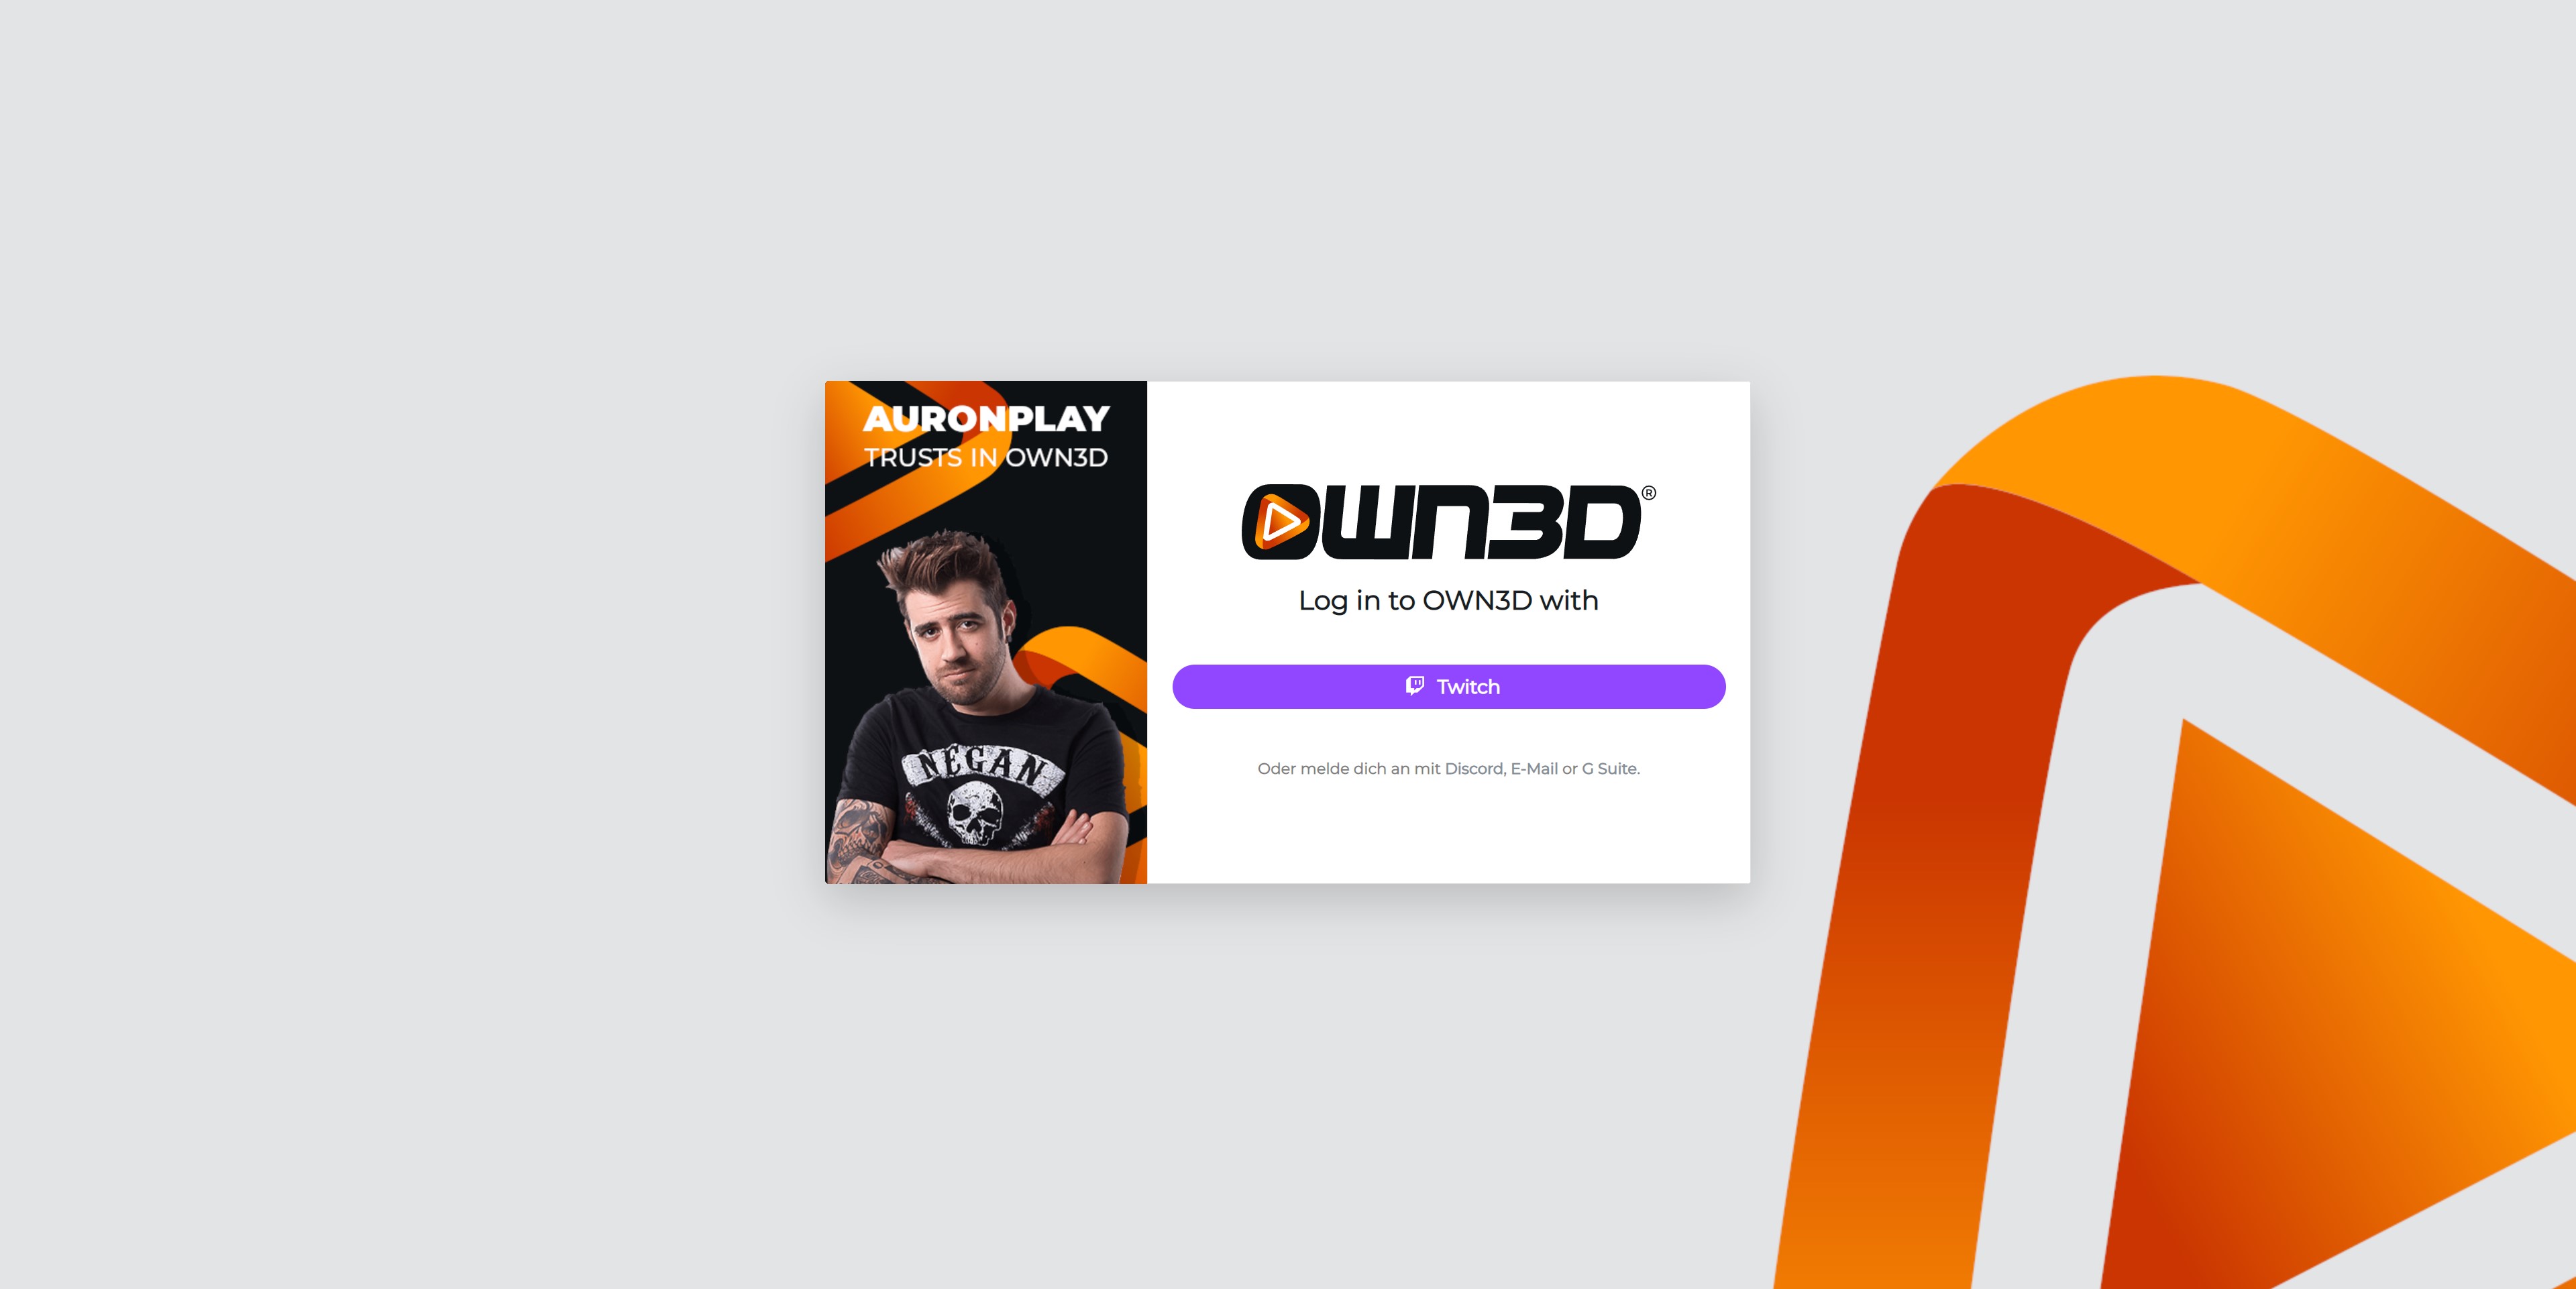
On the redirected page, click the corresponding button to the Twitch page. Finally, you log in with your Twitch account here.
To ensure seamless integration, grant Twitch permission to connect to OWN3D Pro. You'll be once again redirected to your OWN3D Pro home page, where you'll be guided through the signup process with the help of the Quick Setup, an installation wizard.
After that, you will have successfully used your Twitch account to register with OWN3D Pro.
Setup in 3 steps
After successfully connecting to your Twitch account, the OWN3D Pro wizard will walk you through the initial setup steps. You will be directed to the appropriate page and guided through the process.
Step 1 - Download and install OBS
OBS Studio is a free broadcaster software that not only shines with ease of use but is also unbeatable in its range. OWN3D Pro is a tool designed exclusively for use with OBS Studio. To use OWN3D Pro, you must first download and install OBS Studio. Once this is done, you can click through to the next step. If you need assistance with the installation, we can help you in this chapter. If you already have OBS installed, you can click on "Next Step."
Step 2 - Install OWN3D Pro
After you've successfully installed OBS Studio, you'll want to install the plugin we're mentioning here. Click Download Plugin to begin downloading and installing the OBS Studio extension. The important thing here is to install OWN3D Pro directly into the folder where OBS Studio is located.
Step 3 - Login to OBS Studio with OWN3D Pro
When you open the OBS Studio program, you will find the OWN3D Pro menu item in the Tools menu tab. A window will automatically open if you click on it, asking you to log in with your OWN3D Pro account. This way, OBS Studio can assign exactly which account it is. Twitch, OWN3D Pro, and OBS Studio are now complete.
Alerts and Overlays in 3 steps
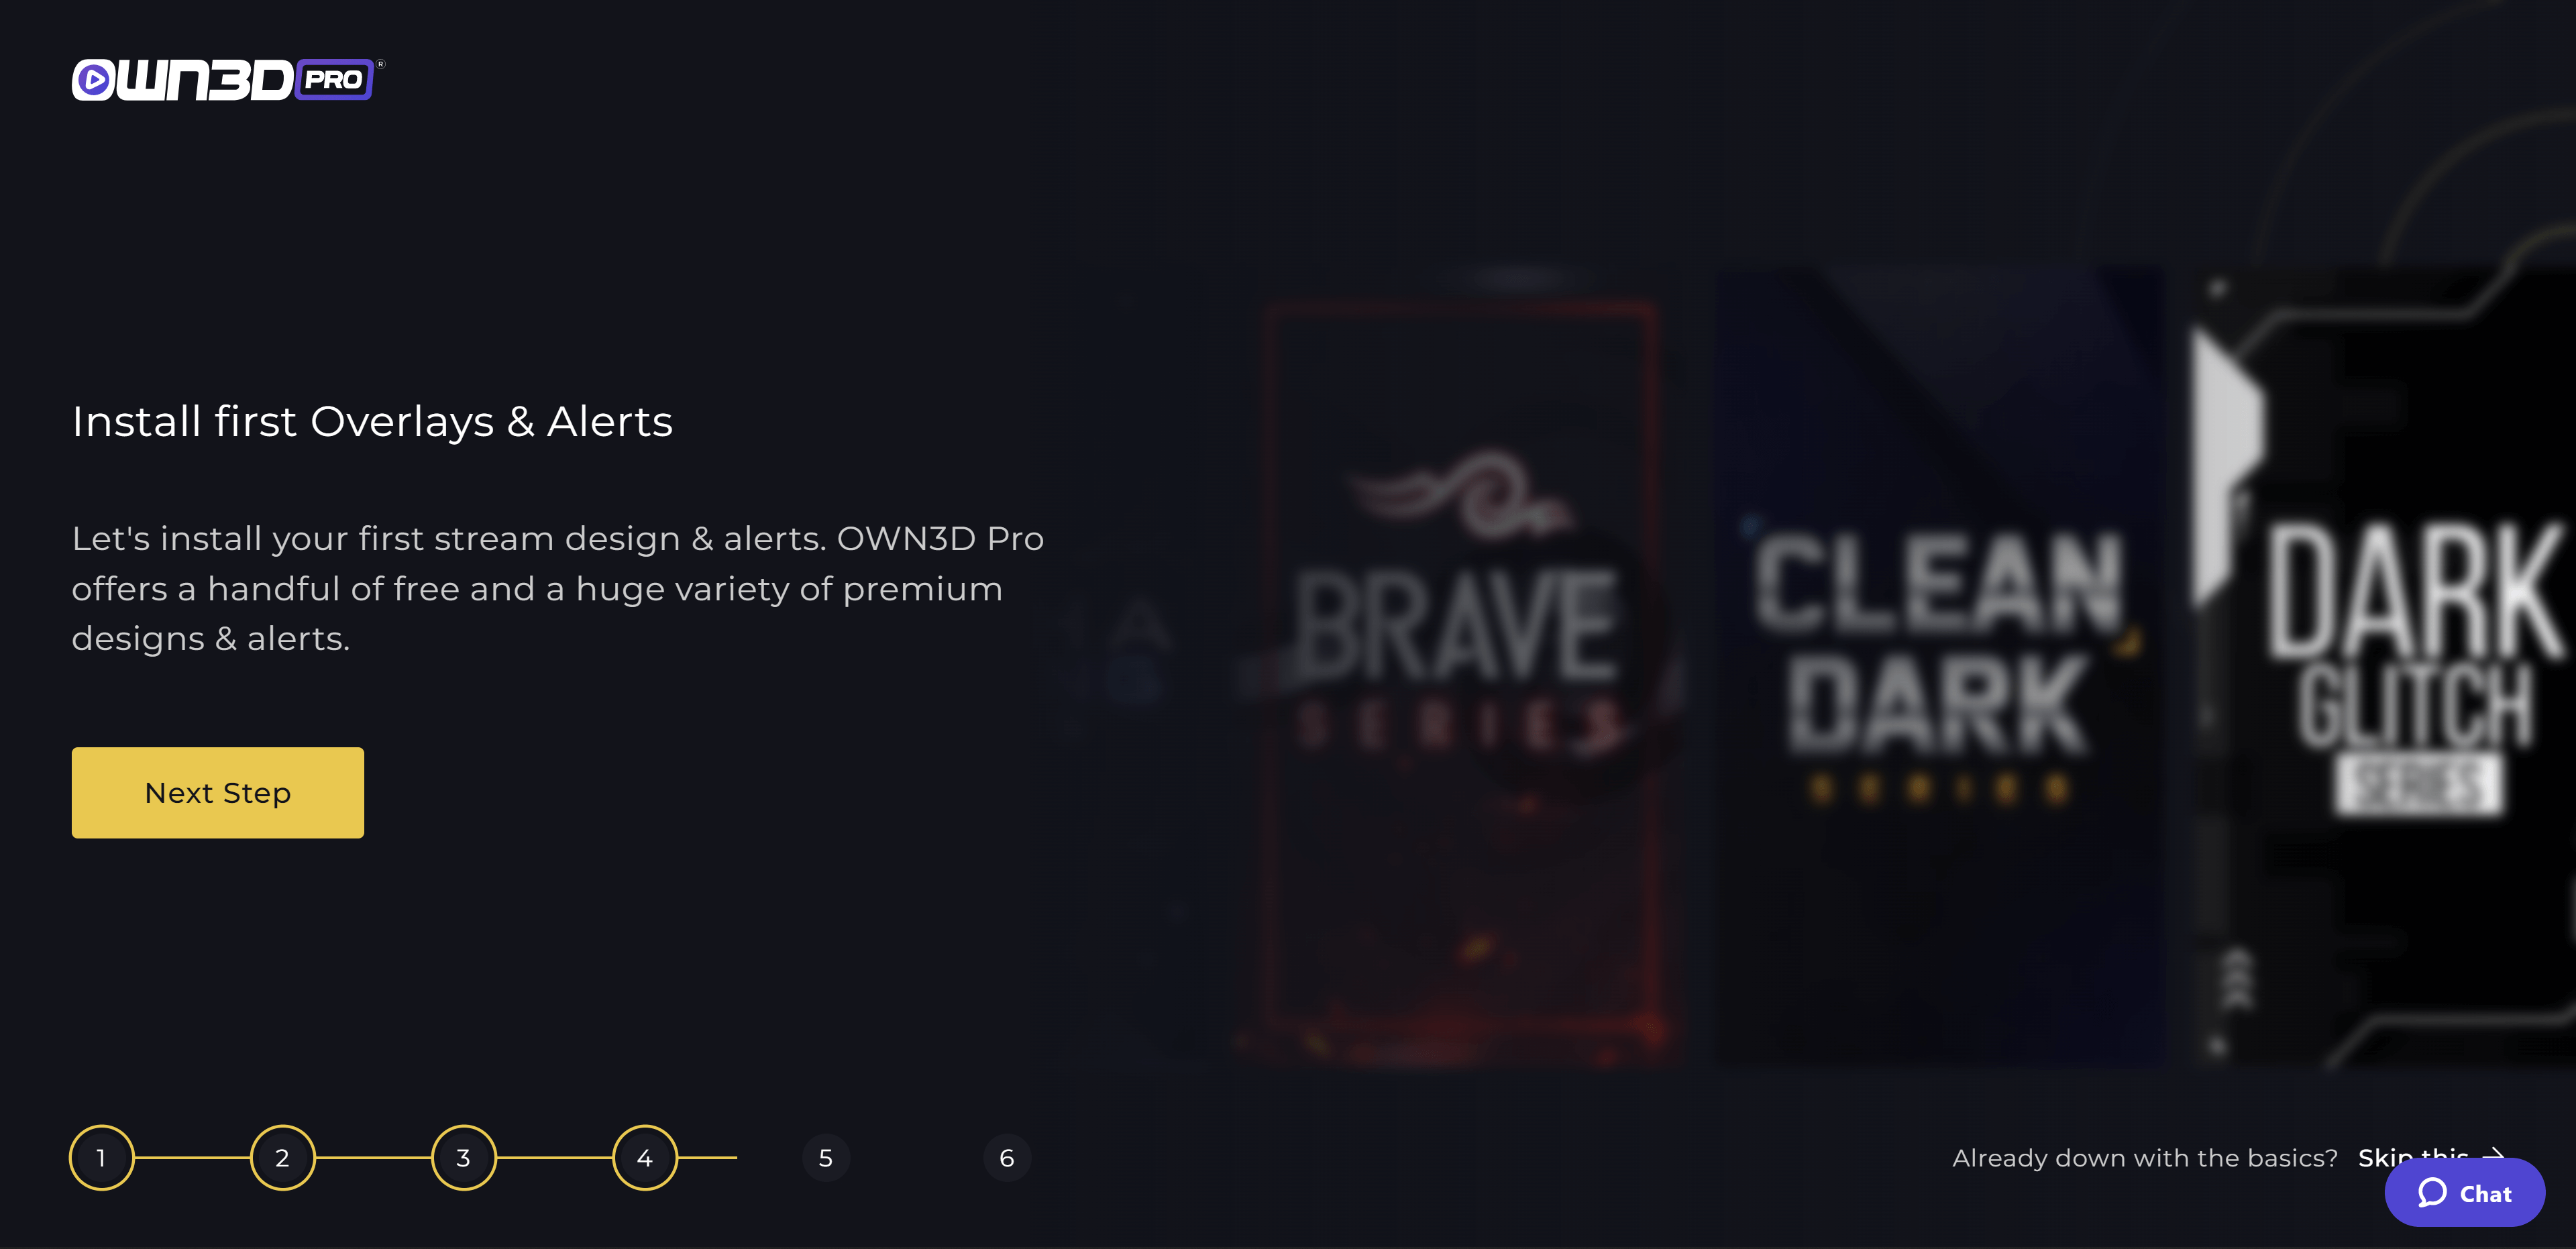
Step 1 - Install the first overlay
You can now launch OBS Studio and add your first overlay. To do so, go back to the Tools tab and open the OWN3D Pro tool. A new window appears, displaying the various overlays. Scroll through the large selection, and when you've decided on an overlay, click on the preview image, then click the Install button. All scenes and sources will be created, and the design will be downloaded. A few seconds later, the overlay is installed and just waiting for you to adjust and set it up.
Step 2 - Install first alerts
Open the OWN3D Pro Tools overview page and click on the Alerts tab in the opened window to install alerts. Similar to the overlay overview, all available alerts will be displayed here. To integrate them into OBS Studio, click on the Install button.
Note: If you have not installed an overlay before, you will need to add the alerts to your scene in OBS. In OBS Studio, there is the dock "Sources," there, you click on the "+" and select "OWN3D Pro Alerts". Now you have your alerts in the scene.
Step 3 - Complete the setup
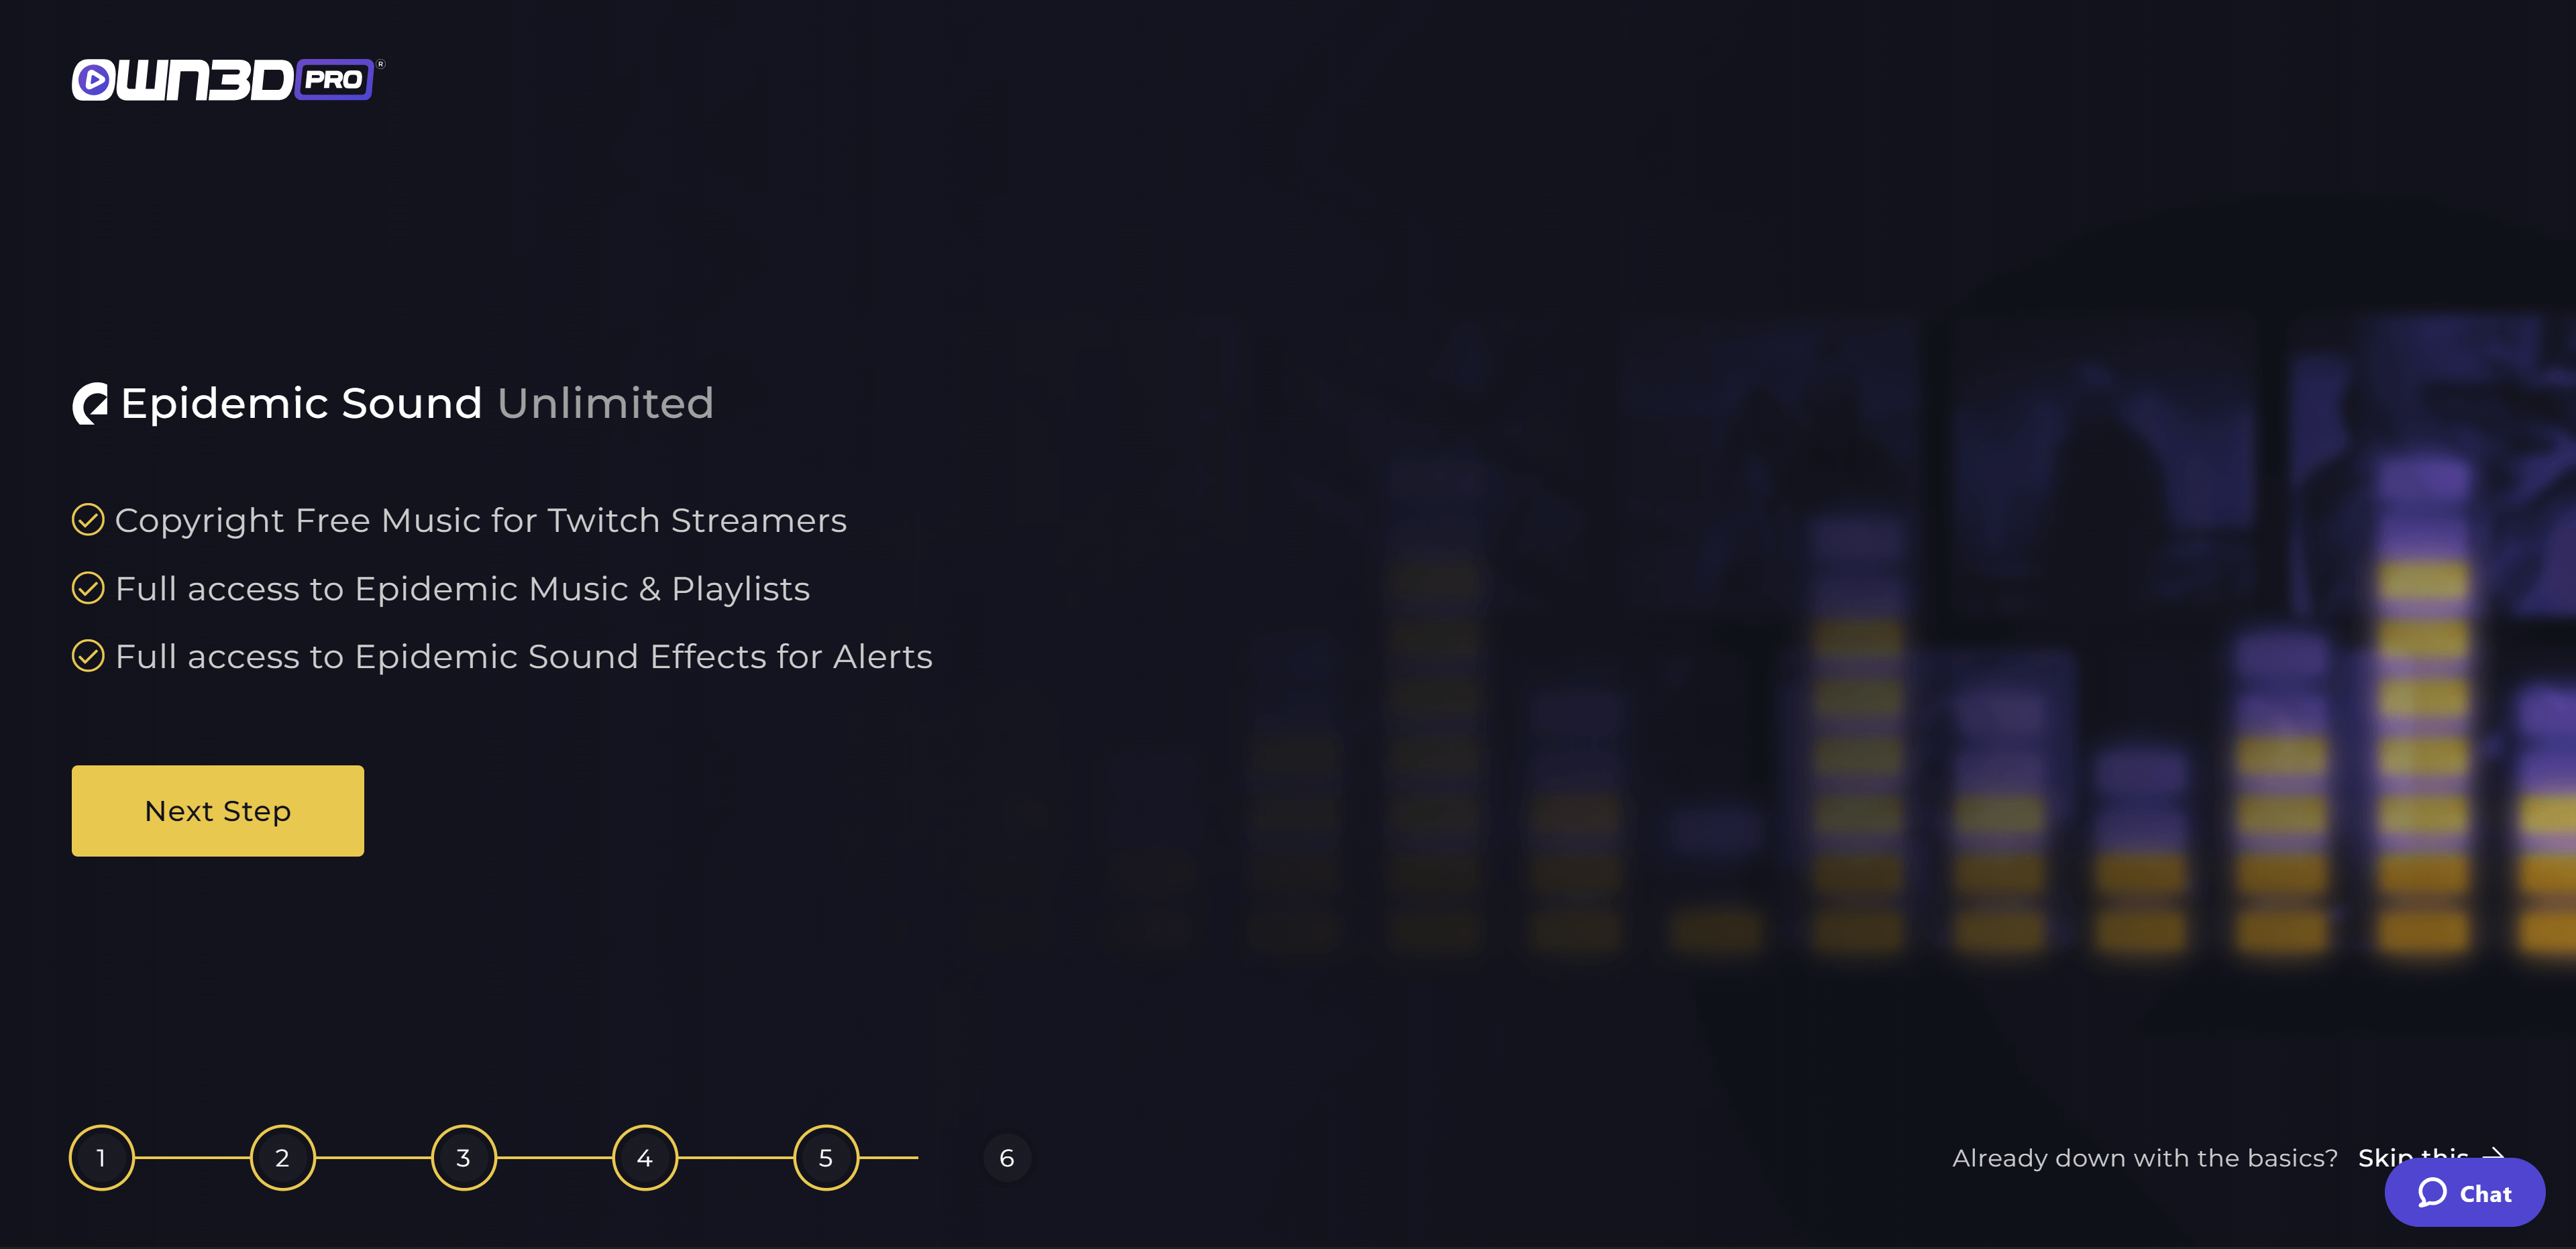
In the last step, you'll see the Epidemic Sound benefits you'll get once you subscribe to Epidemic Sound and OWN3D Pro! With Epidemic Sound, you can stream music on Twitch without fear of receiving a strike or ban.
Free users do not miss out, either. The free plan allows you to access the full tracks library for 30 minutes within 24 hours. You can also use 25 free sound effects from different sound categories for your alerts, a selection that resets and reshuffles every 24 hours.
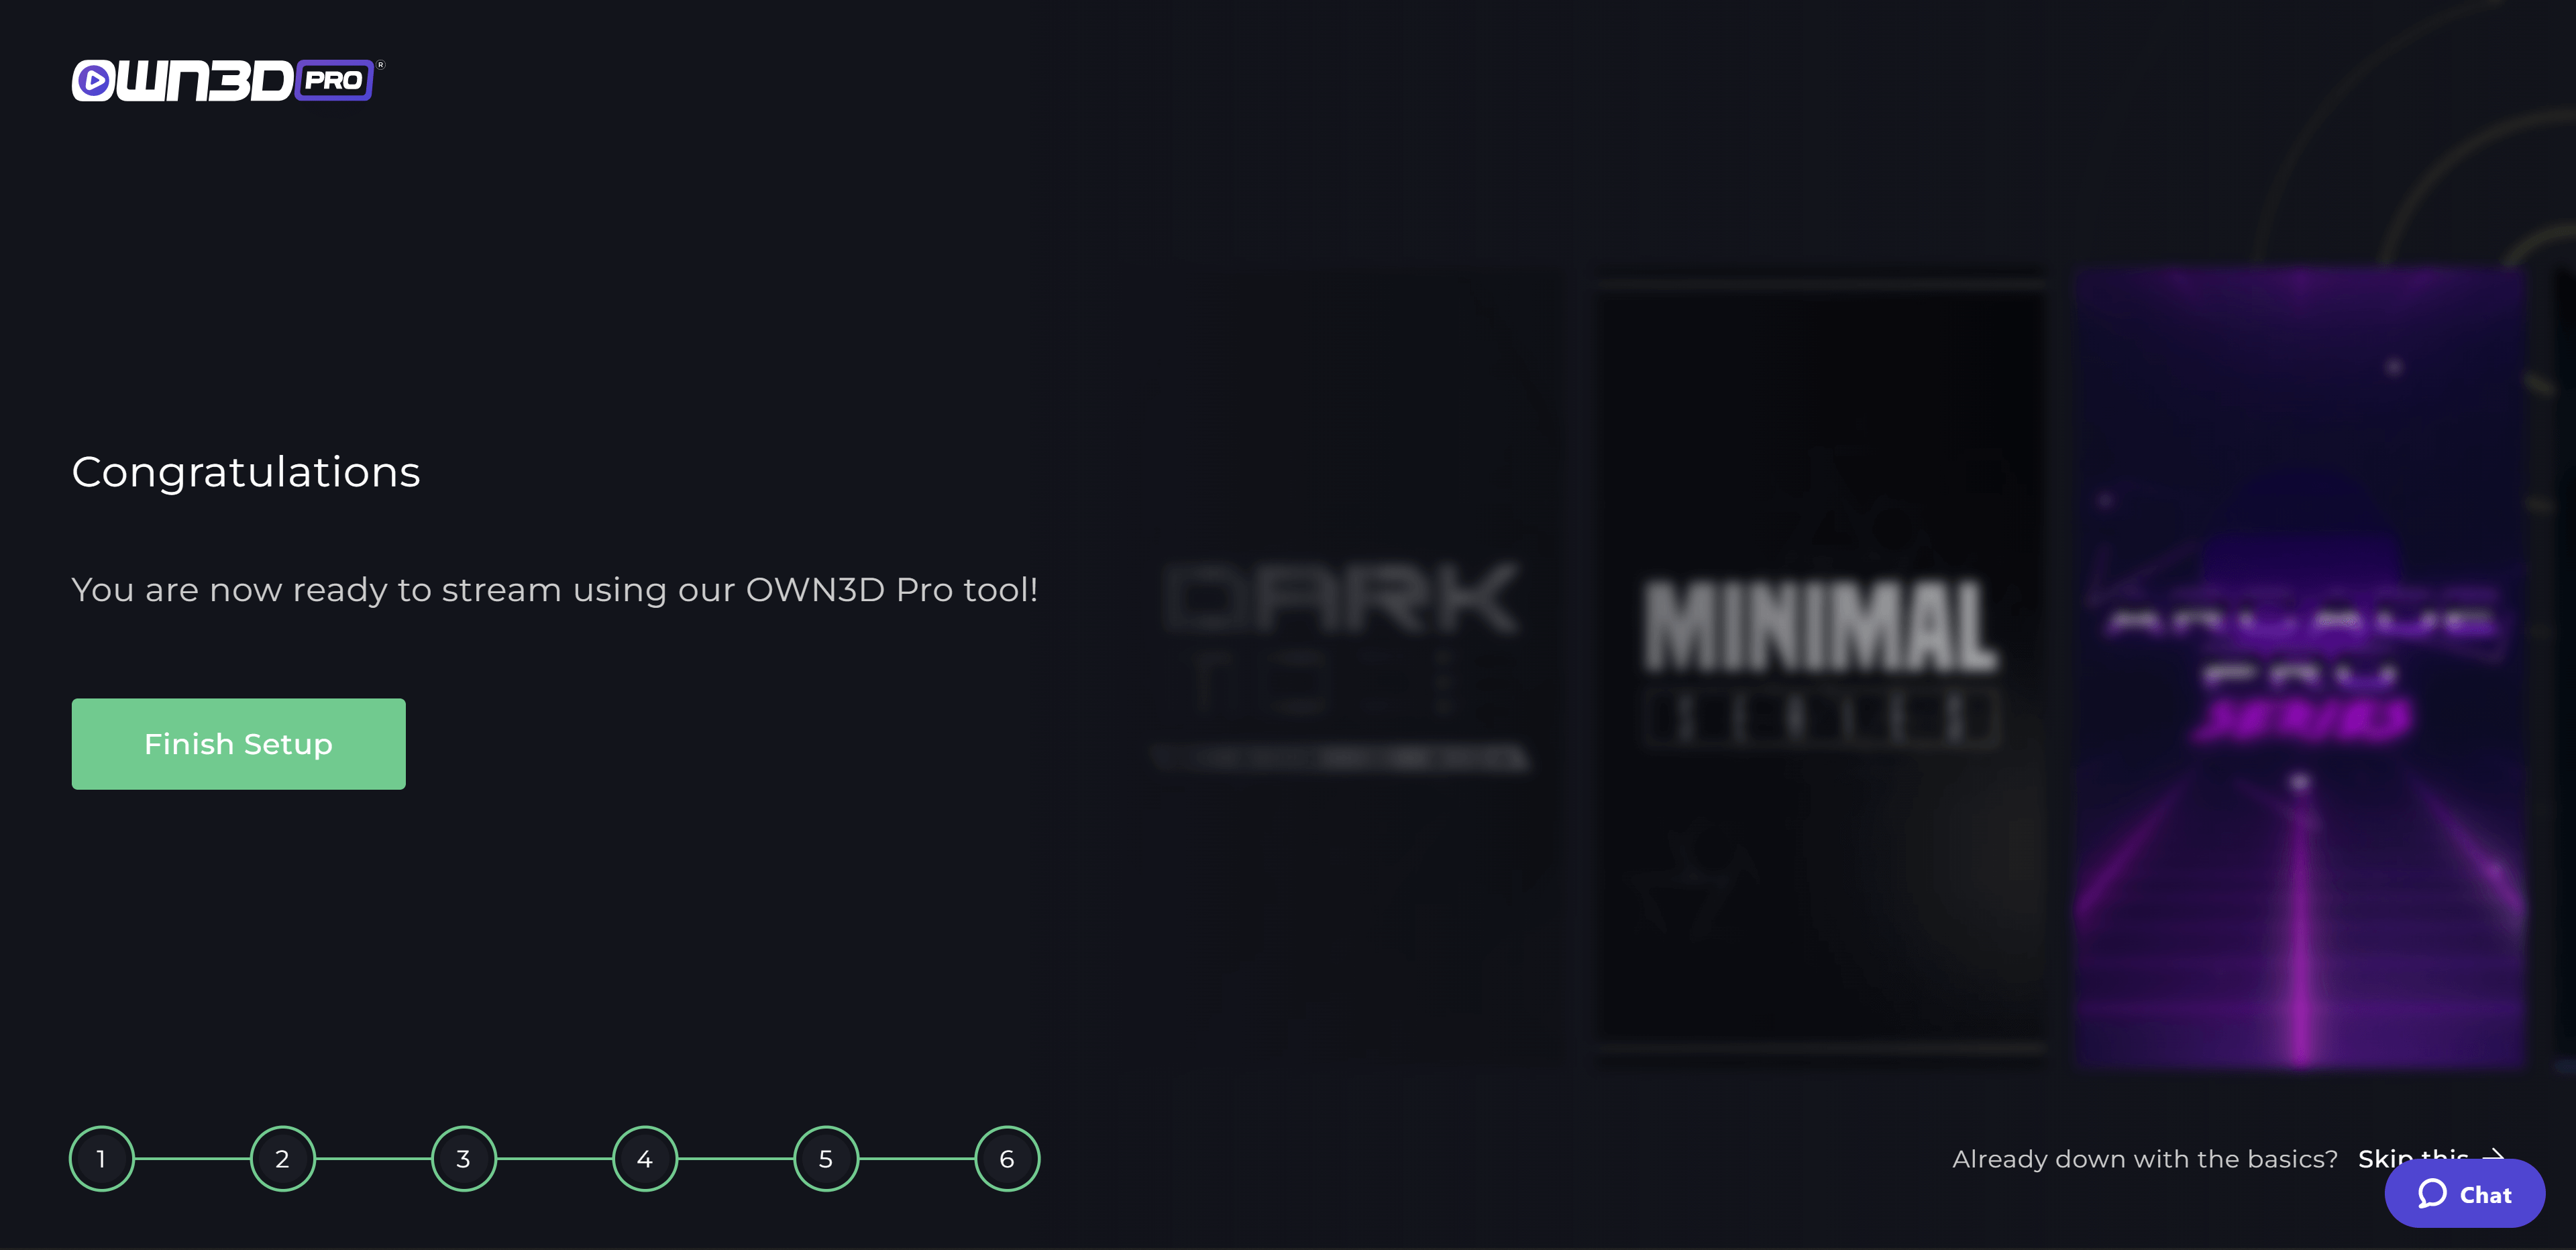
So you've followed the instructions, installed your first overlay, and are ready to go! After that, it's time to complete the one-time configuration. You can achieve this by clicking on Finish setup in the installation wizard's browser window. You'll be taken directly to your OWN3D Pro dashboard.

