One-Click installation
Streaming has never been so easy
OWN3D Pro is designed with ease of use in mind, and the developers are doing everything they can to make installing alerts and overlays and controlling your livestream as simple as possible. As a result, OWN3D Pro has a very useful feature: 1-click installation. With a single click, you can transform your livestream into something completely different. The seamless integration with OBS Studio enables this.
OWN3D Pro in OBS Tools
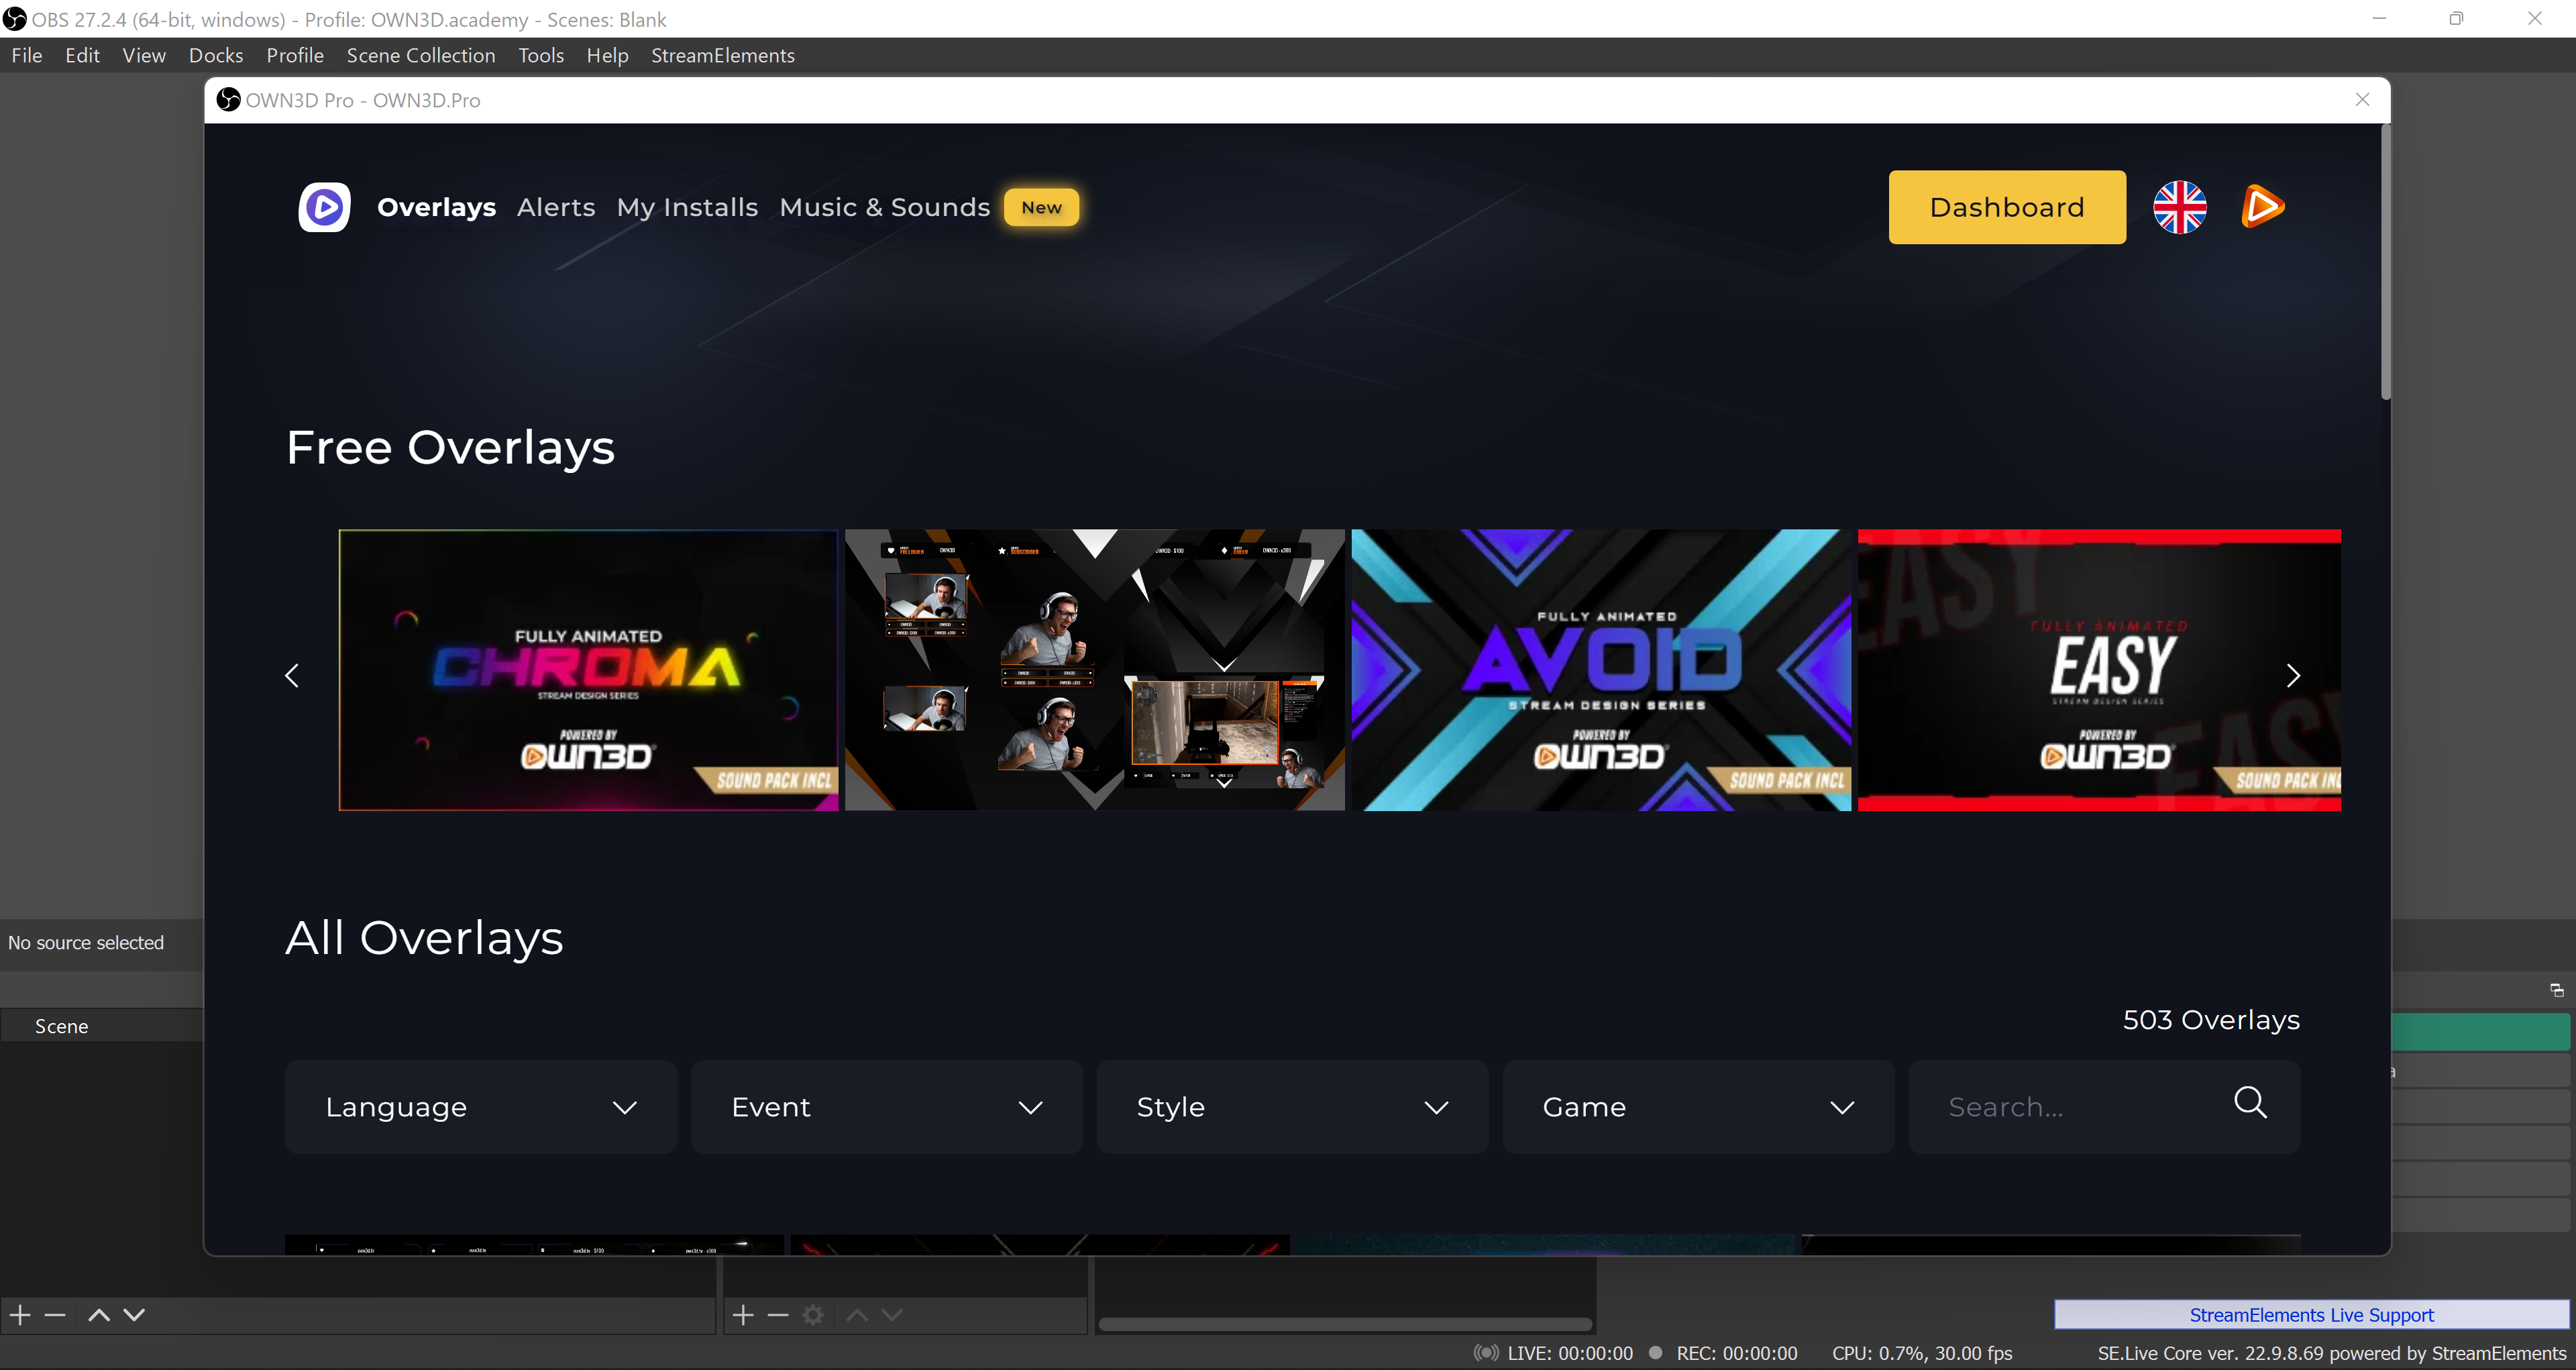
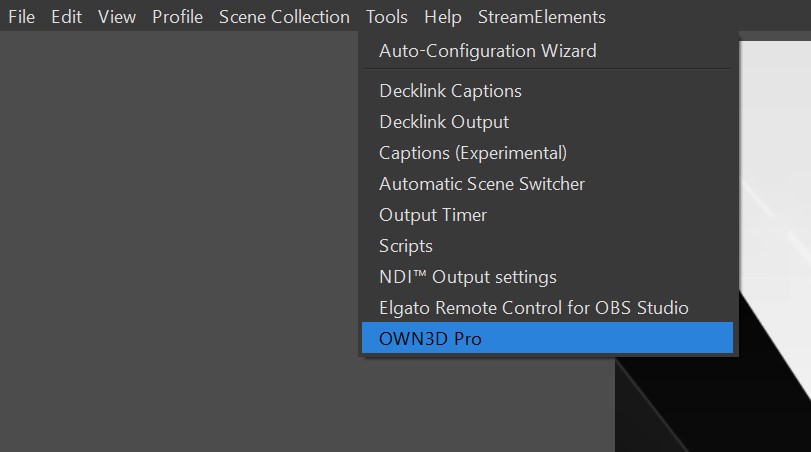
After registering with OWN3D Pro and installing the program, it will appear in the Tools section of the free streaming tool OBS Studio. Simply open the program after installation and look at the menu bar at the top to accomplish this. Not only will you find the items File, Edit, View, Profile, and Scene Collection, but also Tools. When you click on it, a submenu appears, which includes OWN3D Pro.
Overlays
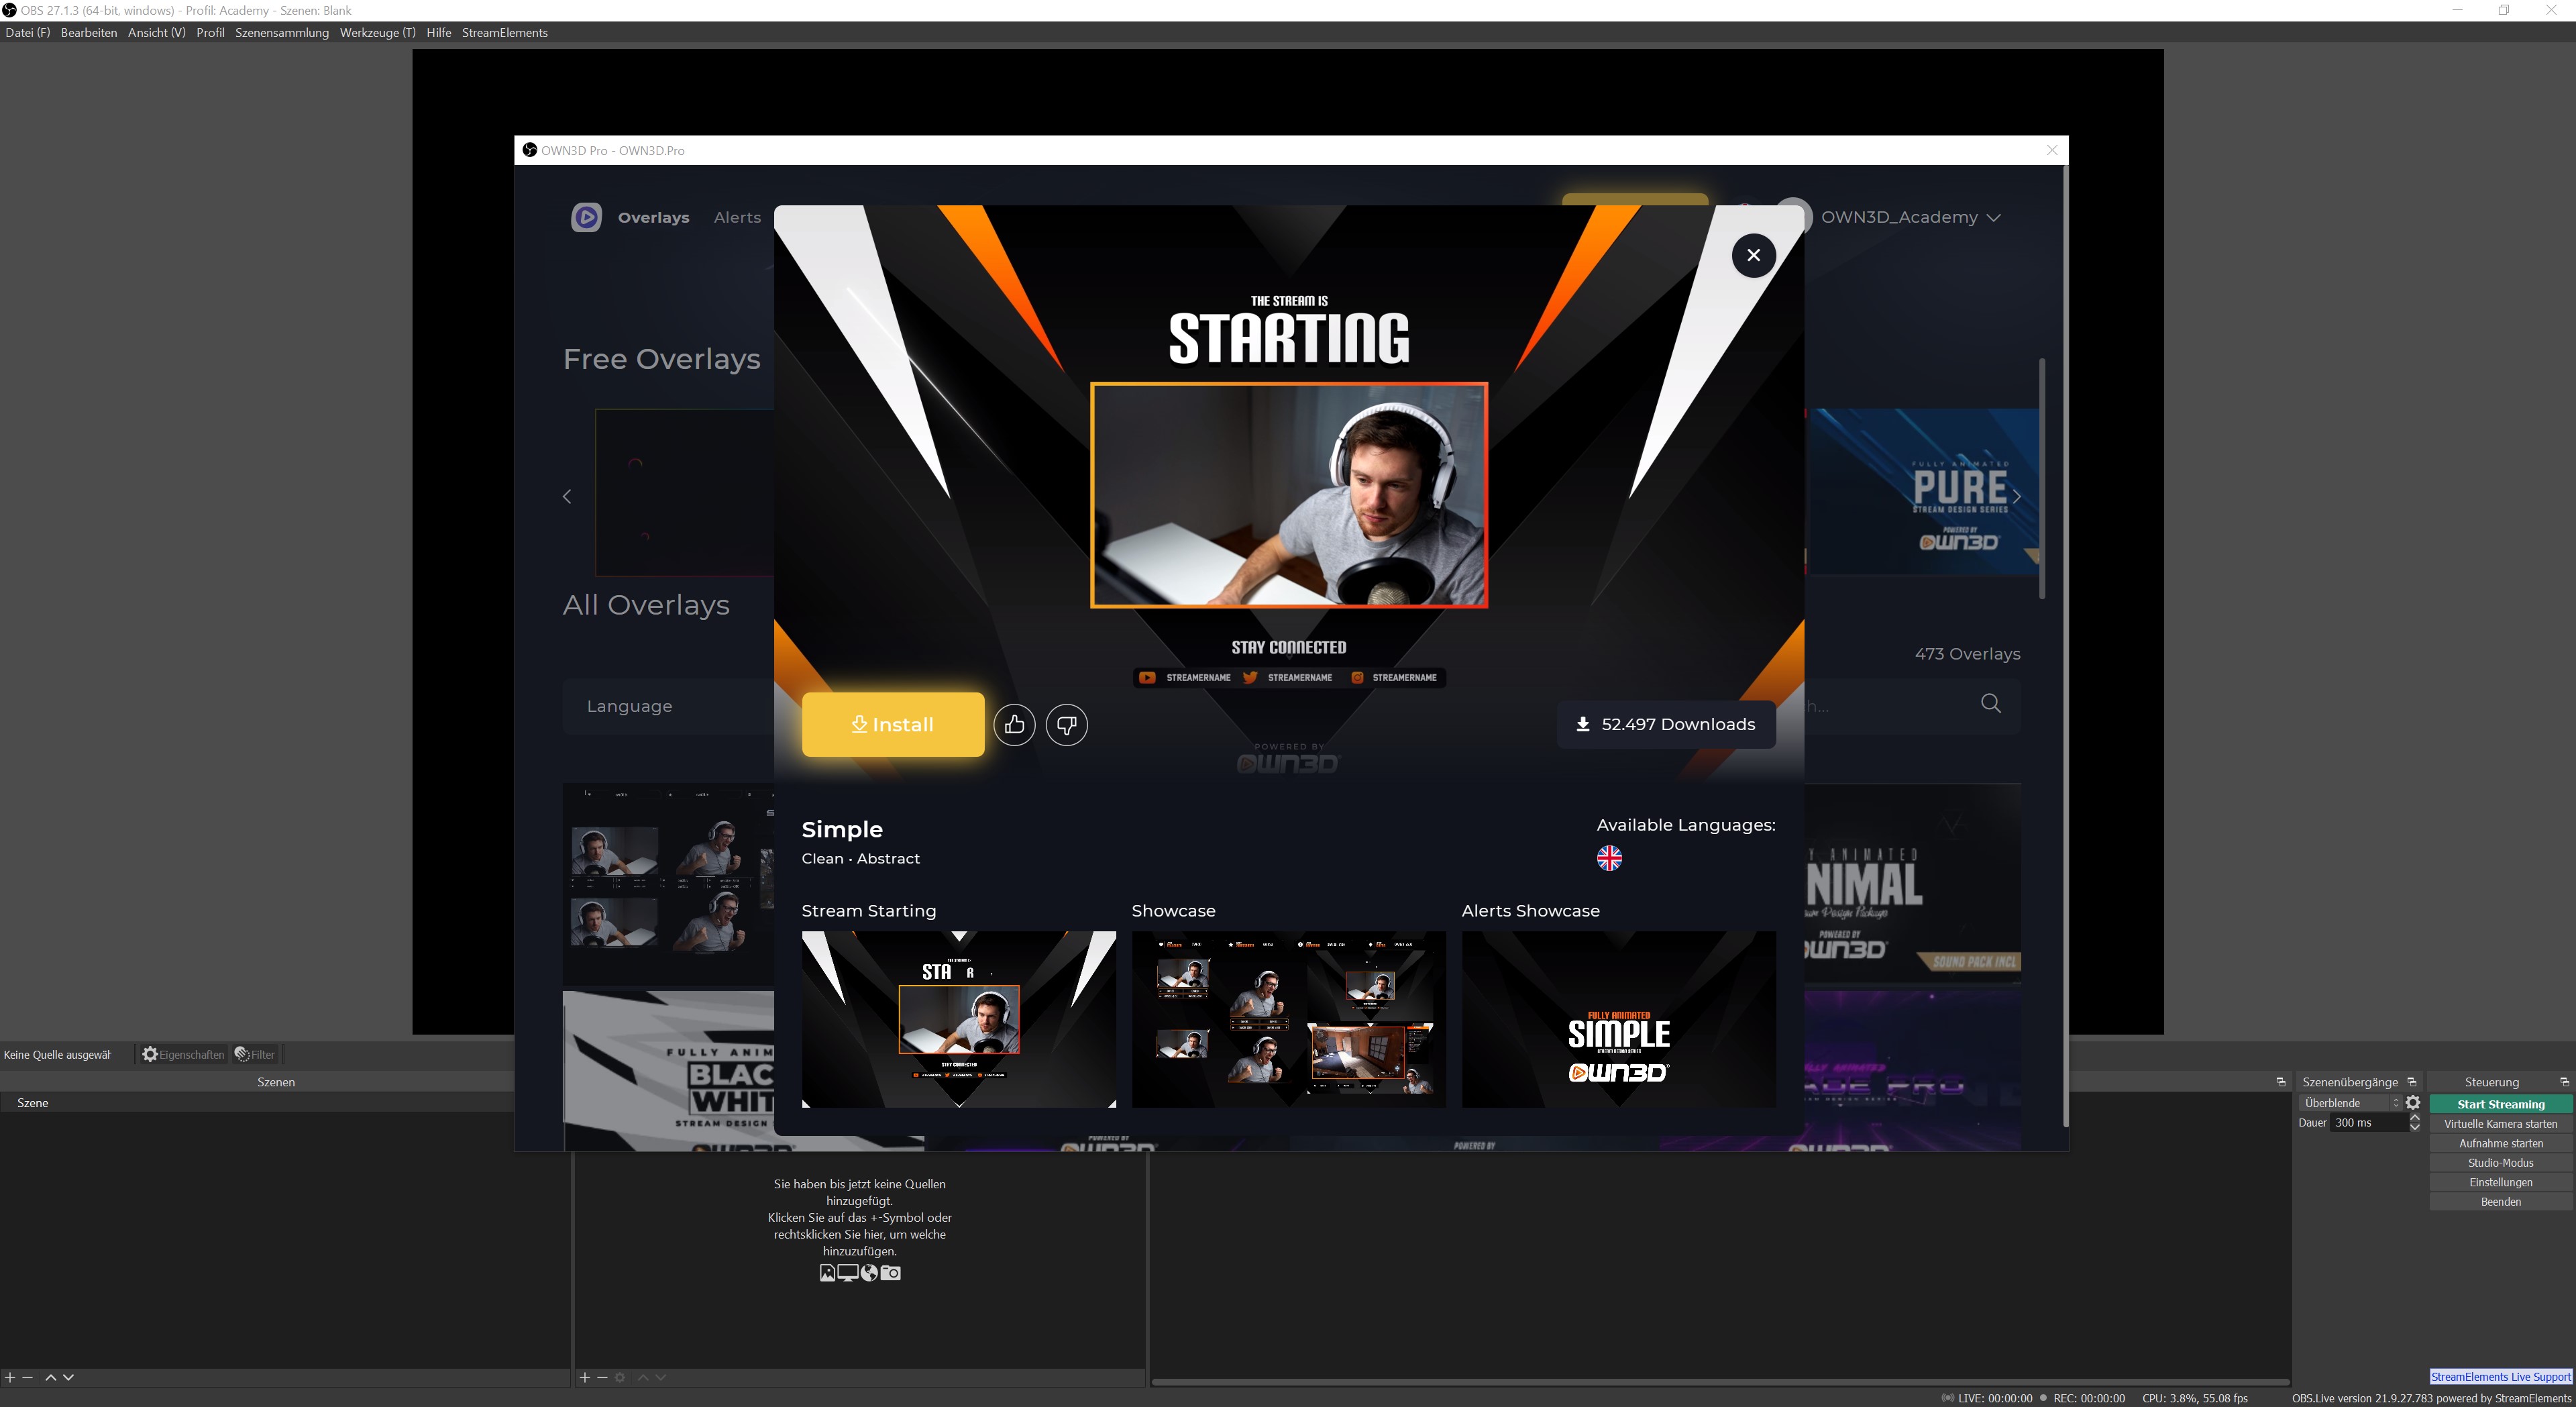
In the Overlays menu you will now find all the overlays available with OWN3D Pro. You can set your personal preferences in the filter menu, including the language of the overlay, and then display the results accordingly. If you don't have an OWN3D Pro membership, all of the free overlays listed above can be found under Free Overlays.
Activate an overlay via 1-click installation
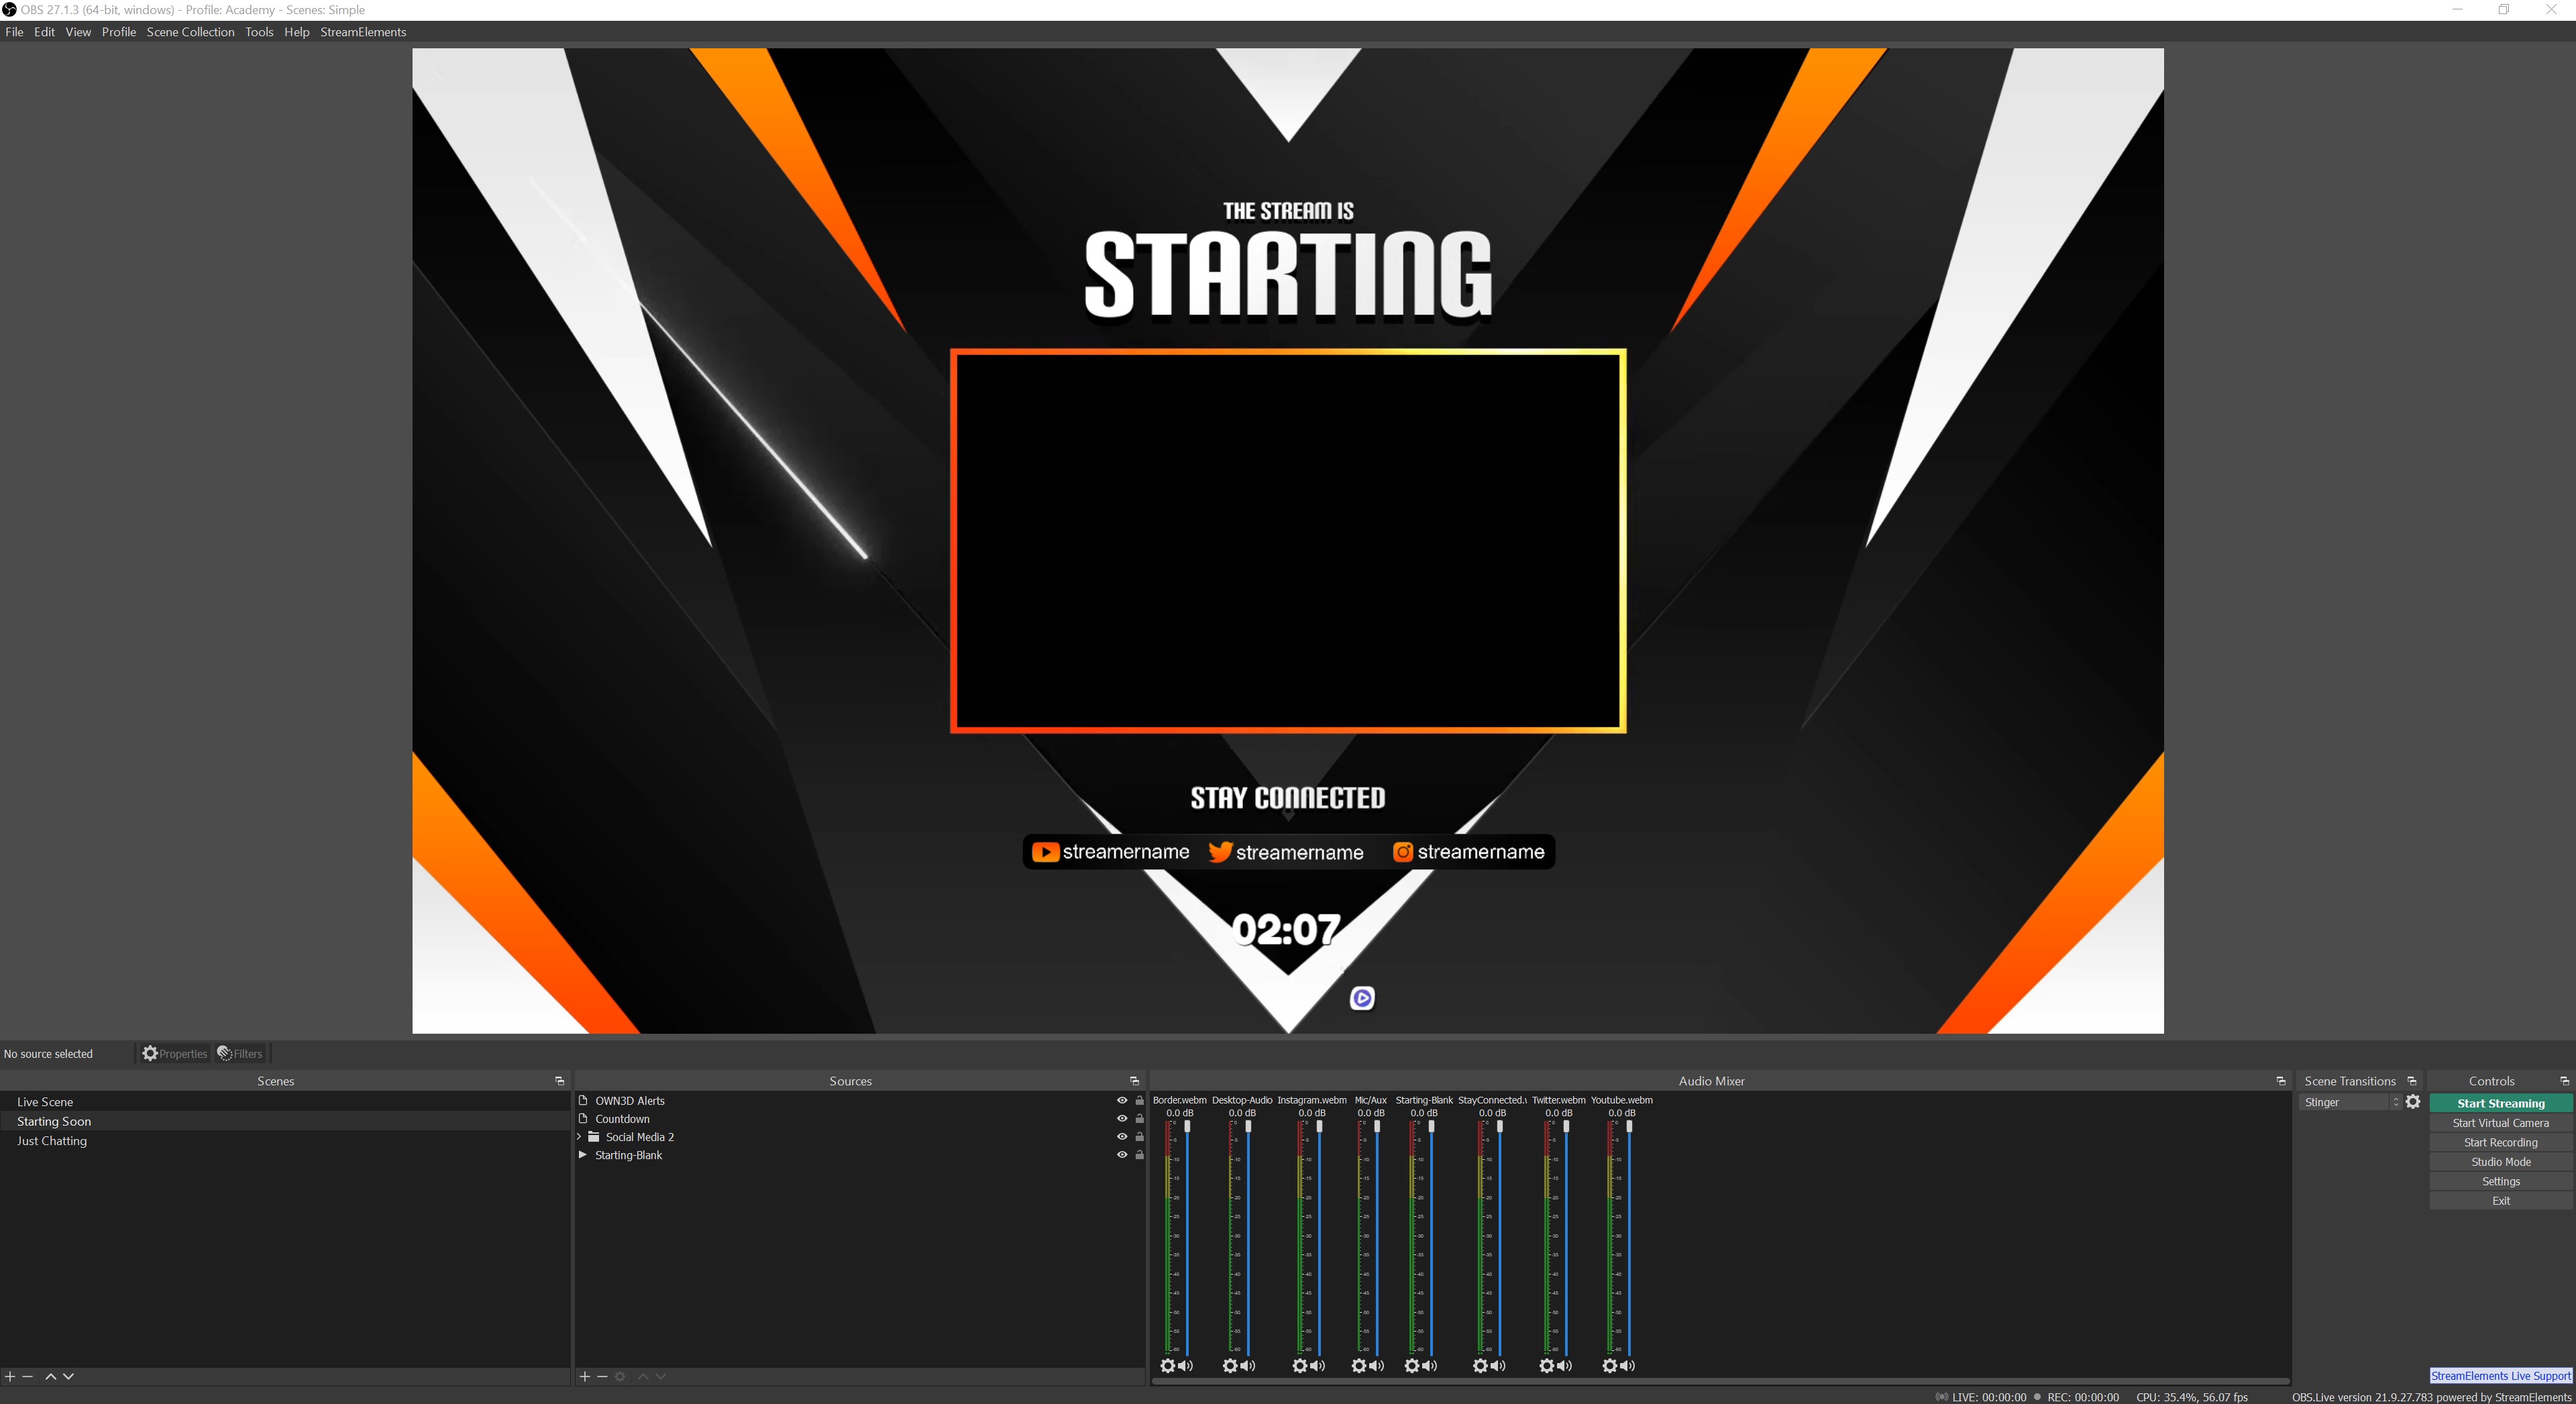
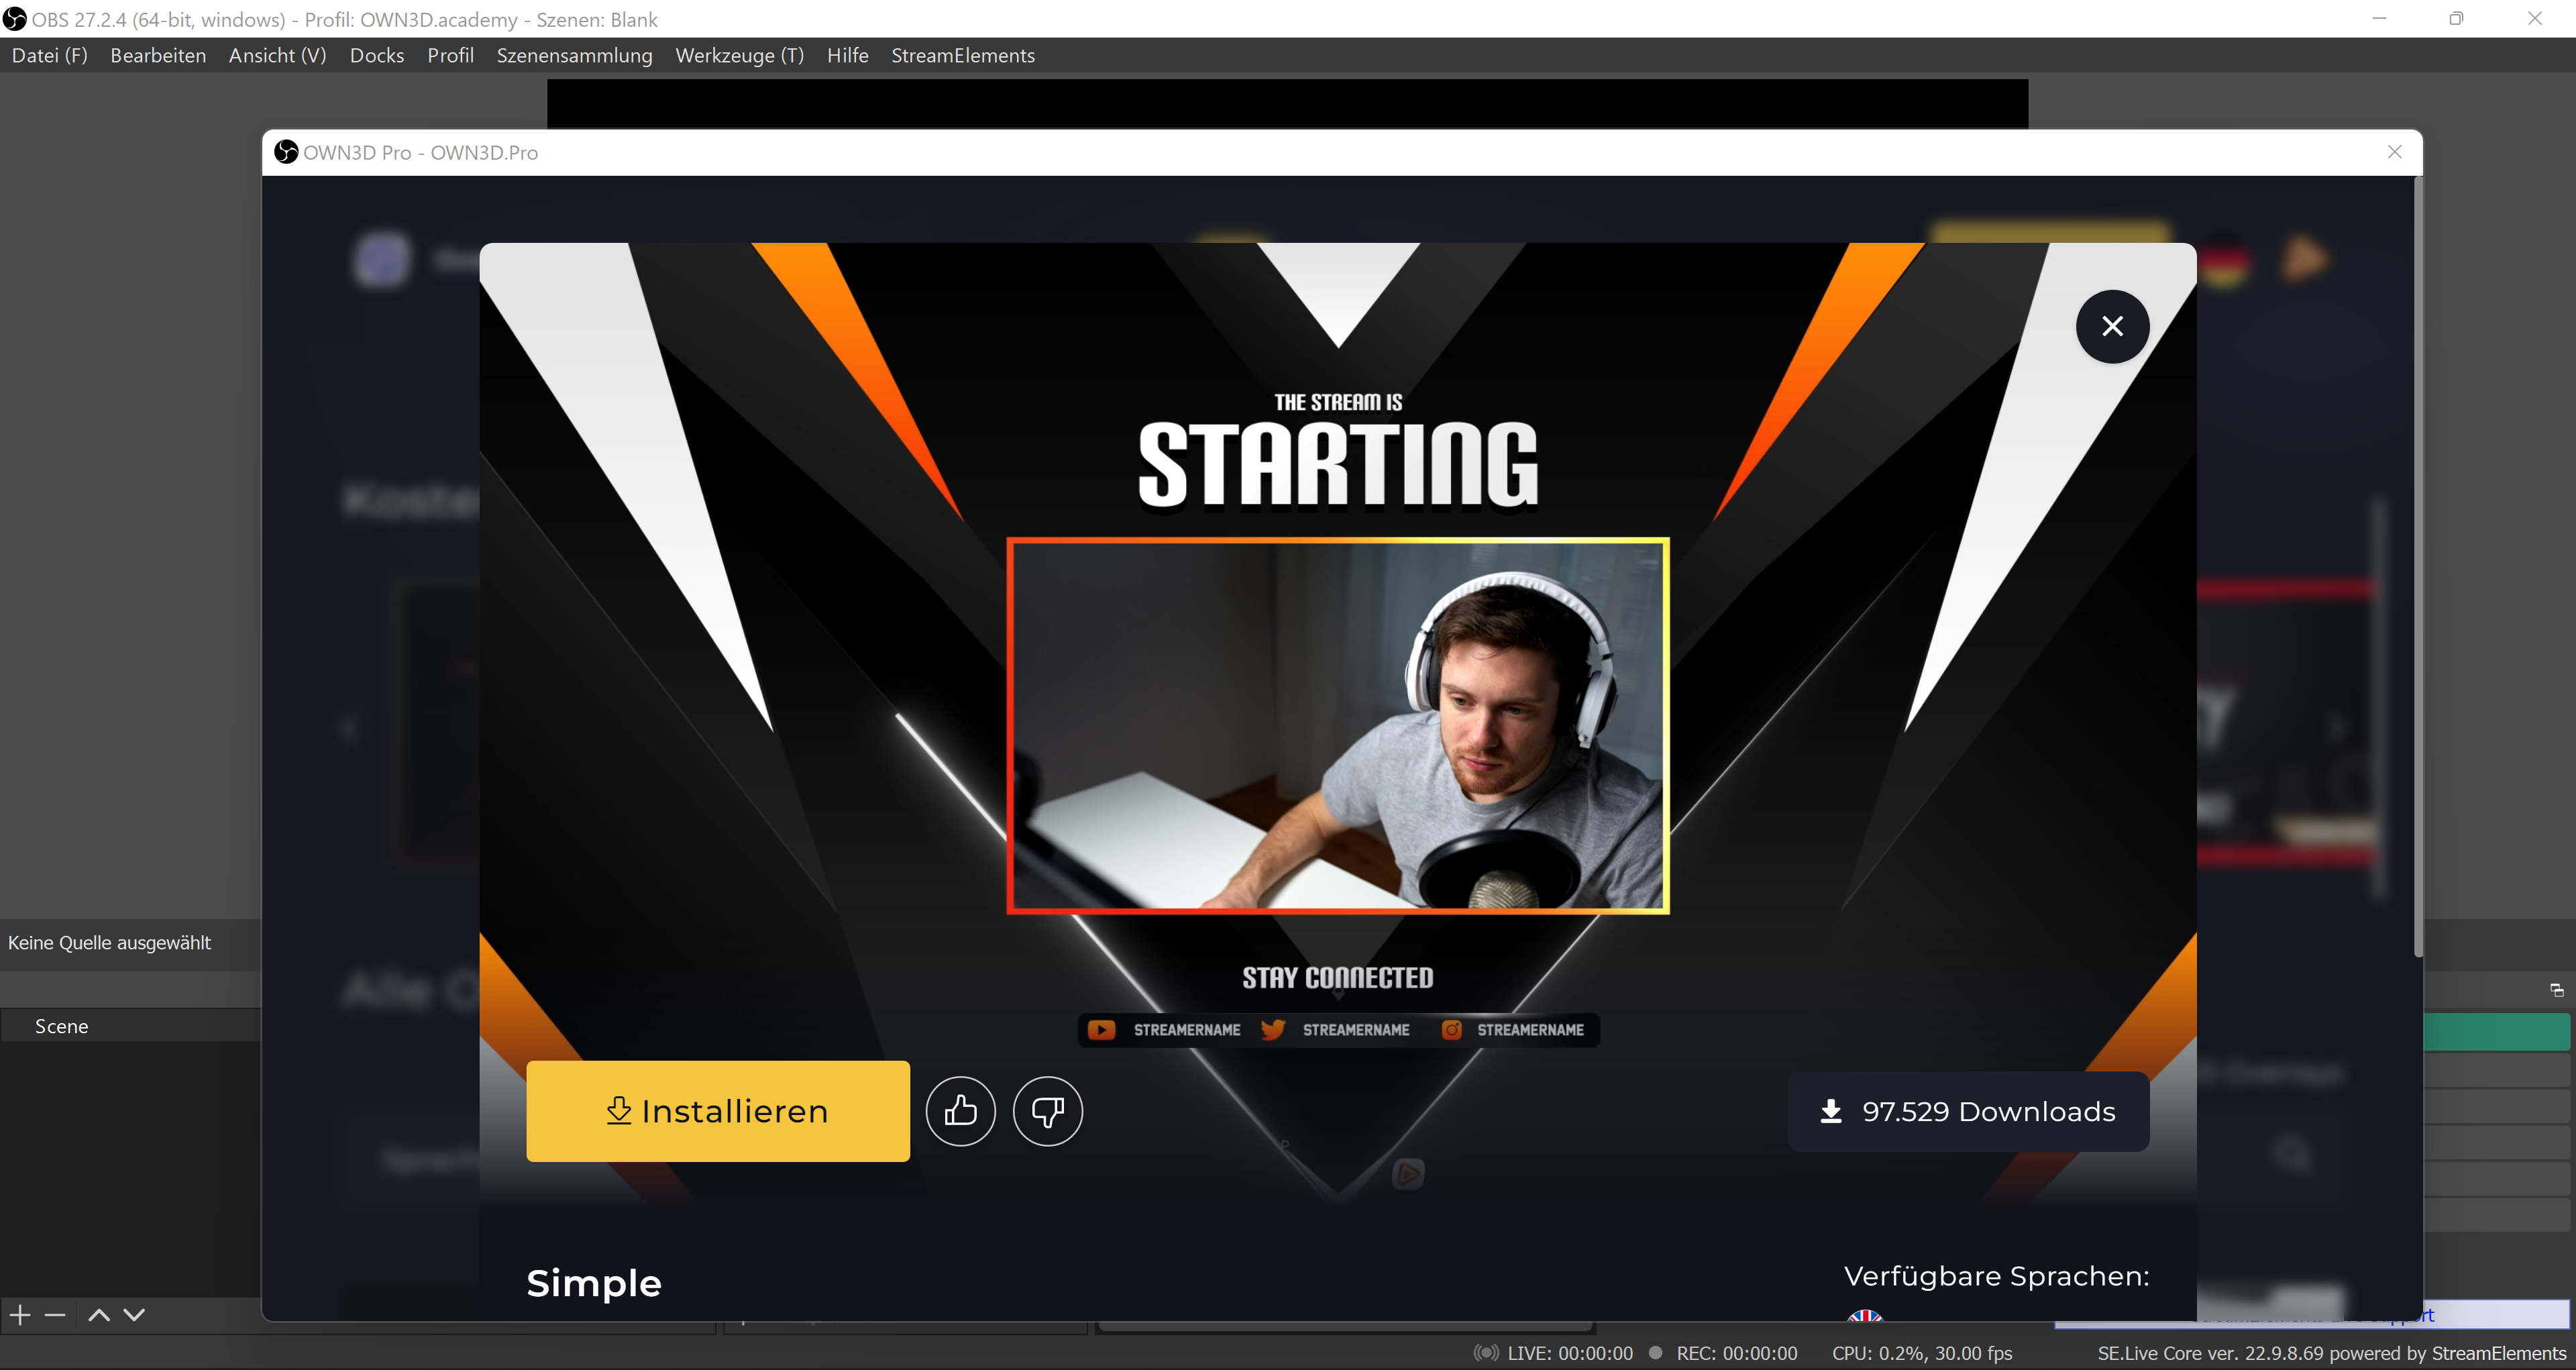
As a result, enabling a new overlay is a simple process. Simply open the OWN3D Pro menu under Tools in OBS Studio and select a theme. Once you've decided on a theme, simply click the yellow install icon and everything will be installed as if by magic. Not only will new scenes be added, but also new sources that can be customized in OBS Studio. The scenes and sources will be generated differently depending on which overlay you select.

Due to the fact that OWN3D Pro is a so-called all-in-one plugin, the scenes and sources are created so that everyone can work with it. No matter if you use a green screen, with or without a webcam. Of course, you are not required to use all of the new features. You can, for example, delete your Starting Soon screen, hide sources, or move or adjust labels within the overlay.
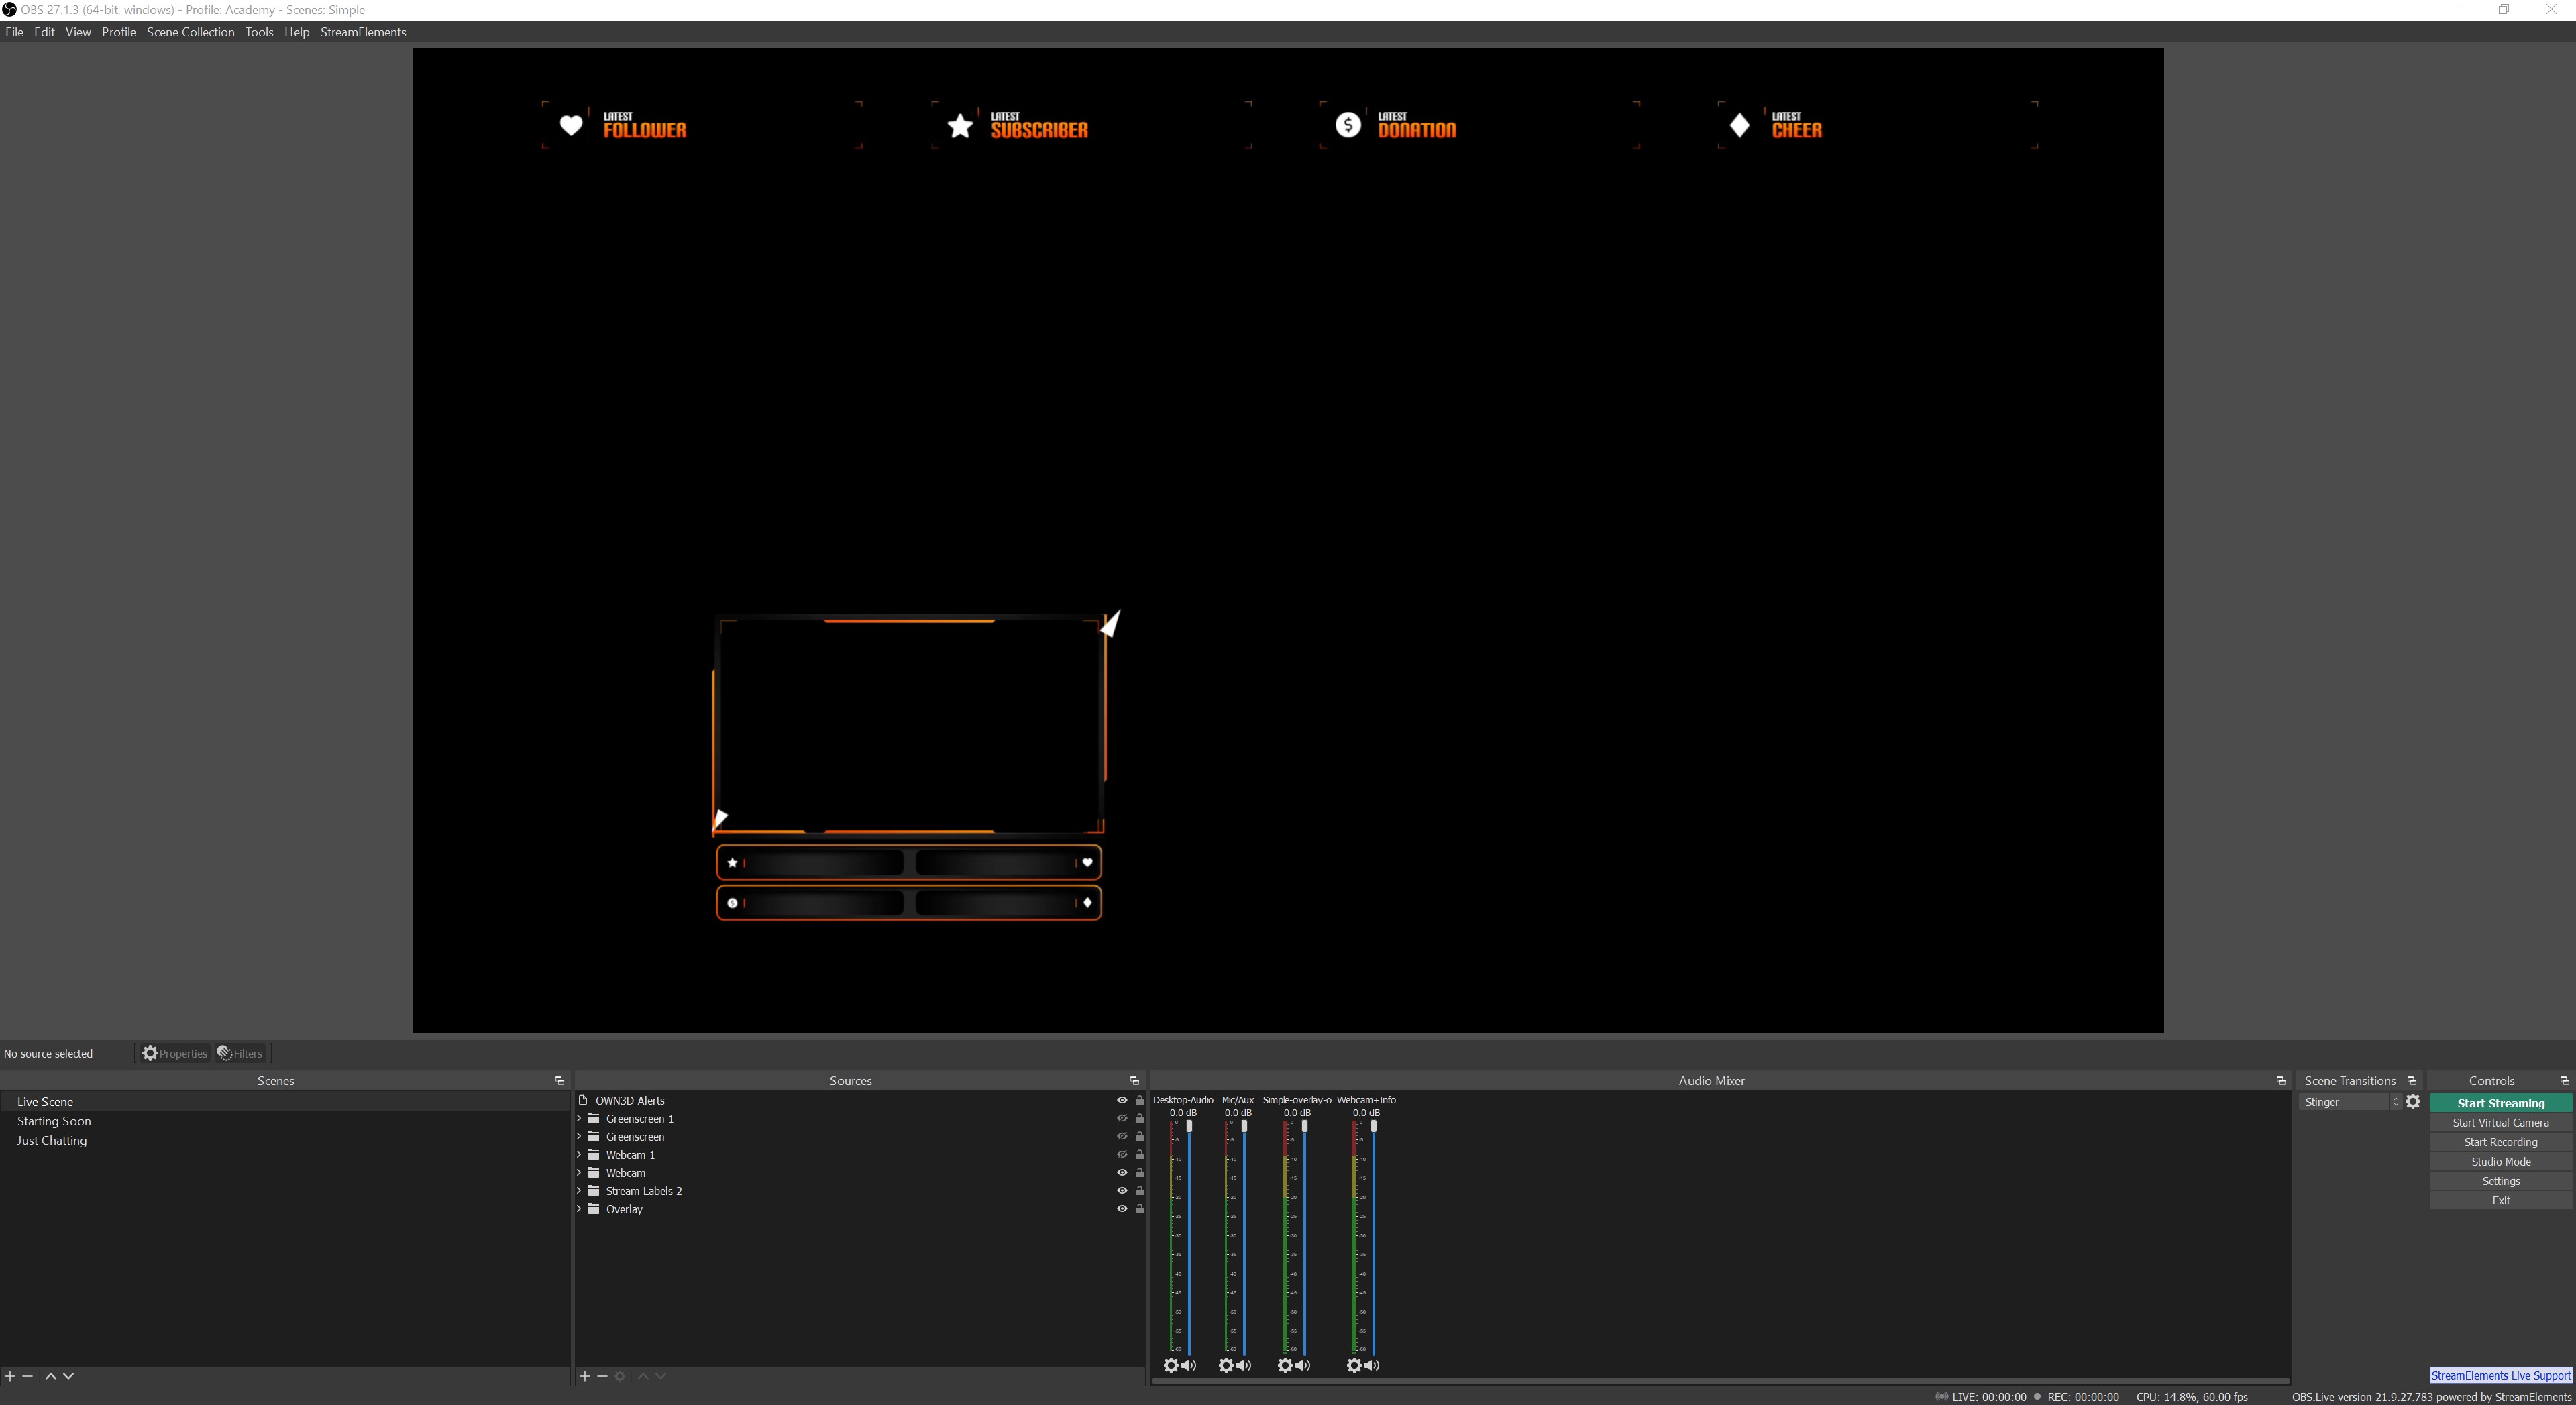
For example, if you don't want your entire screen to be cluttered with facecam labels, you can select the label you want from the OBS Studio preview, drag and drop it to the desired position, zoom in or out on the element's edges, and hide the other facecam elements.
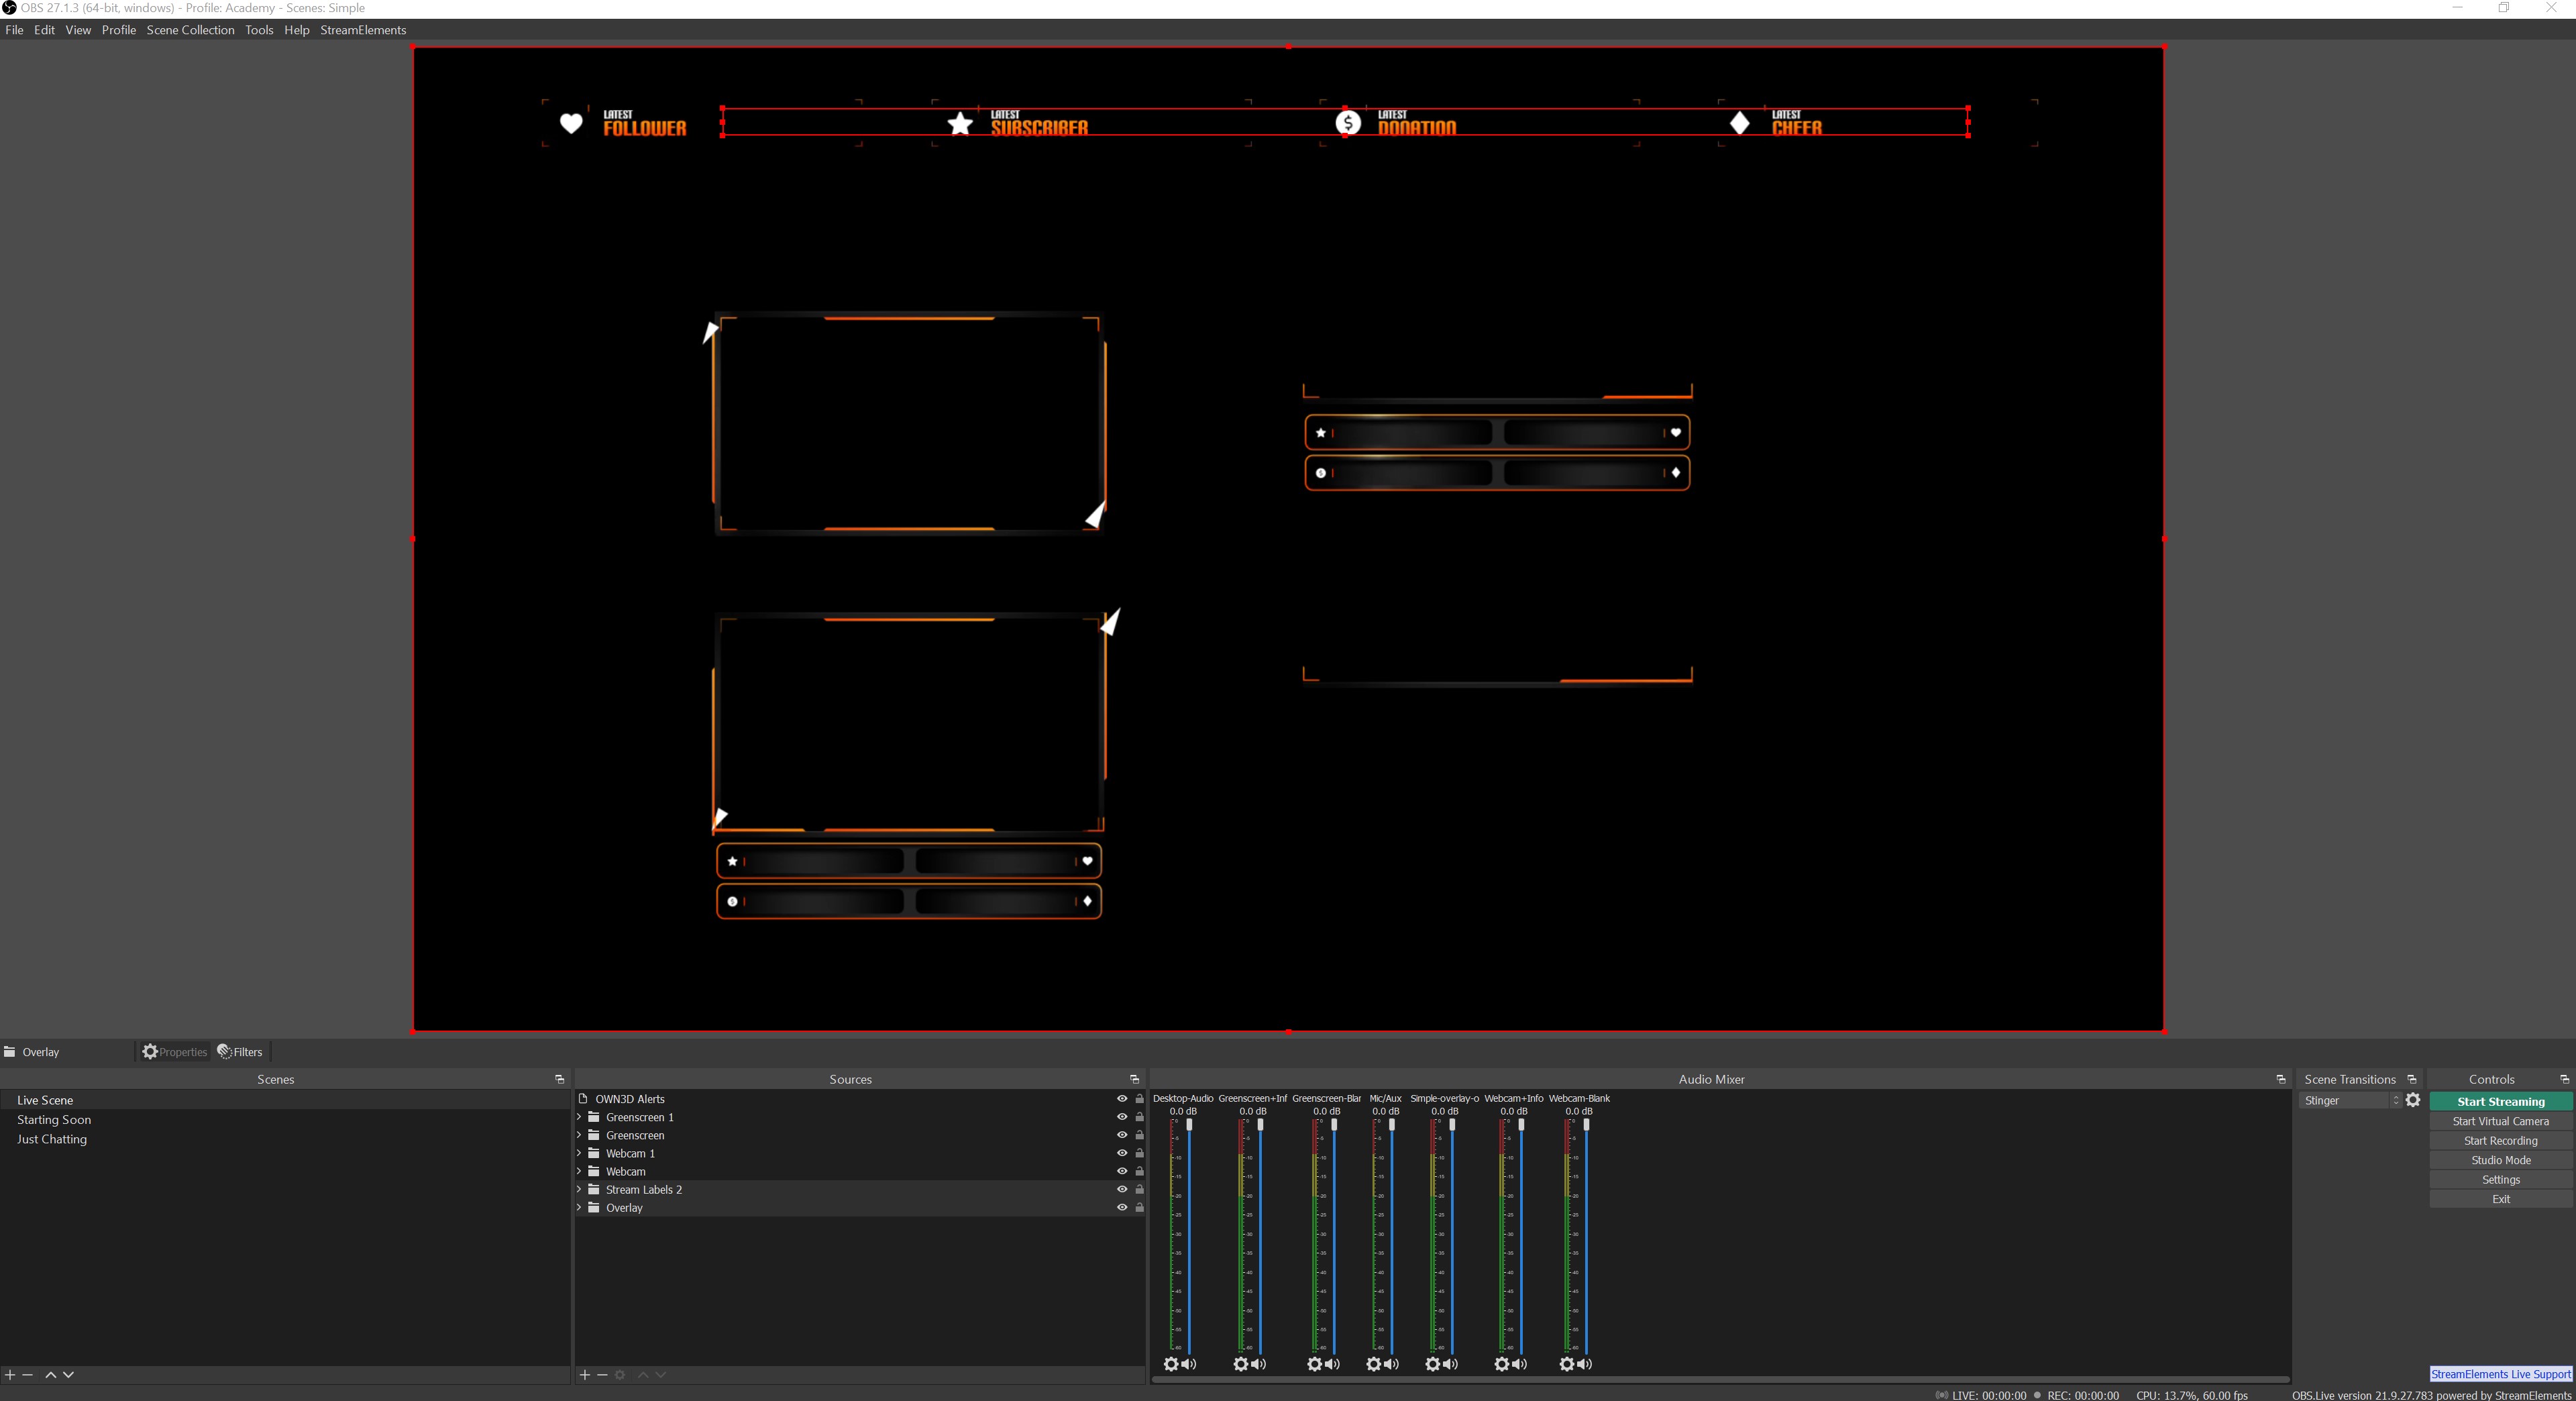
On the other hand, because the unwanted sources are firmly integrated into the overlay and continue to exist in the background, you can delete them for a better overview and re-add them as needed.
Alerts
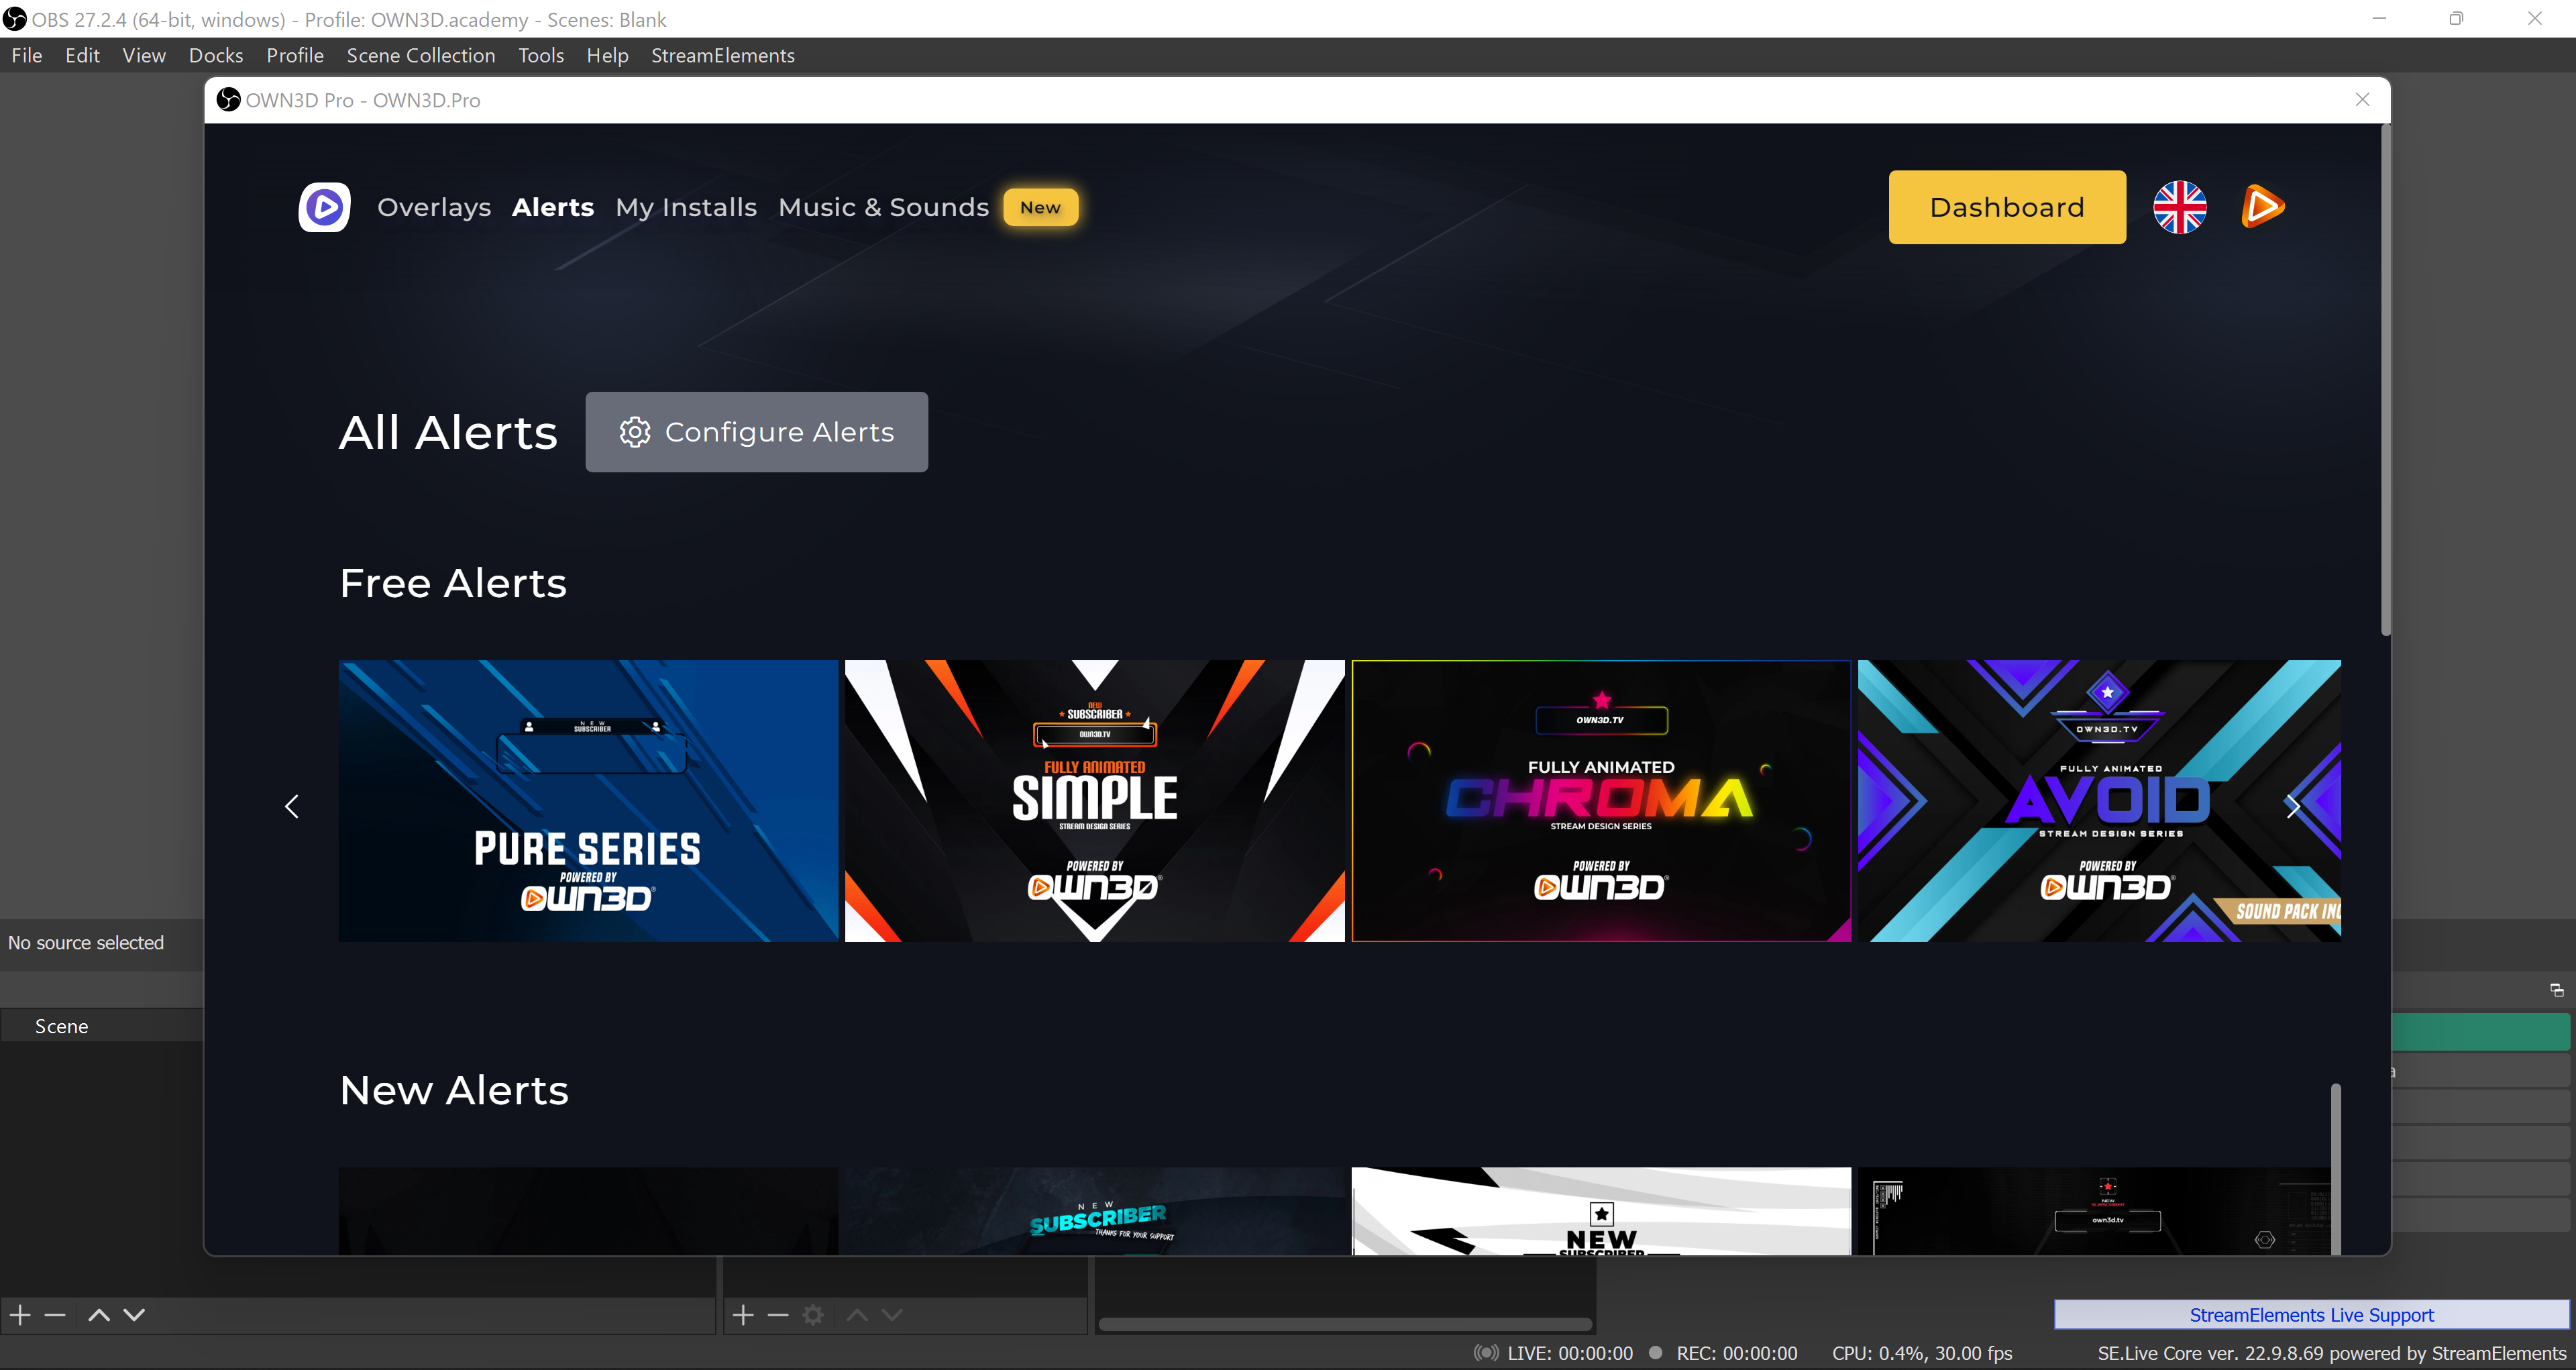
Alerts complete the overall concept and make your stream look professional. There are numerous alerts available in the OWN3D Pro tool, including 3D alerts and standard alerts. The tool's alerts menu displays Free Alerts as well as alerts included in the paid membership of OWN3D Pro. You can easily configure your alerts and customize them to your preferences by clicking Configure Alerts. A browser window will then open, directing you to your settings.
Activate alerts via 1-click installation
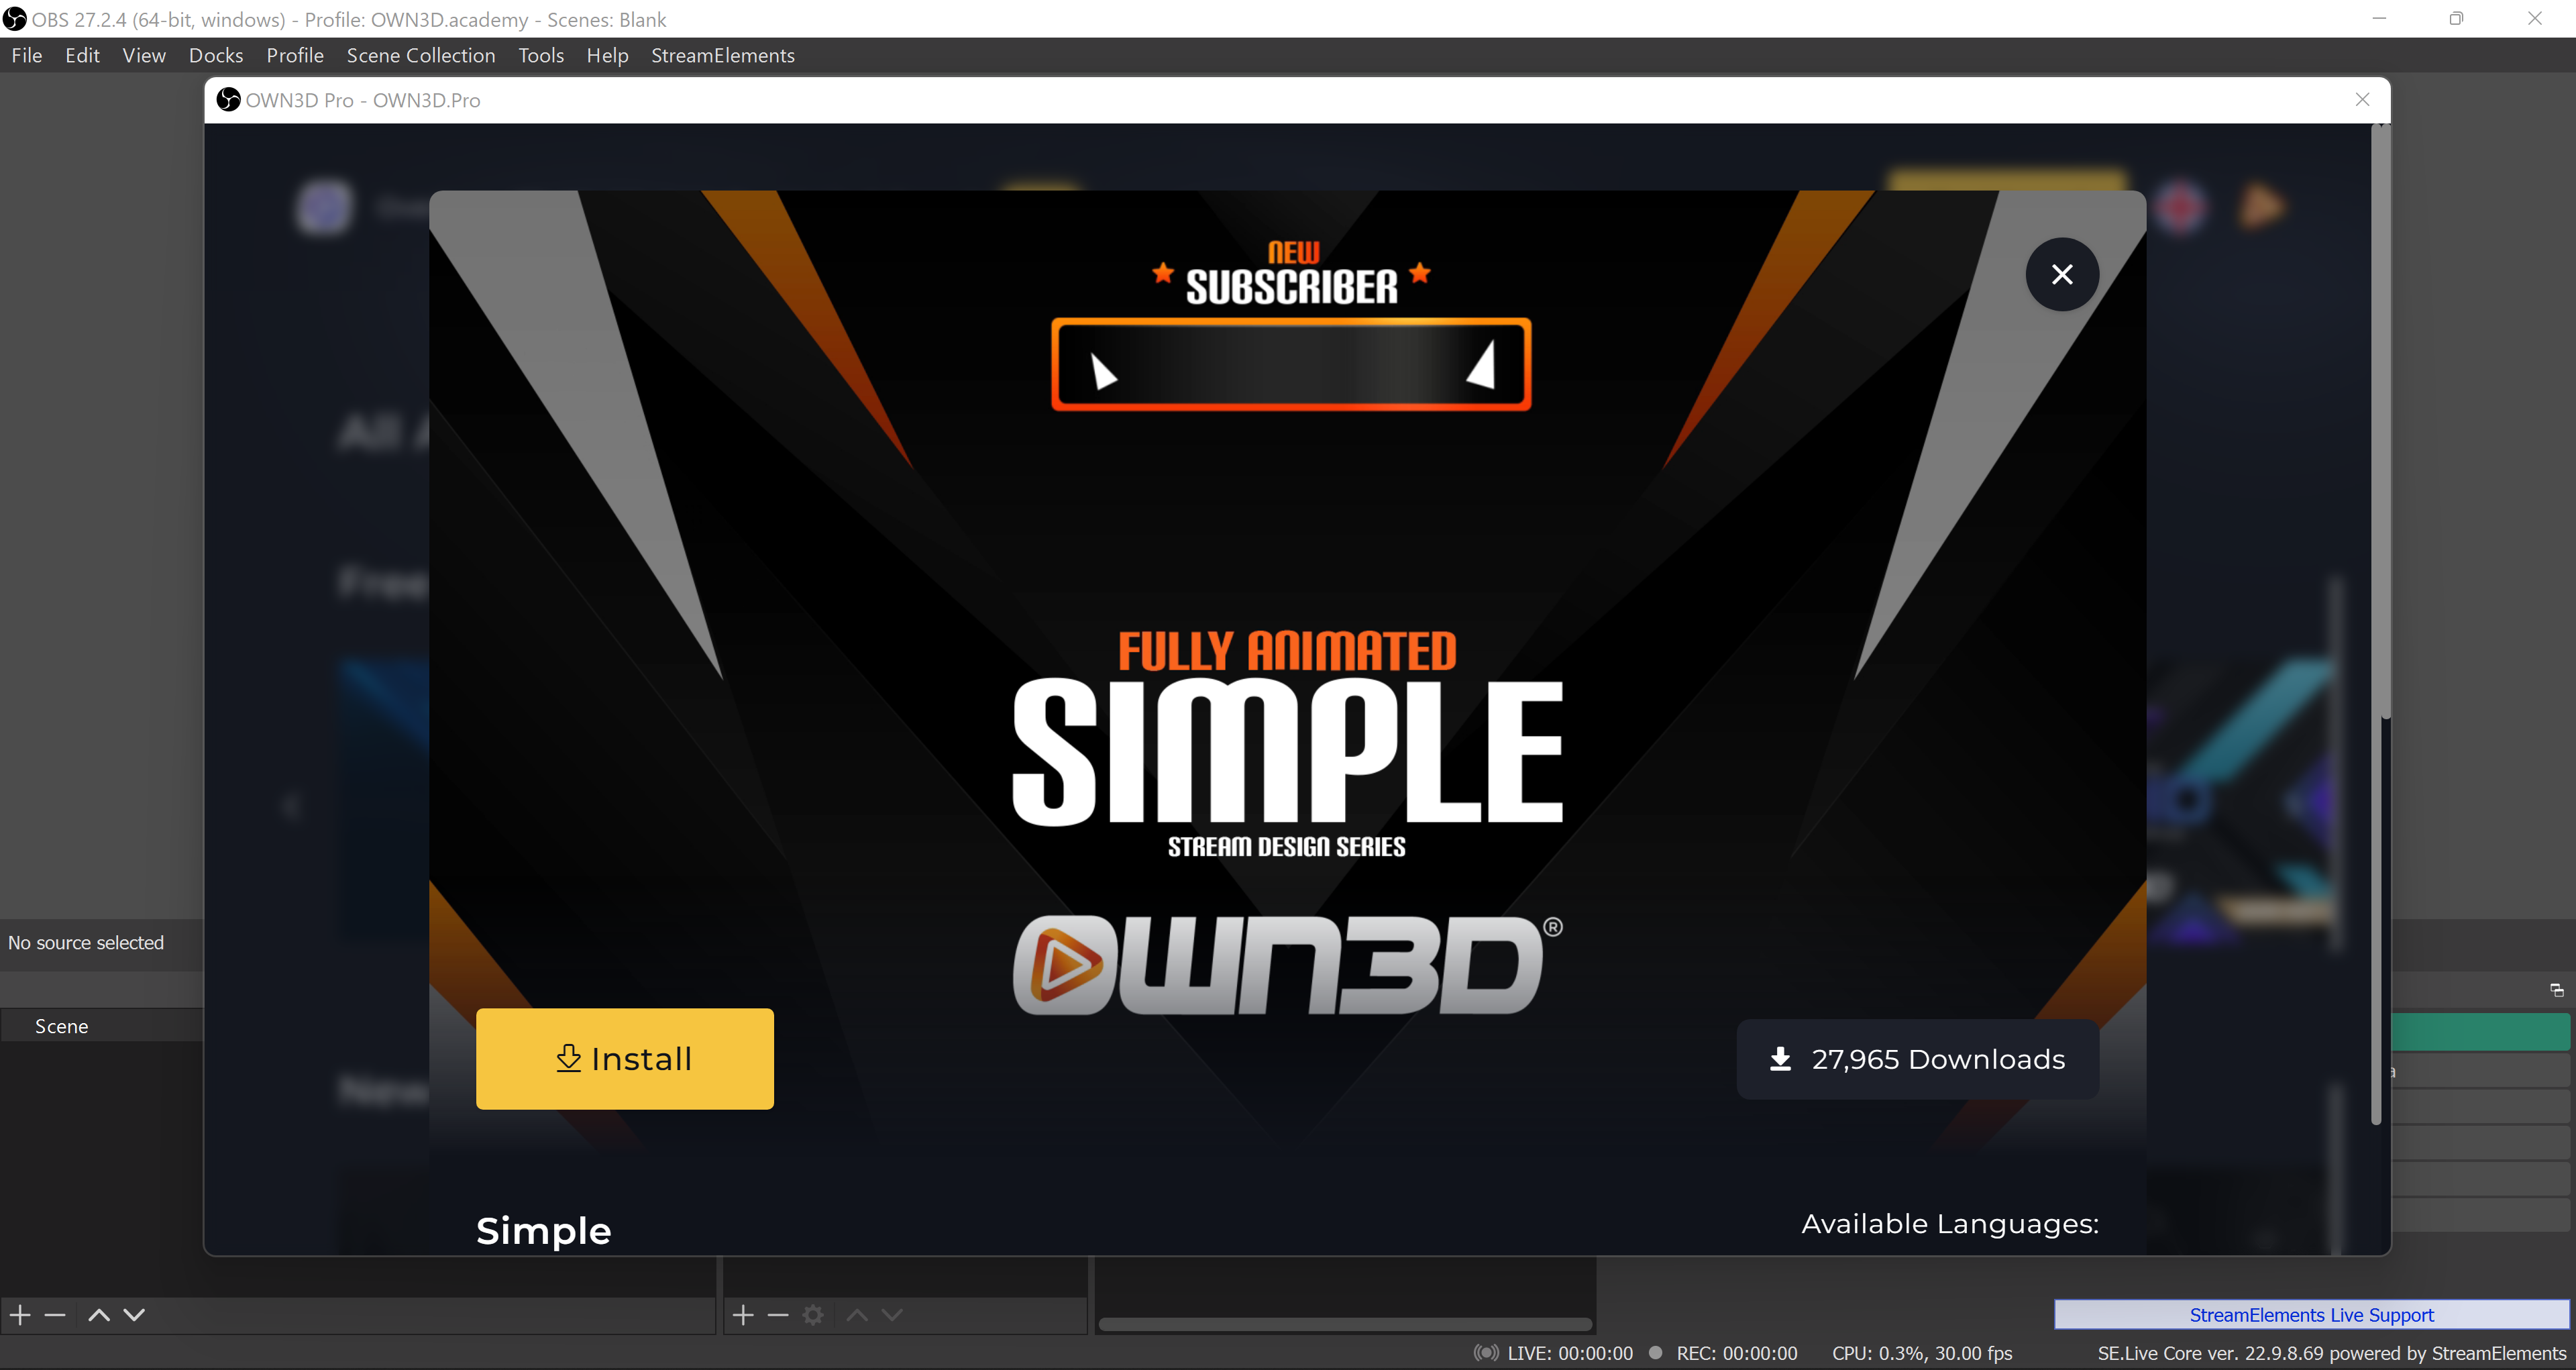
Activating alerts works in the same way that installing overlays does. Simply click on the Alerts tab after opening the OWN3D Pro plugin to see all of your options. Once you've decided on a design, you can select and install it by clicking the yellow Install button. The alert will then be activated automatically, as shown in the lower portion of the image.
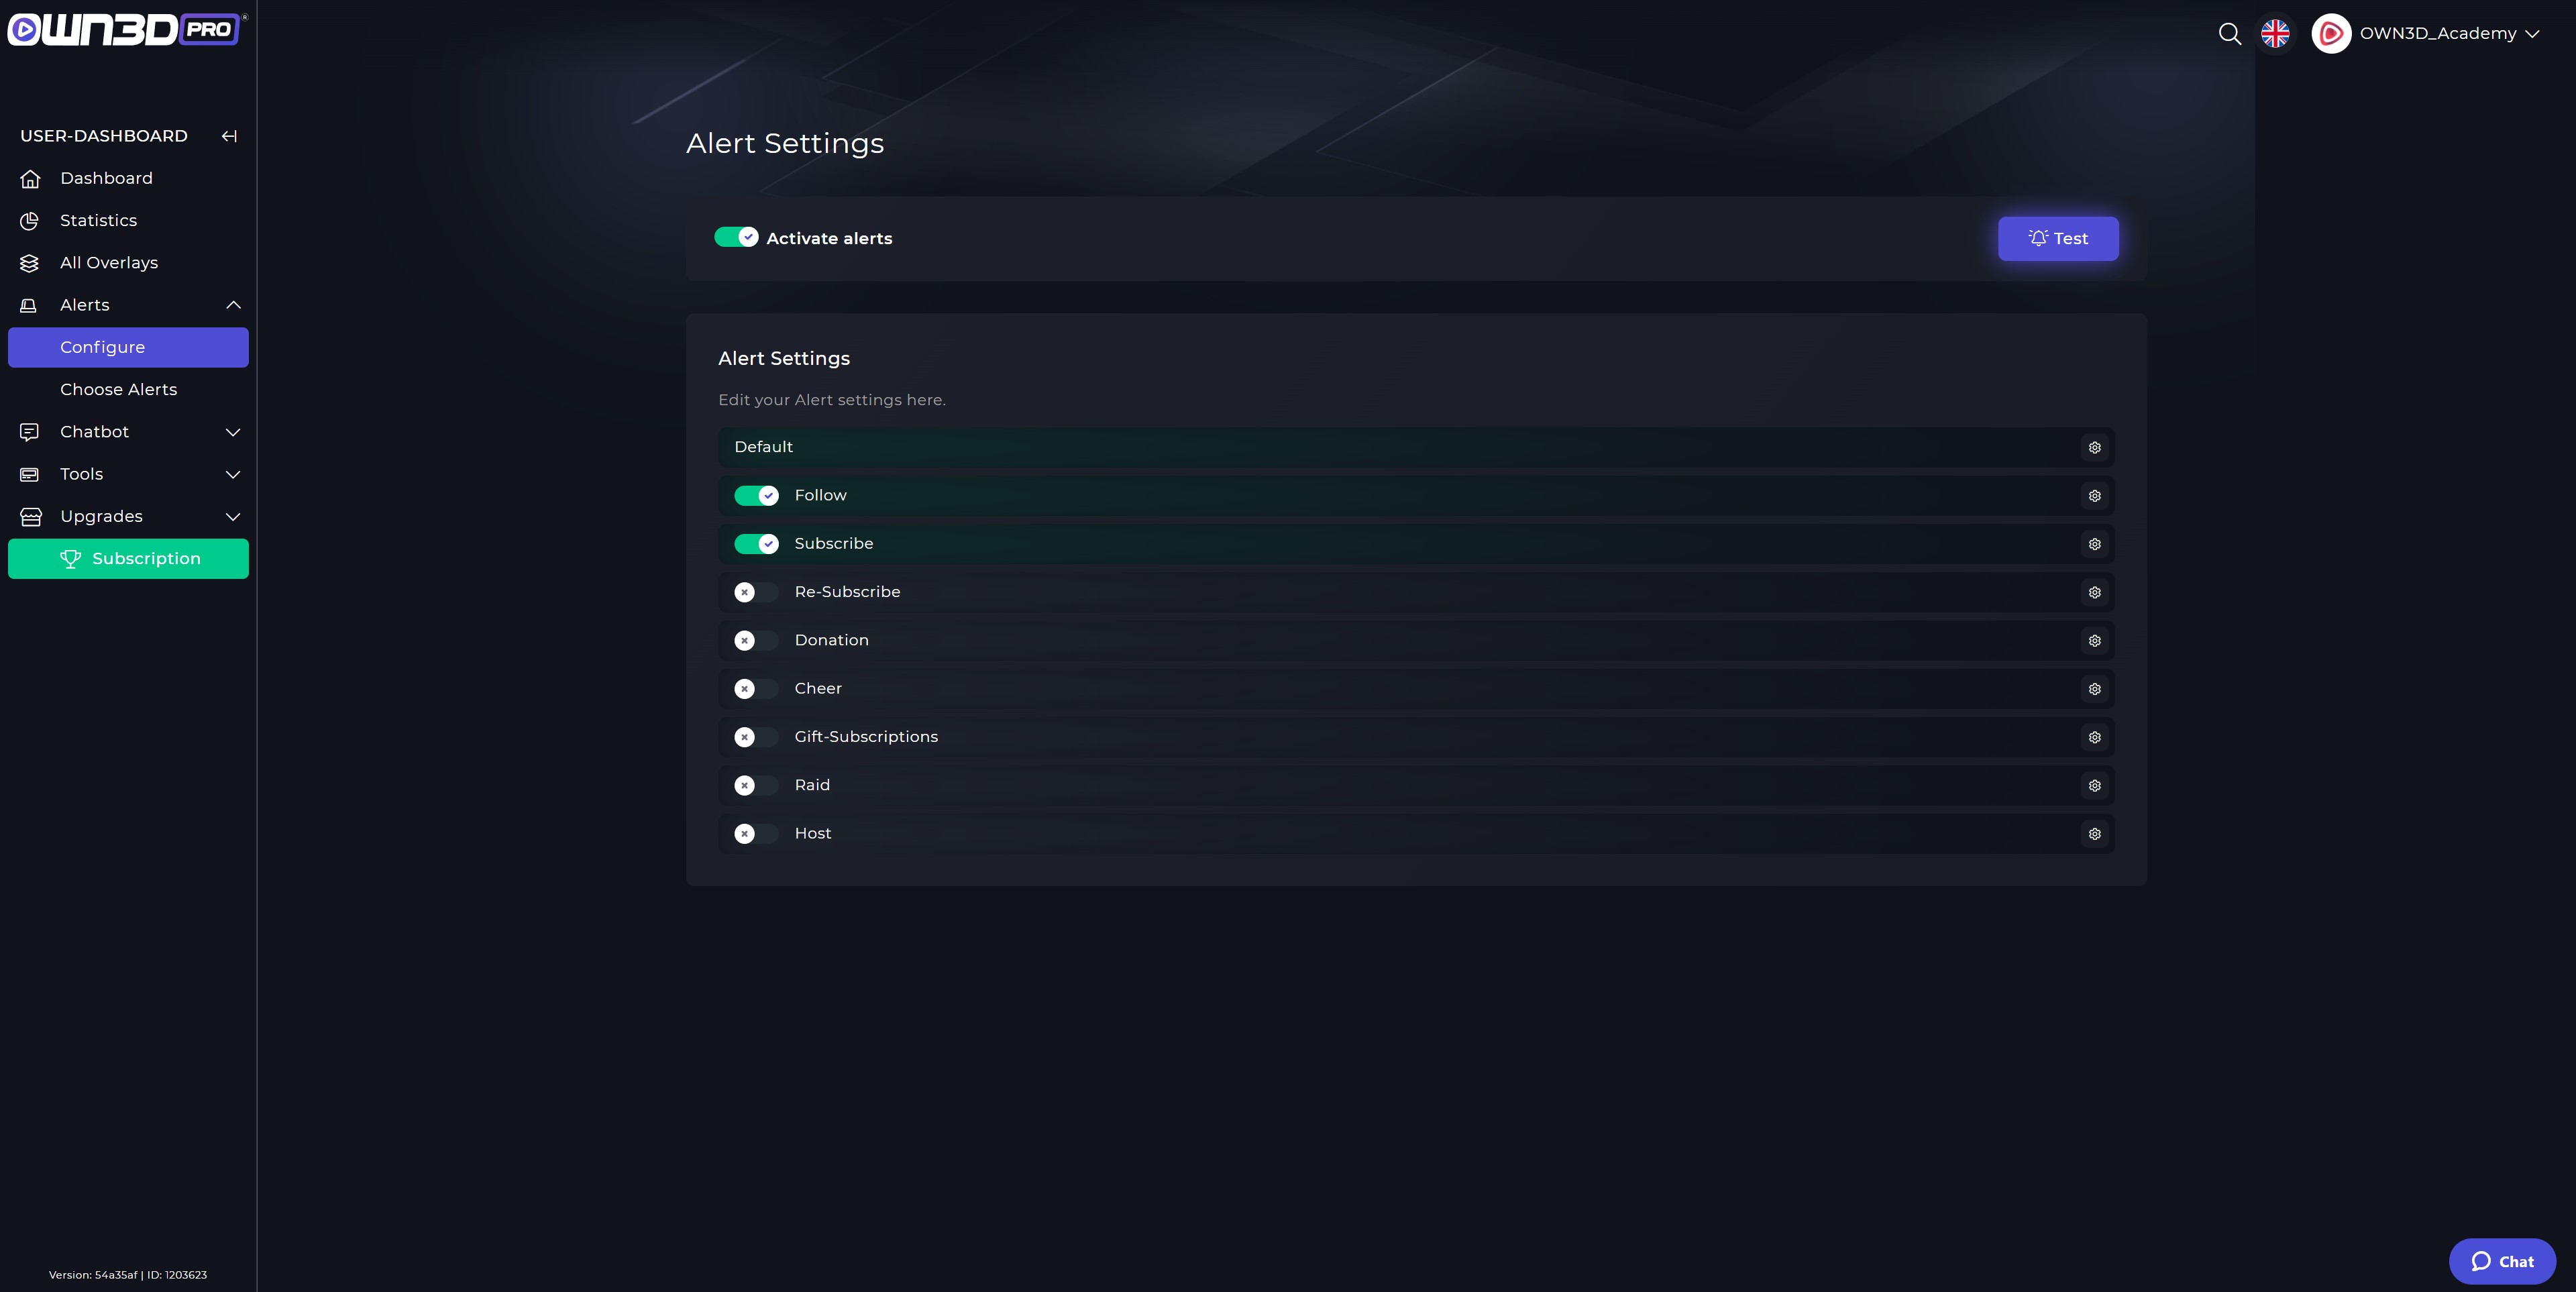
You can also use the dashboard in your browser to configure how and when the alerts should behave. To do so, click Configure Alerts, and you'll be taken to your account's Alerts menu.
My installations
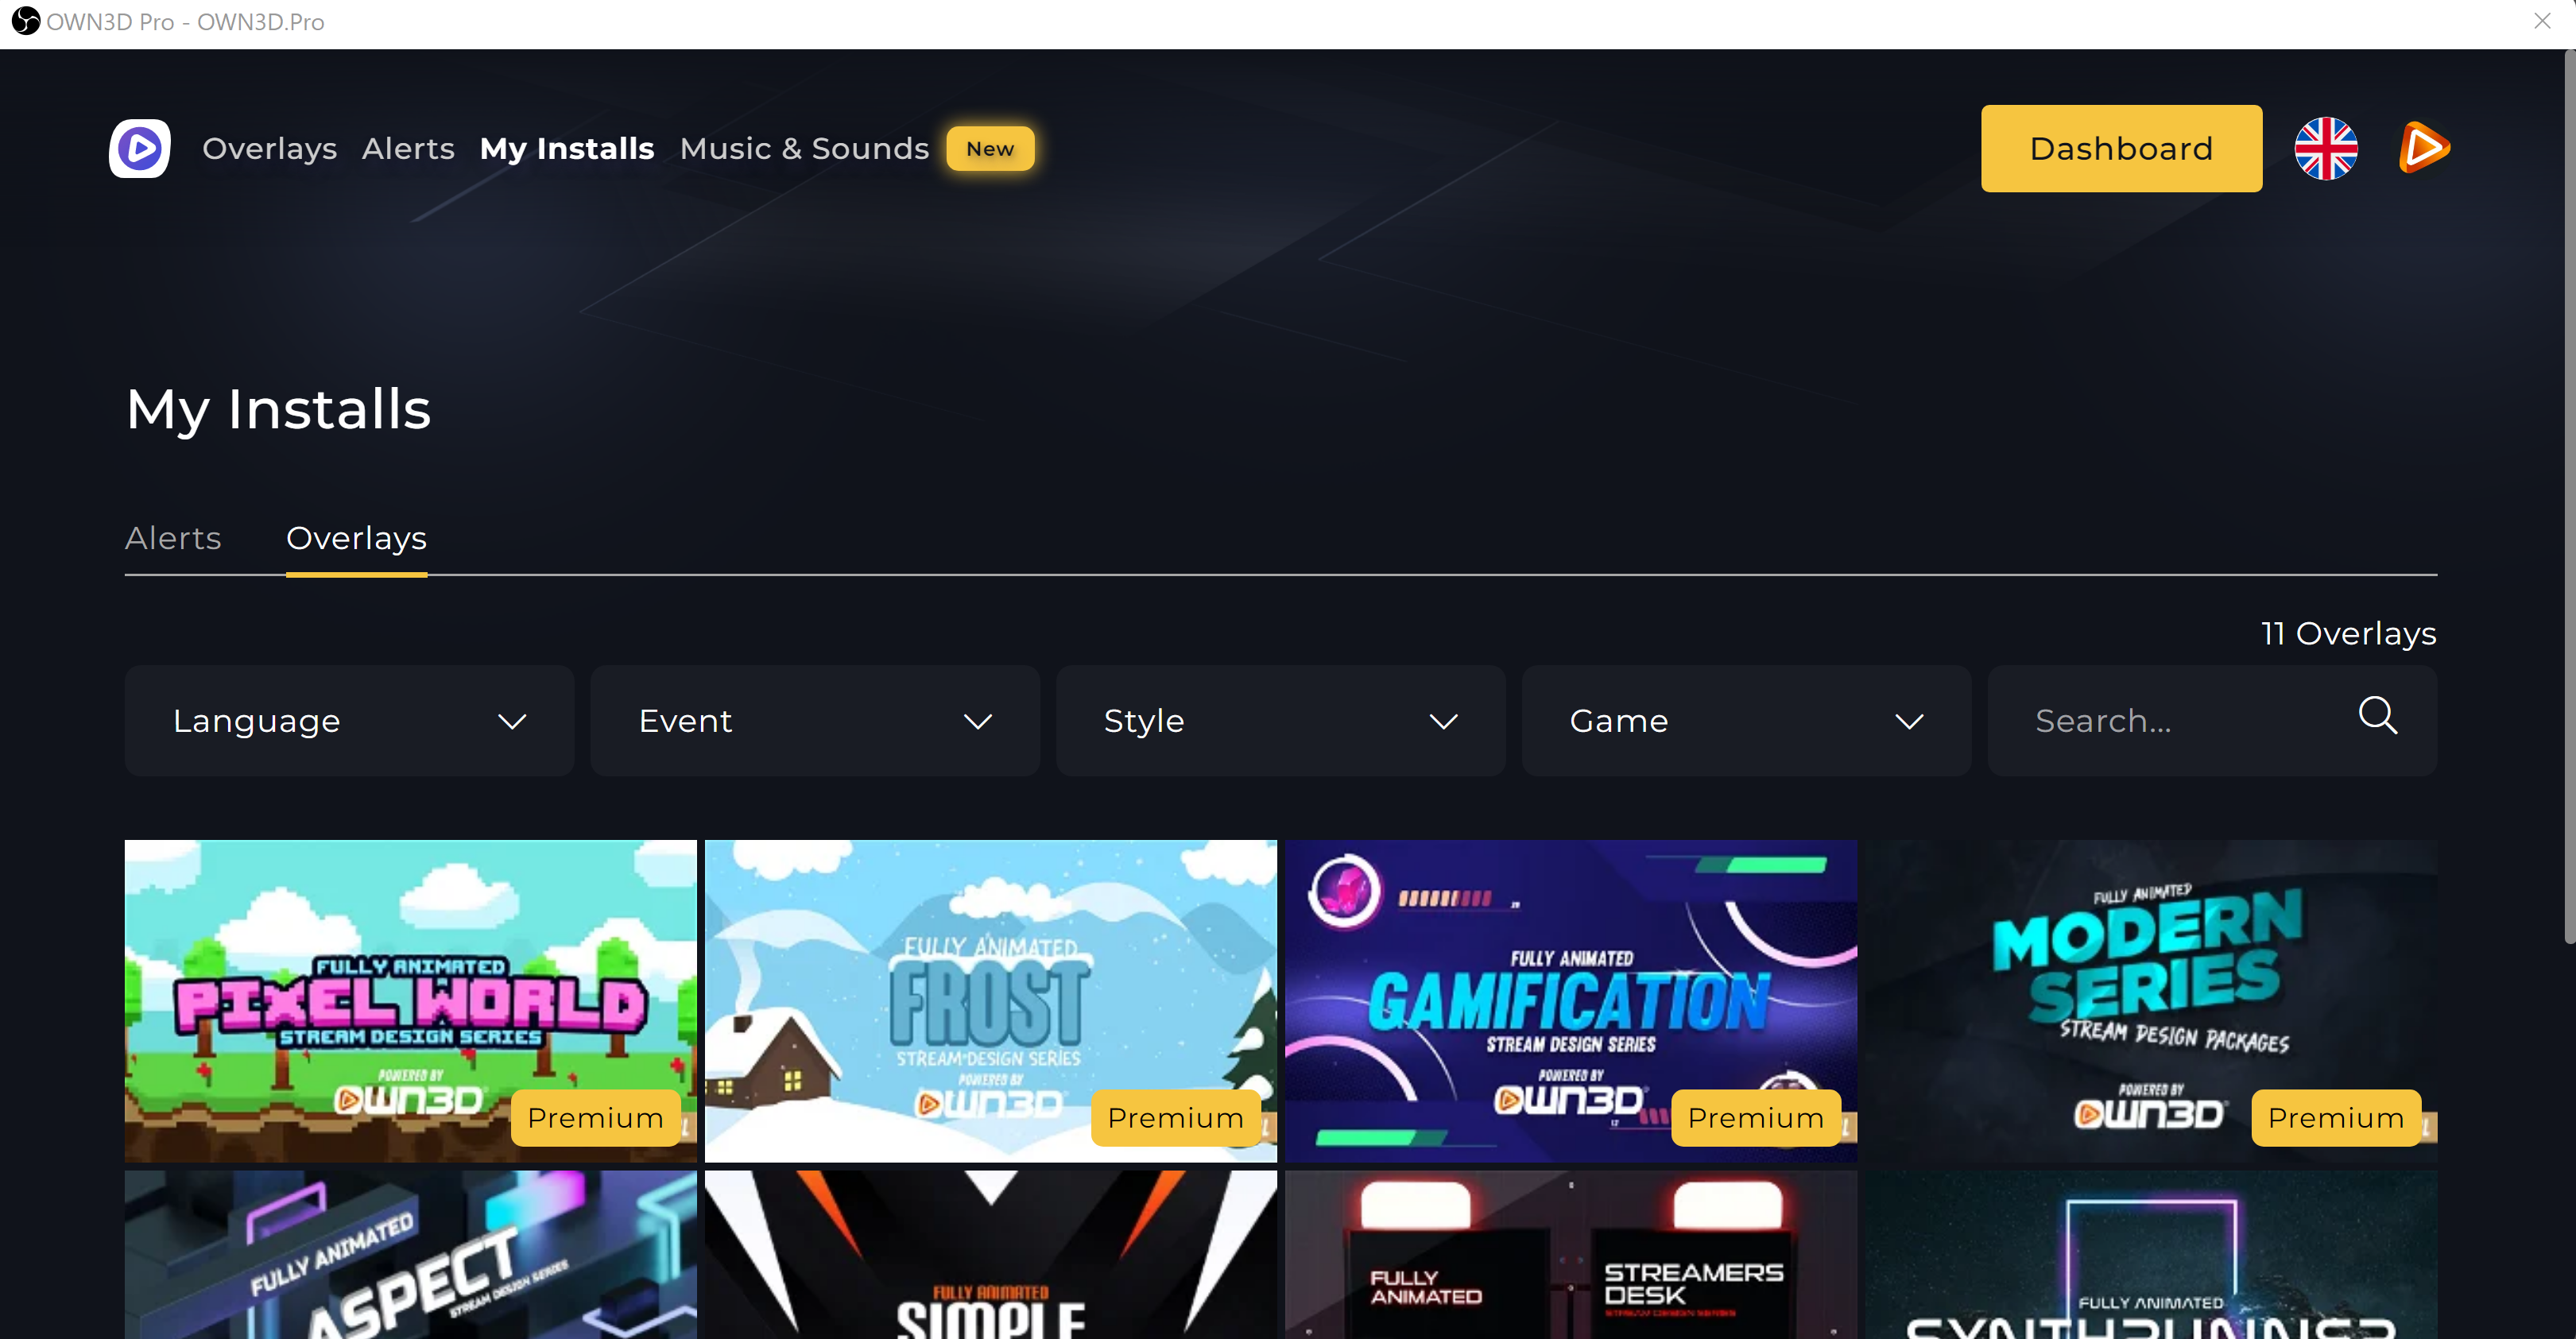
All alerts and overlays that you have previously installed are listed in this menu. This way, you always have a good overview of them and can easily test which overlay you prefer. With the number of overlays included in OWN3D Pro, it may be difficult to locate previously used overlays. You can, of course, re-enable the appropriate filter settings in My Installations.
Dashboard
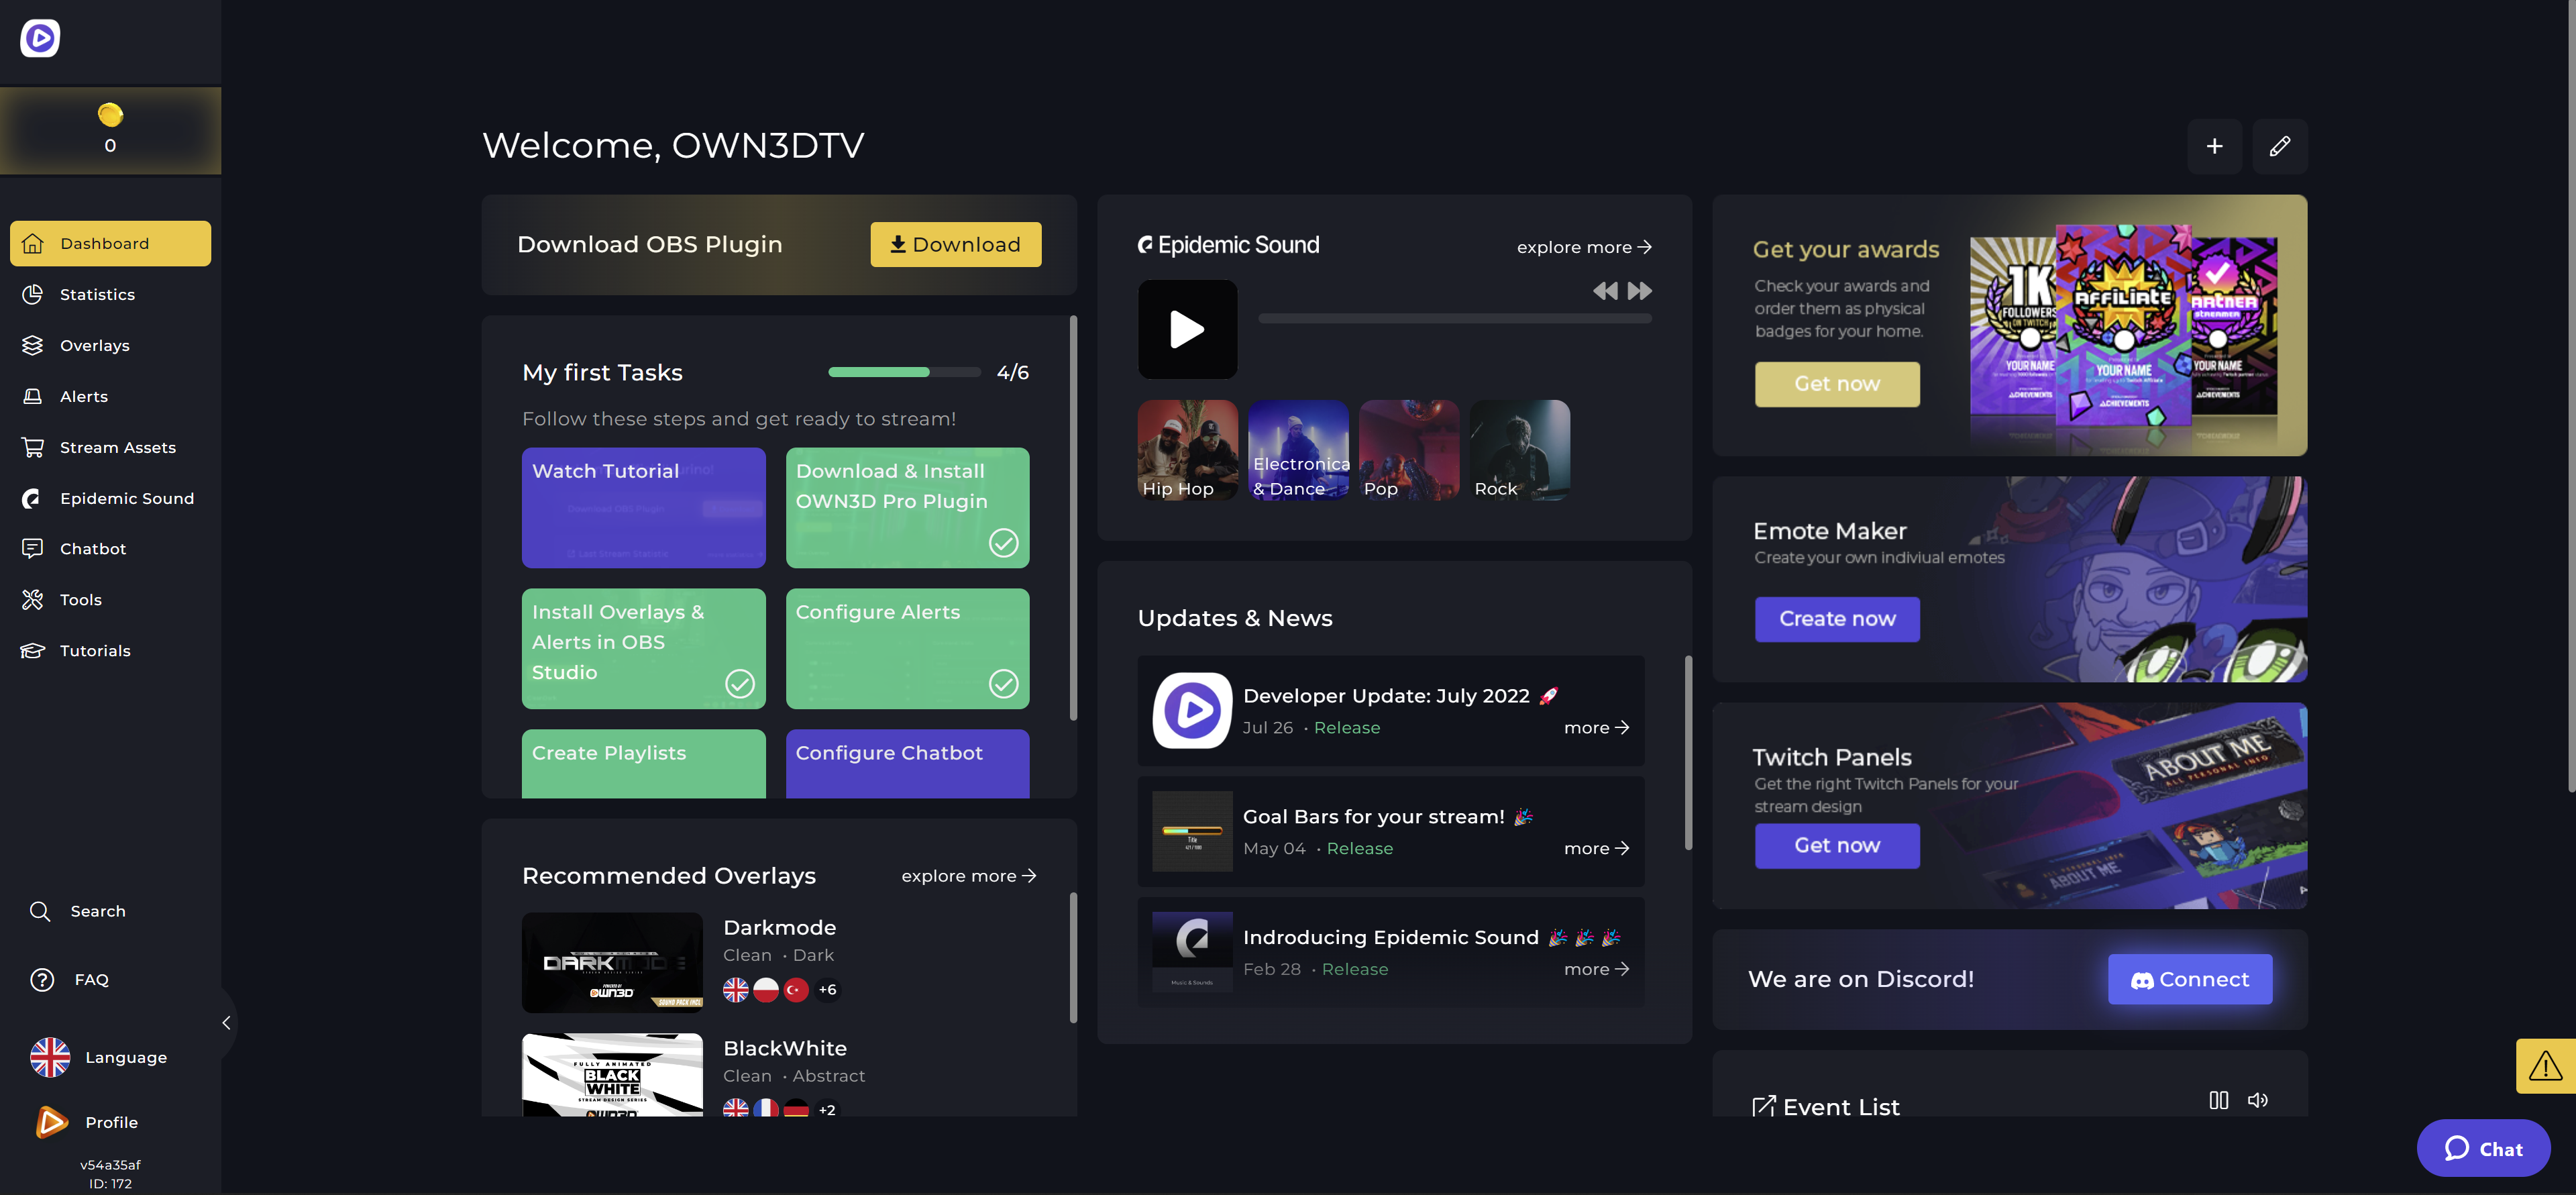
Clicking on the yellow Dashboard button will open a browser window and take you directly to your OWN3D Pro account's Dashboard. You can find information about your OWN3D Pro account here. You can view developer updates and news, see how active you've been with a personalized event list, and see recommended overlays that are perfectly tailored to your preferences.
Other sources you can add to make your stream perfect
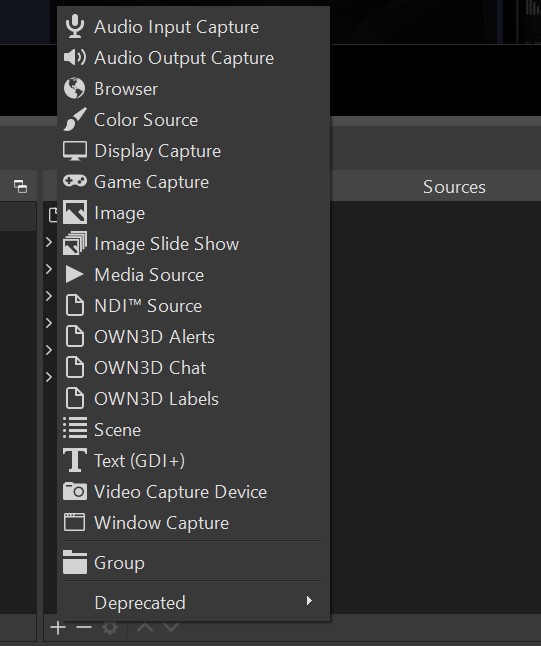
Of course, there are some sources that are entirely unique and cannot be set up automatically by OWN3D Pro. These are primarily the sources from your PC that you wish to expose. Webcam, game capture, and screen capture are a few examples.
Webcam
If you have a webcam and want to show your viewers a "facecam," or an image from a camera pointed directly at your face, you can add a webcam source. You can, of course, make image quality and property settings during (or after) the process. When you drag and drop the webcam source into the designated overlay label, it works perfectly with OWN3D Pro.
Screen capture
This source is useful if you also Just Chatting streams and respond to YouTube videos with your viewers, for example, or watch other content on the Internet. But music producers or other creative minds are also increasingly making use of this source. Here, the entire screen is transmitted and displayed to the viewer. Later, of course, you can add various limitations or even further design elements.
Game capture
For gaming streamers, this is a must-have. When you include this source in a scene, your viewers will only be able to see the game you're presenting. As a result, OBS Studio does not take up the entire screen, allowing you to switch to another screen or press the Windows key on your desktop or browser without anyone else knowing what you're doing.

