1 Basics
To start a stream, you basically need three components, which we will briefly introduce in the following:
Hardware
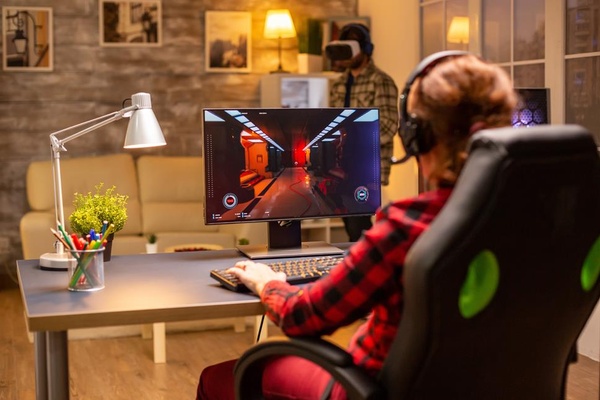
To stream, you'll need a computer or streaming-capable console, of course. In theory, that's enough to start streaming, but of course you want to give your viewers the perfect streaming experience, so you should also have a good microphone as well as a camera.
Software
To set up and customize your stream in the best possible way, the use of streaming software is essential. The streaming software, which is also called broadcaster software, ensures that you can broadcast your gameplay live and showcase it in the best possible way. Although there are many solid broadcaster tools out there, one program in particular has proven to be the best in recent years: OBS Studio. This powerful program lets you set up your stream easily and with little effort. The beauty of it all is that OBS Studio is not only the best streaming tool, but it's also completely free!
Design elements (overlays, alerts, panels)
Showing bare gameplay is not enough to give your viewers a good show these days. Because you want your stream to look as professional as possible, the various design elements in your broadcast play an important role. This way, you can pimp your stream with overlays, alerts and panels in such a customized way that you will leave an instant impression on new viewers. The procedure of integrating these elements can be a bit tricky - but not for you, because with OWN3D Pro all design elements can be easily integrated and changed in your stream with just a few clicks.
2 How to start your first livestream!
Here we explain how to customize, set up and launch your livestream with OBS Studio & OWN3D Pro. Have fun!
2.1 Download & install OBS Studio
Visit the URL https://obsproject.com/download/ and download the program for your operating system (best is to download the installer directly, so you don't have to unpack it). Then run the installer and follow the instructions.
You can find detailed instructions for the installation and the most important basic settings in this article!
2.2 Install OWN3D Pro
Open the website https://own3d.pro/ and log in with your OWN3D account or connect your Twitch account in case of initial registration. To do this, click on Sign up now for FREE, log in to Twitch and your channel account will automatically connect to OWN3D Pro. To use the full functionality, you need your OWN3D Pro subscription, which you can easily set up in your general account settings. Now you can download and install the OWN3D Pro plugin for OBS Studio.
2.2.1 Set up OWN3D Pro
In the main window of OBS Studio you can now open the plugin in the "Tools" tab, enter your personal license key and have immediate access to many different overlays & panels. To activate the desired overlay, click on it once - done! OWN3D Pro is so ingenious that it takes a lot of work off your hands, so you can fully concentrate on streaming.
A detailed tutorial about the installation and the most important features of OWN3D Pro can be found in this article!
2.3 Start stream
Once you've made all the settings, you're ready to go! Click on Start Stream in the bottom right corner of OBS Studio and lo and behold - you are LIVE!
3 Useful Tutorials, Tips & News for Streamers
As streaming experts, one thing is especially important to us: making it as easy as possible for you to get started. Therefore, we provide you with many free tips, tutorials and even news from the world of Twitch & Co. on our website OWN3D.tv. The content is constantly updated and will help you to take your career as a streamer to the next level!
4 Conclusion
Congratulations! You've set up a professional stream and are now ready to show what you've got as a streamer. As you can see, with just a few clicks, you can turn your stream from a boring gameplay screen into an exciting experience and visual treat for your viewers in minutes.

