The starting position
YouTube is now one of the most popular networks; this is the most accessed and used video gateway on the planet. Hundreds of thousands of videos are submitted to YouTube every day, waiting to be viewed by the portal's viewers. For these reasons, even if you don't intend to use YouTube as a creator but rather as a viewer, having your own YouTube channel can be helpful.
After you've made your channel, you'll have access to all of the platform's features, including the ability to publish videos, start a Livestream, or just review, comment on, and add videos to your playlists. We'll show you how to do it in the classes and step-by-step directions that follow. It's not as difficult as you might imagine.
It's essential to go through YouTube's guidelines and community guidelines beforehand, so you know what to look for when using YouTube.
There are two different methods to create your own YouTube channel. These two variants depend on whether you already have a Google account or not. If you already have a Google account, the creation process requires fewer steps than if you don't have a Google account yet. So that there are no questions, we would like to introduce you to both processes in detail here.
Create a channel with a Google account
Create a YouTube channel with an existing Google account - step-by-step instructions
So, you already have a Google account and want to start your own YouTube channel? Then this step-by-step tutorial is precisely what you need. If you're creating a channel for a child, the parent or guidance can create a Google Account for them. Simply on to the next step in the tutorial.
- First, visit youtube.com
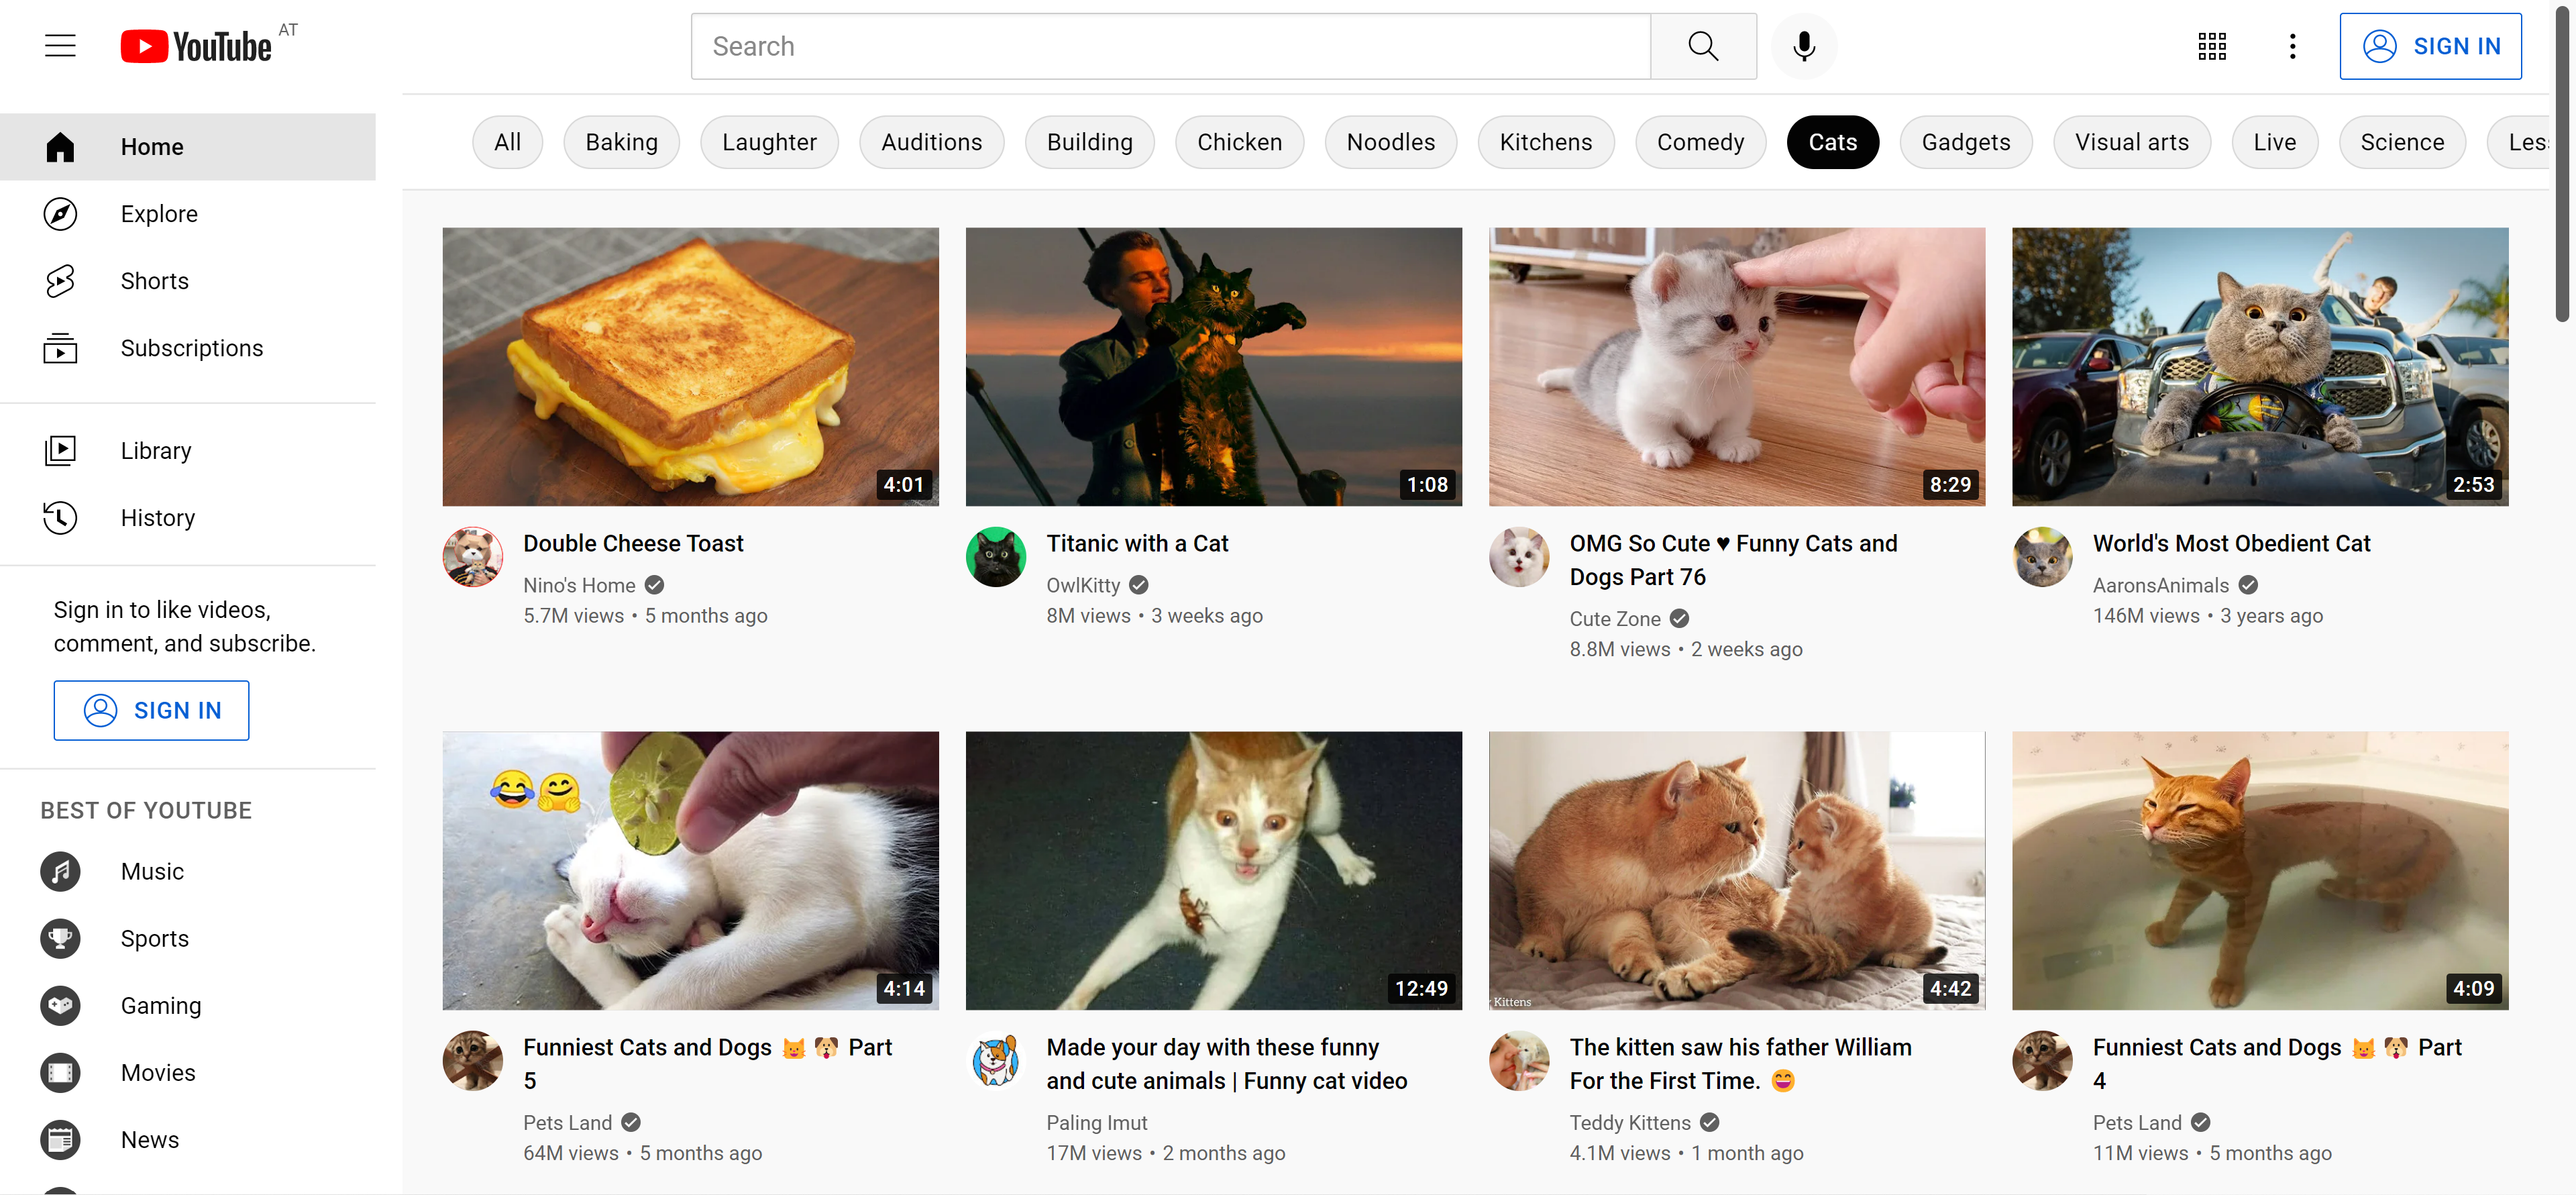
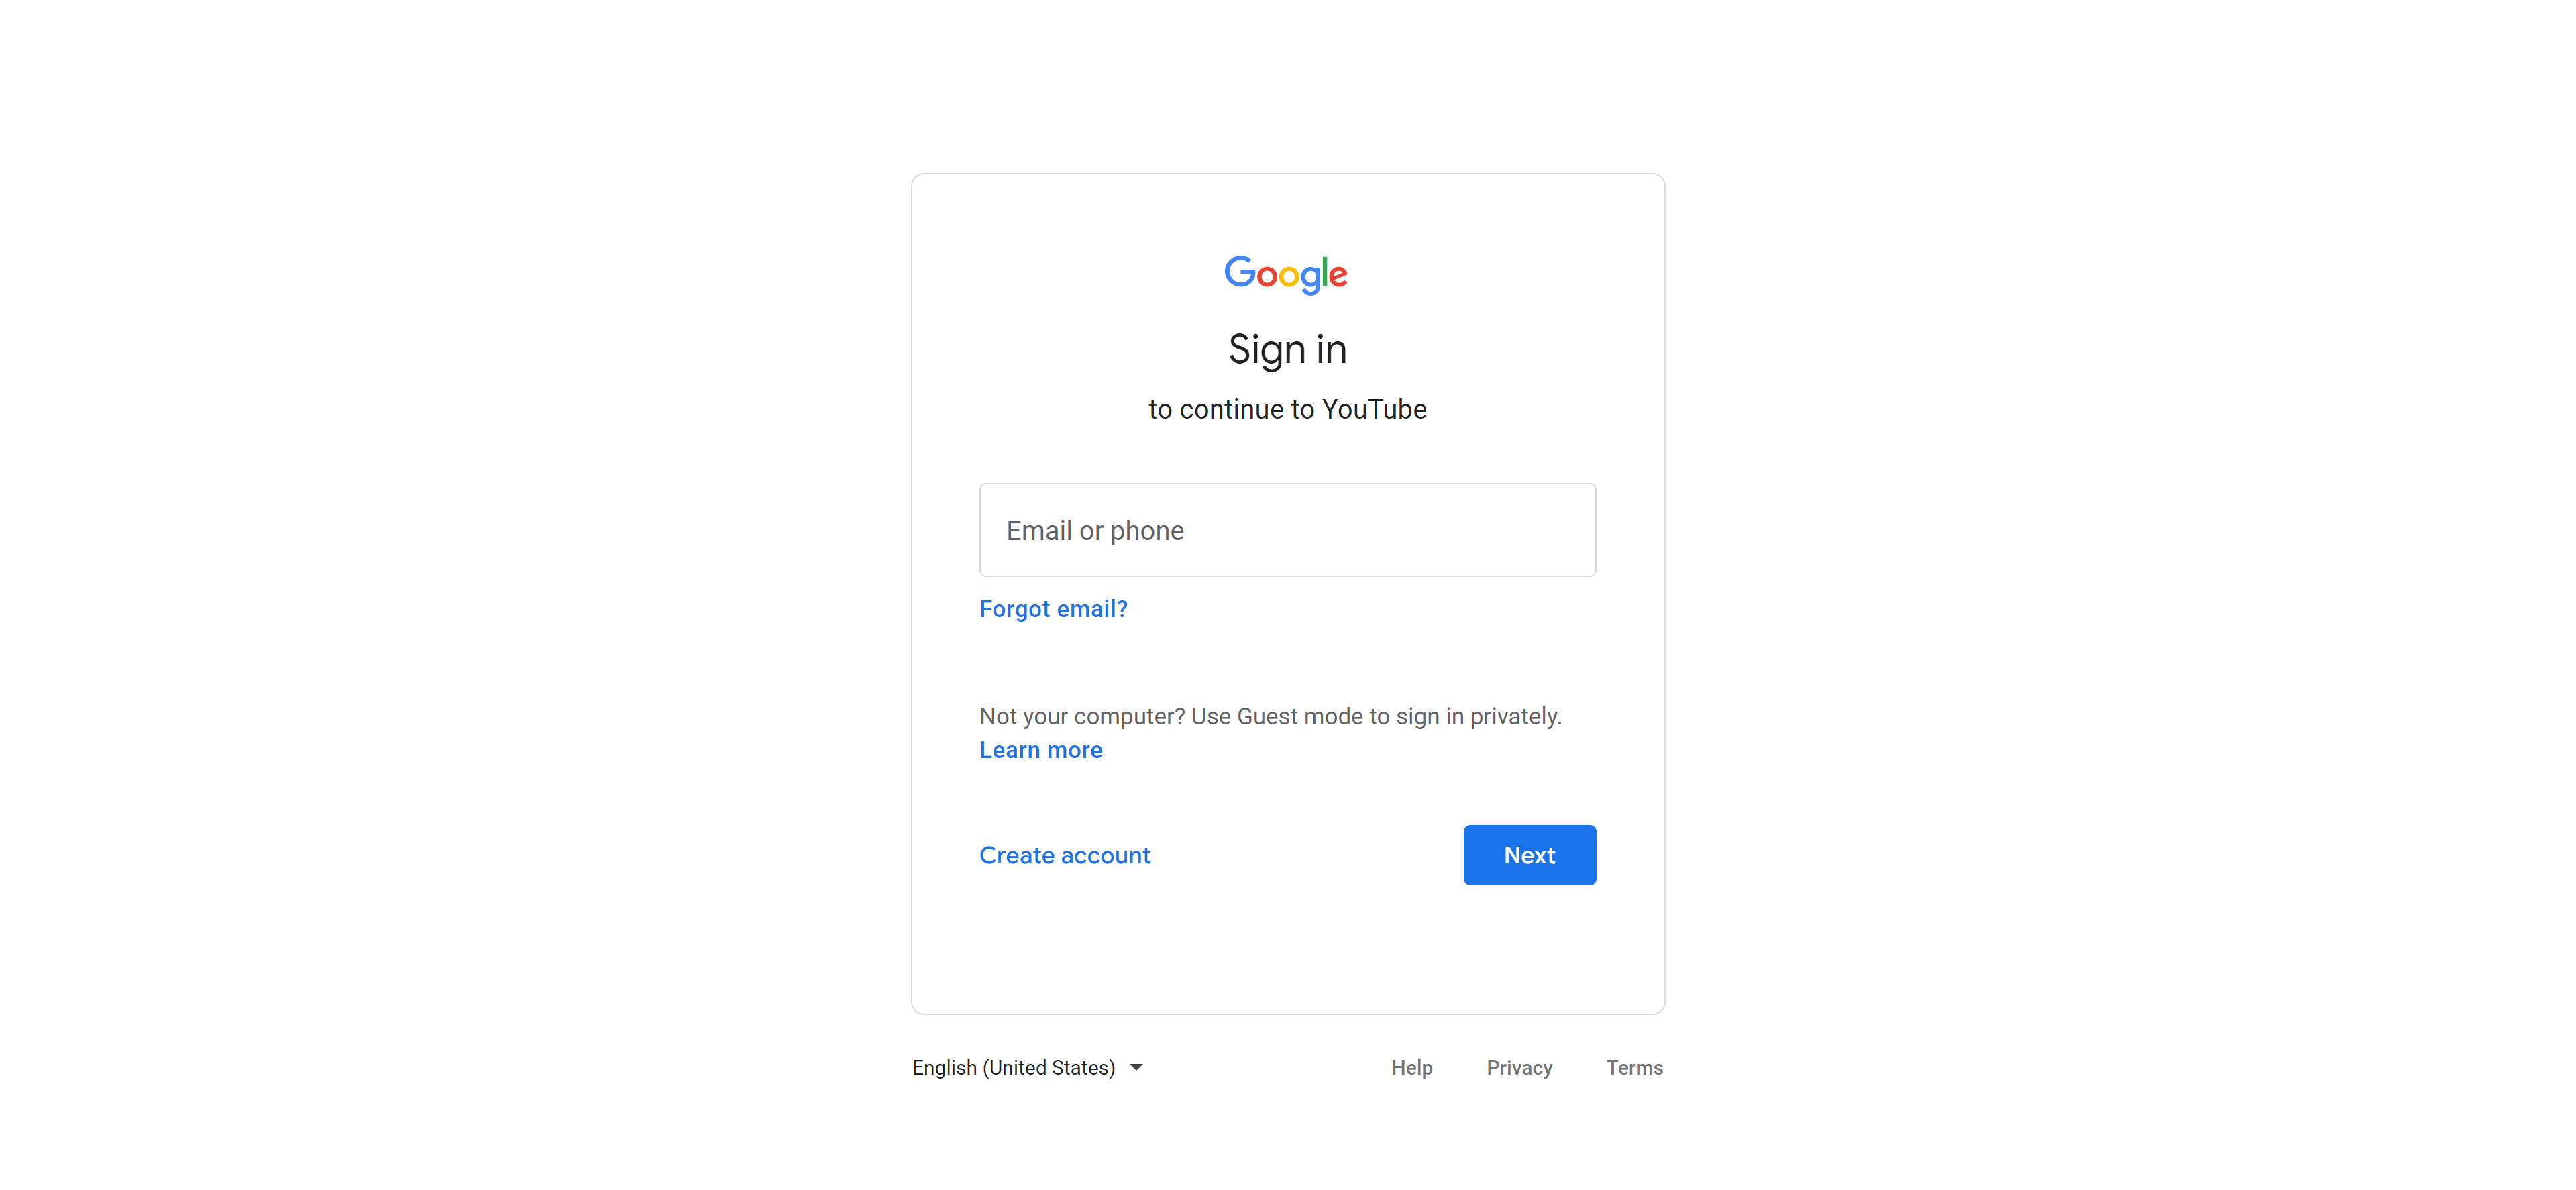
- Click on the button "SIGN IN" in the upper right corner. Enter your Google account information and login.
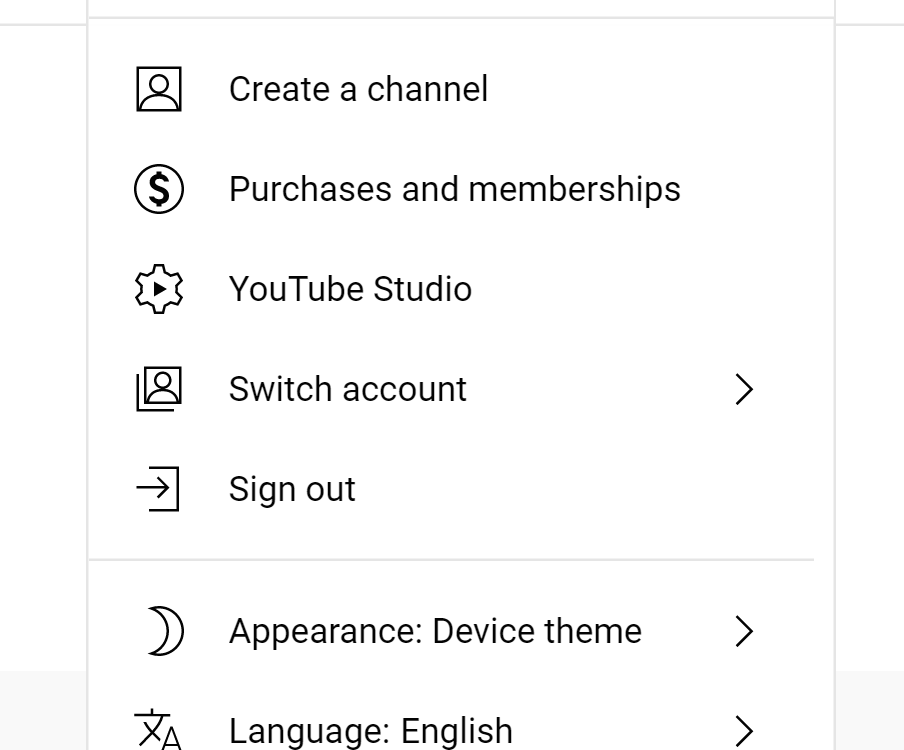
- You will then be automatically redirected to the YouTube homepage. Click on your profile picture in the upper right corner and select "Create channel" from the drop-down menu.
- Now enter your channel name and upload your profile picture if necessary. Confirm your entry by clicking on "Create channel" in the pop-up window at the bottom right.
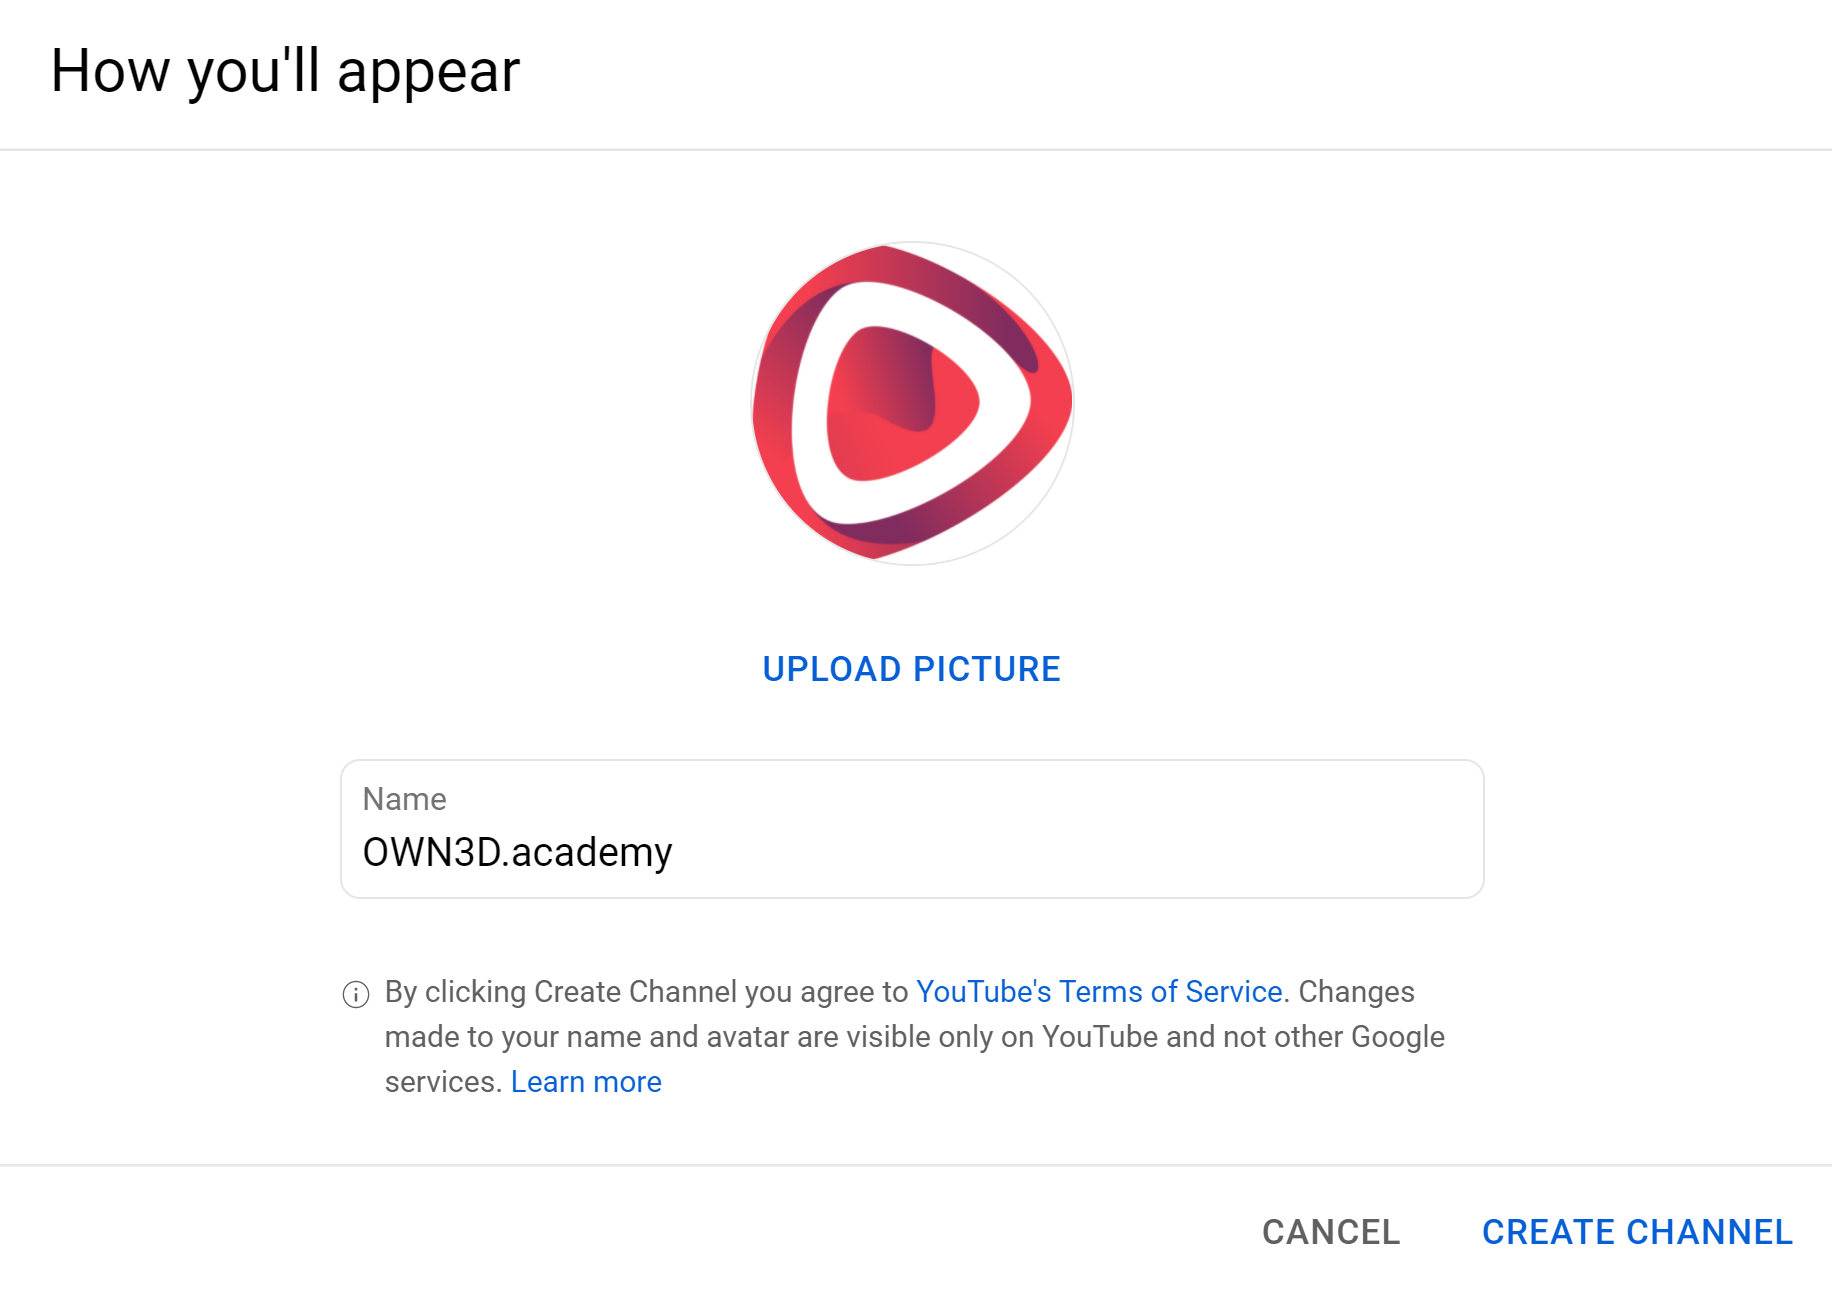
- Bam! - your YouTube channel has been created.
Create a channel without a Google account
Create a YouTube channel without an existing Google account - step-by-step instructions
This is not a problem if you haven't had much contact with Google and don't have your own Google account. YouTube has been a part of Google for many years, and the signup process is integrated right into the YouTube website. As a result, you can create your Google account and your YouTube channel in one step and be done in minutes. Your business or your child can all have their own YouTube channel. You'll be asked who the new channel should be for at the start of the registration process, and there are no out-of-pocket expenses.
- First, visit youtube.com
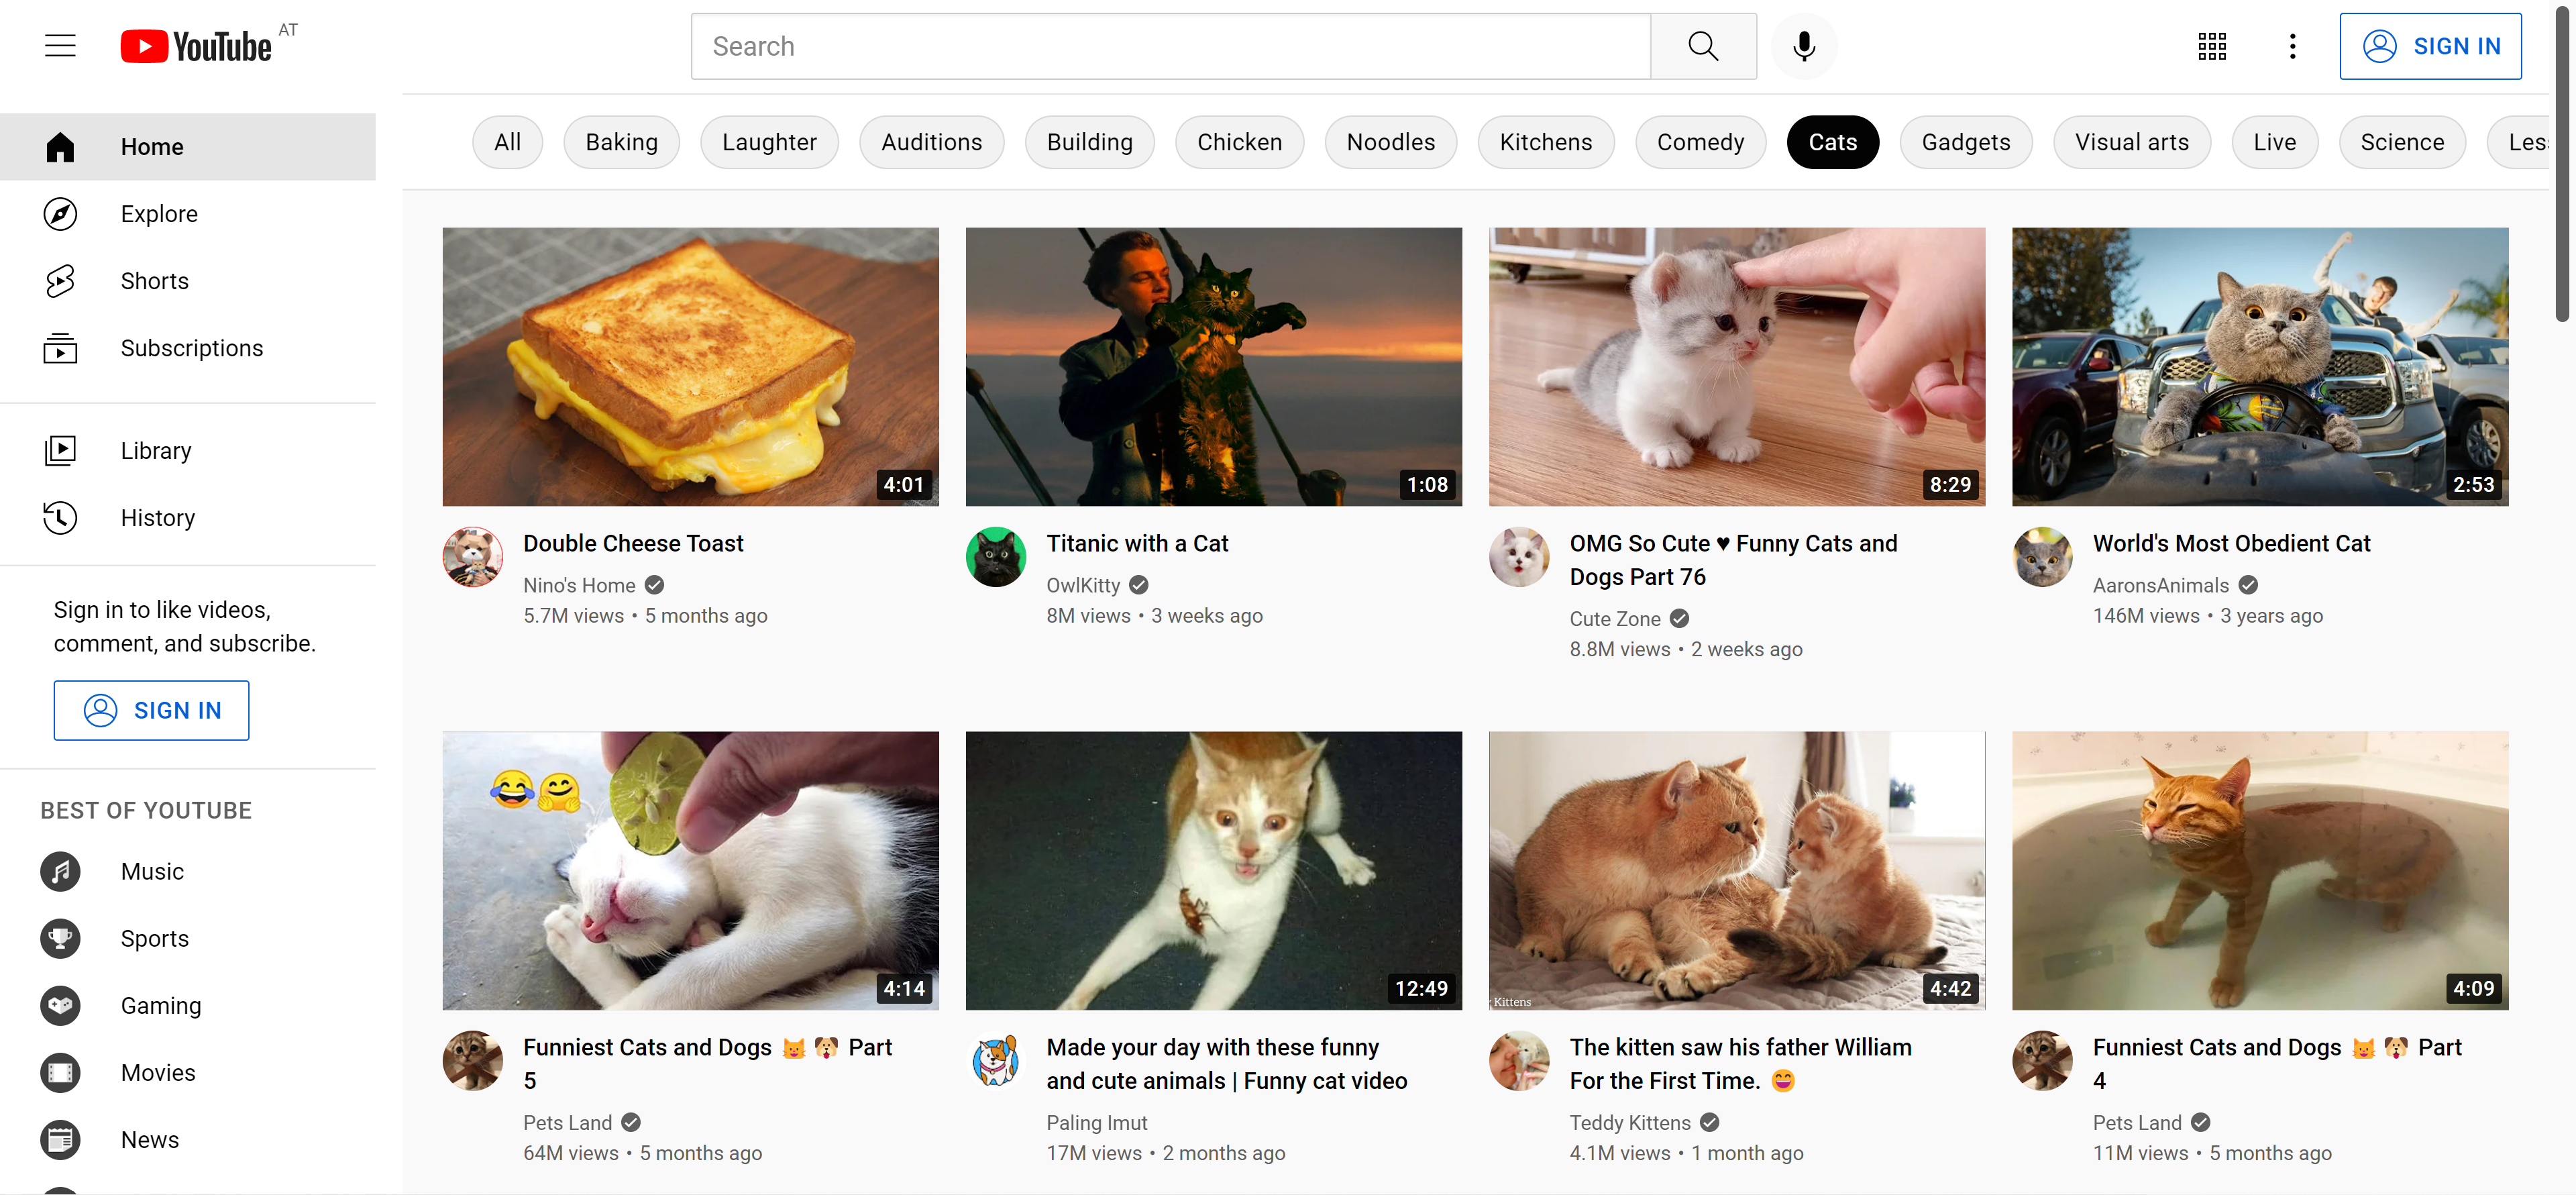
- Click on the button “SIGN IN” in the upper right corner. At the step where you have to enter your login information, click on "create account" at the bottom left.
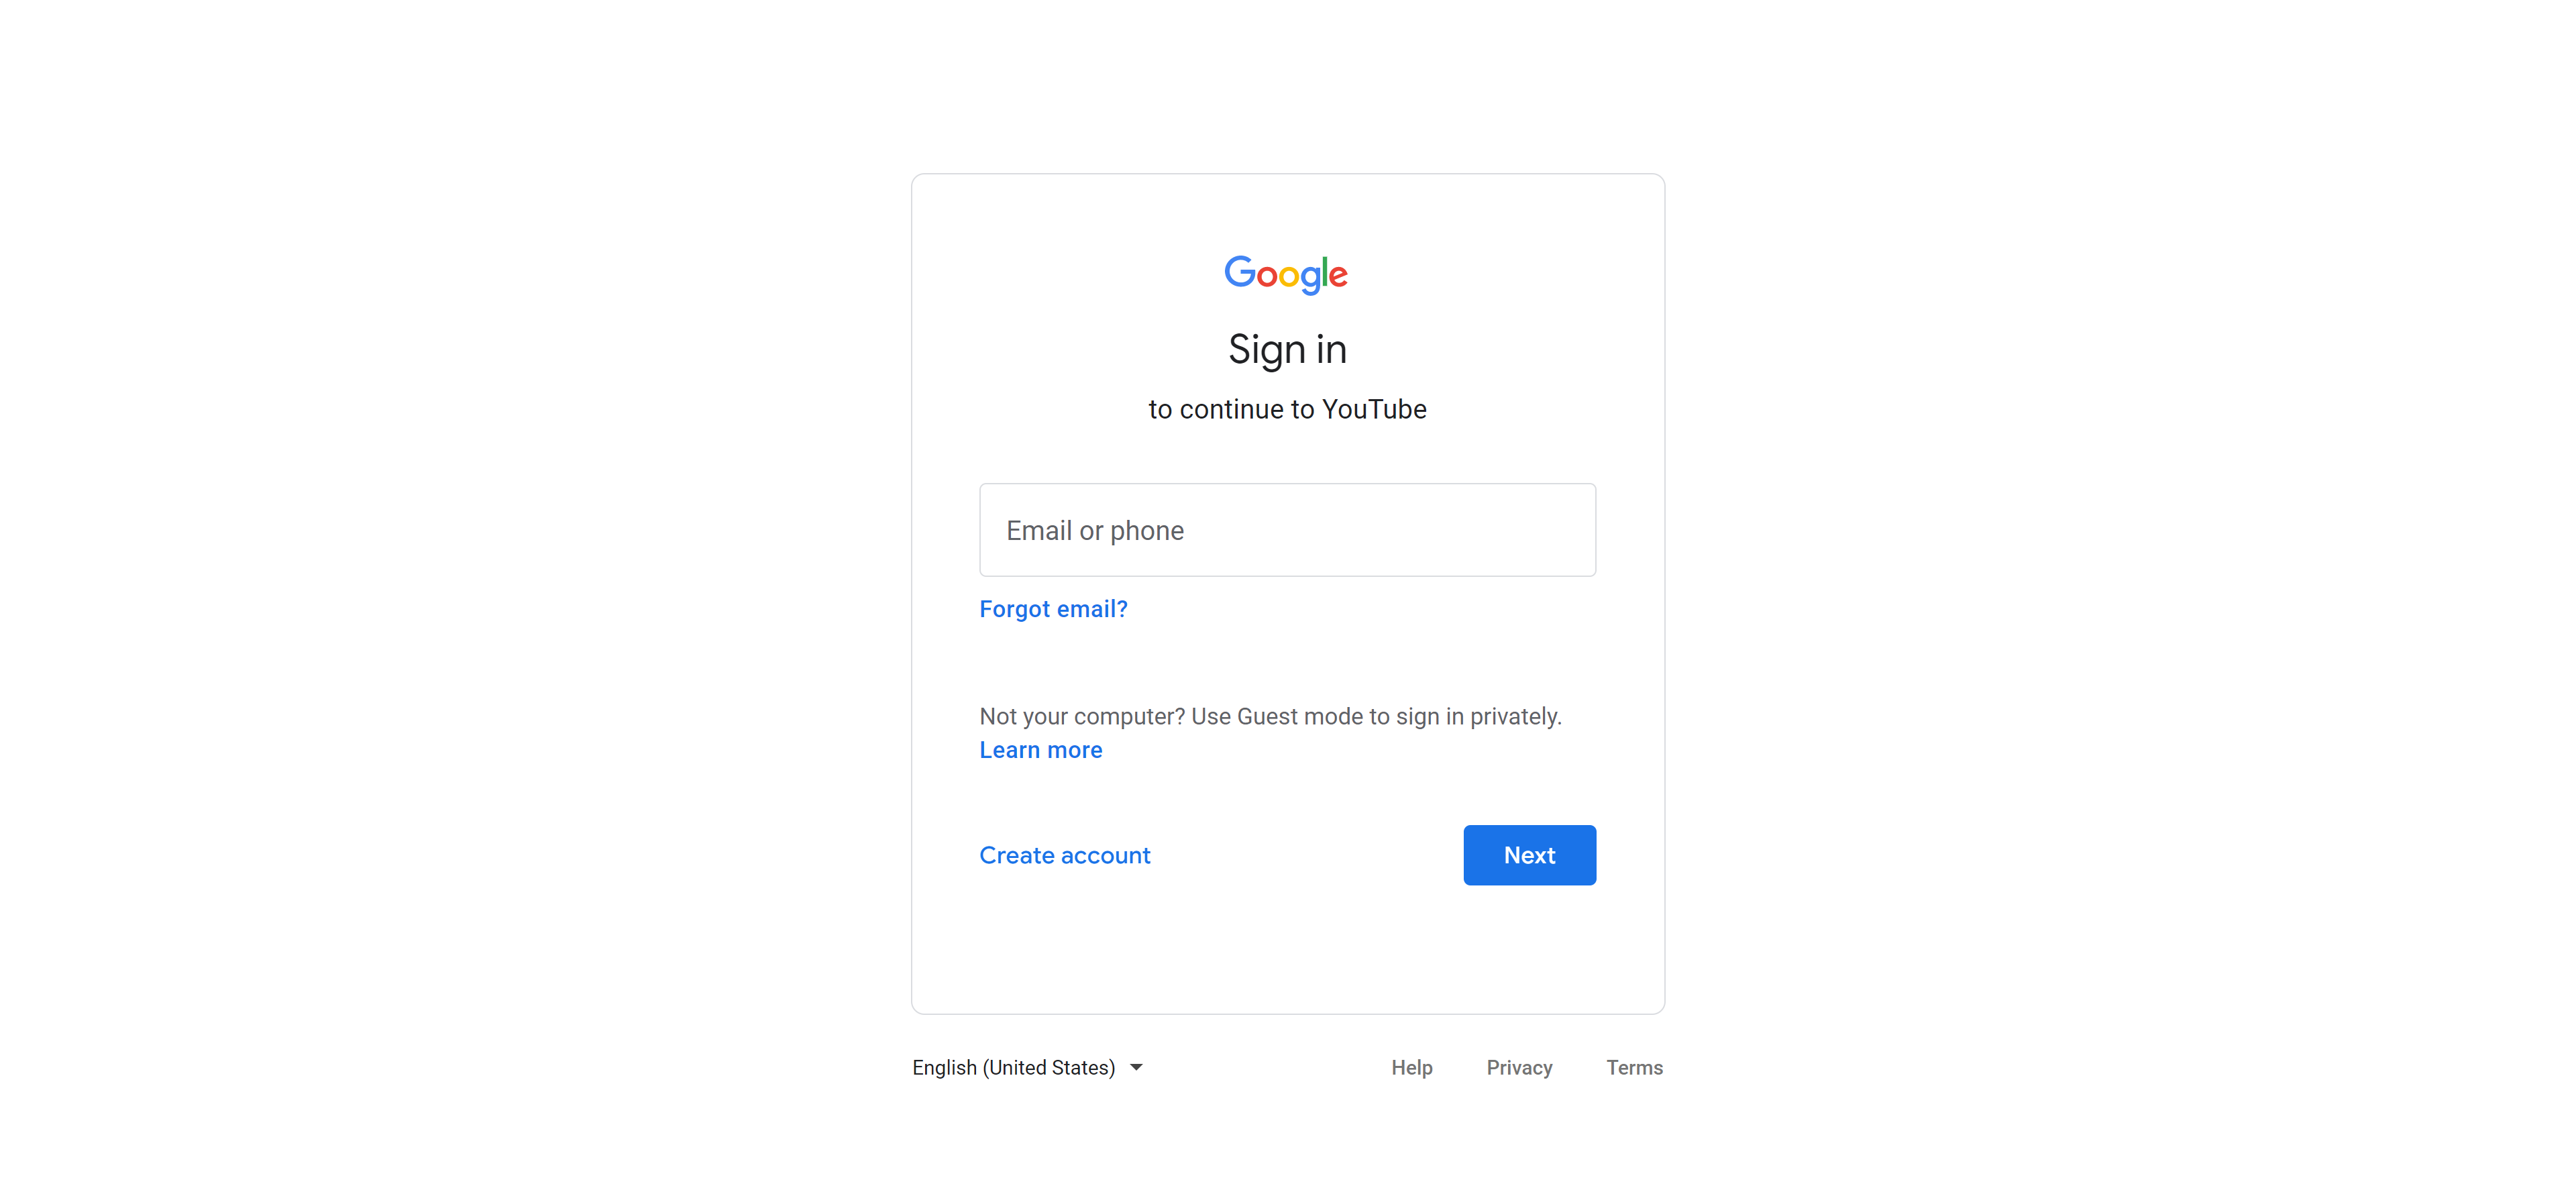
- Enter your data, including your email address and click on "continue" in the following window. (You can also create your own Gmail address directly).
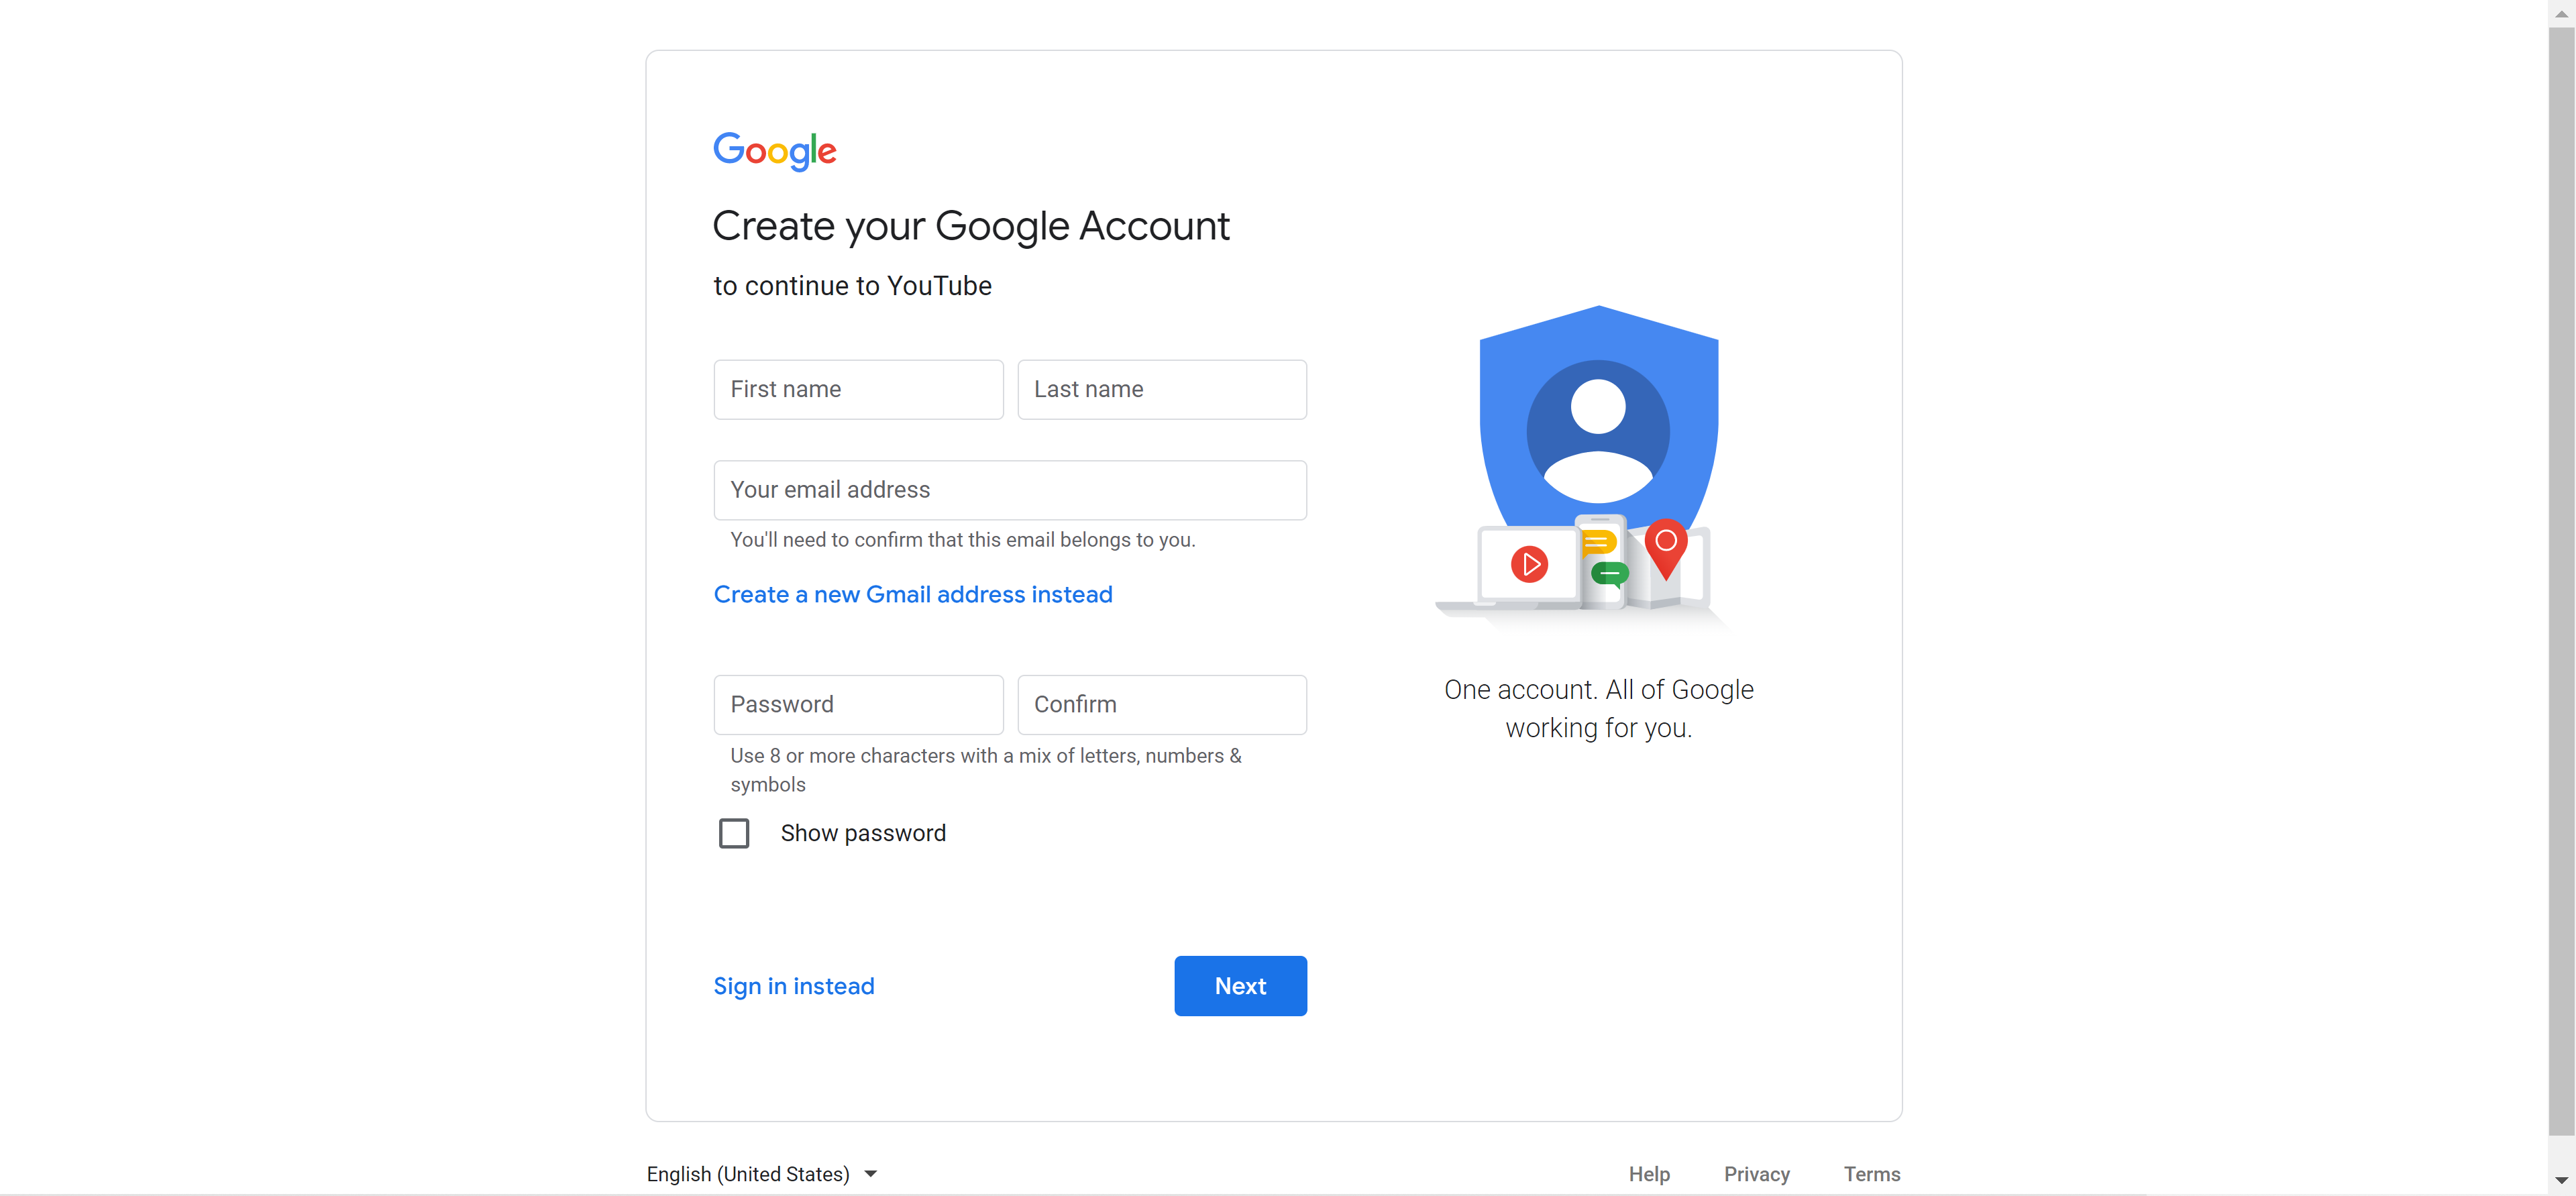
- If you have entered your already existing email address, you will receive a confirmation code. Go to Google mail, copy the code and paste it in the following window.
- In the next step, enter your phone number to verify your account.
- You will receive a code by SMS, which you must enter in the following window.
- Now you can choose your personalisation settings. For the "fast" option, you can simply select "Express personalisation". Otherwise, you can specify what is important to you with the manual personalisation in five steps. You can change these settings at any time in your account settings - even if you chose the express variant during registration.
- Confirm your settings and the privacy policy that appears afterwards.
- You will be automatically redirected to the YouTube homepage.
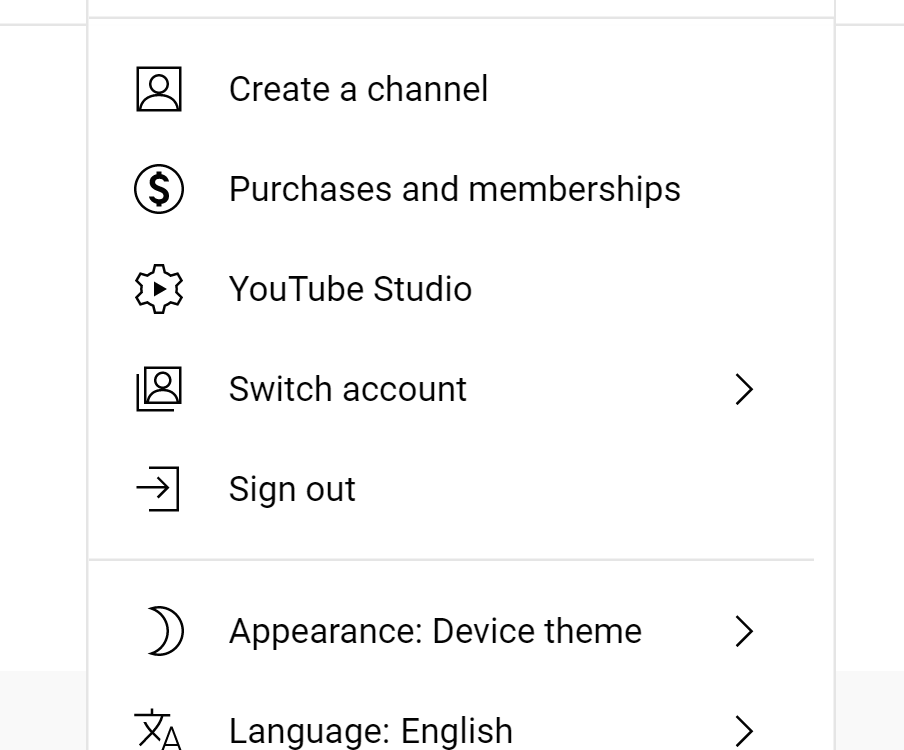
- Click on your profile picture in the upper right corner and select "Create channel" in the drop-down menu.
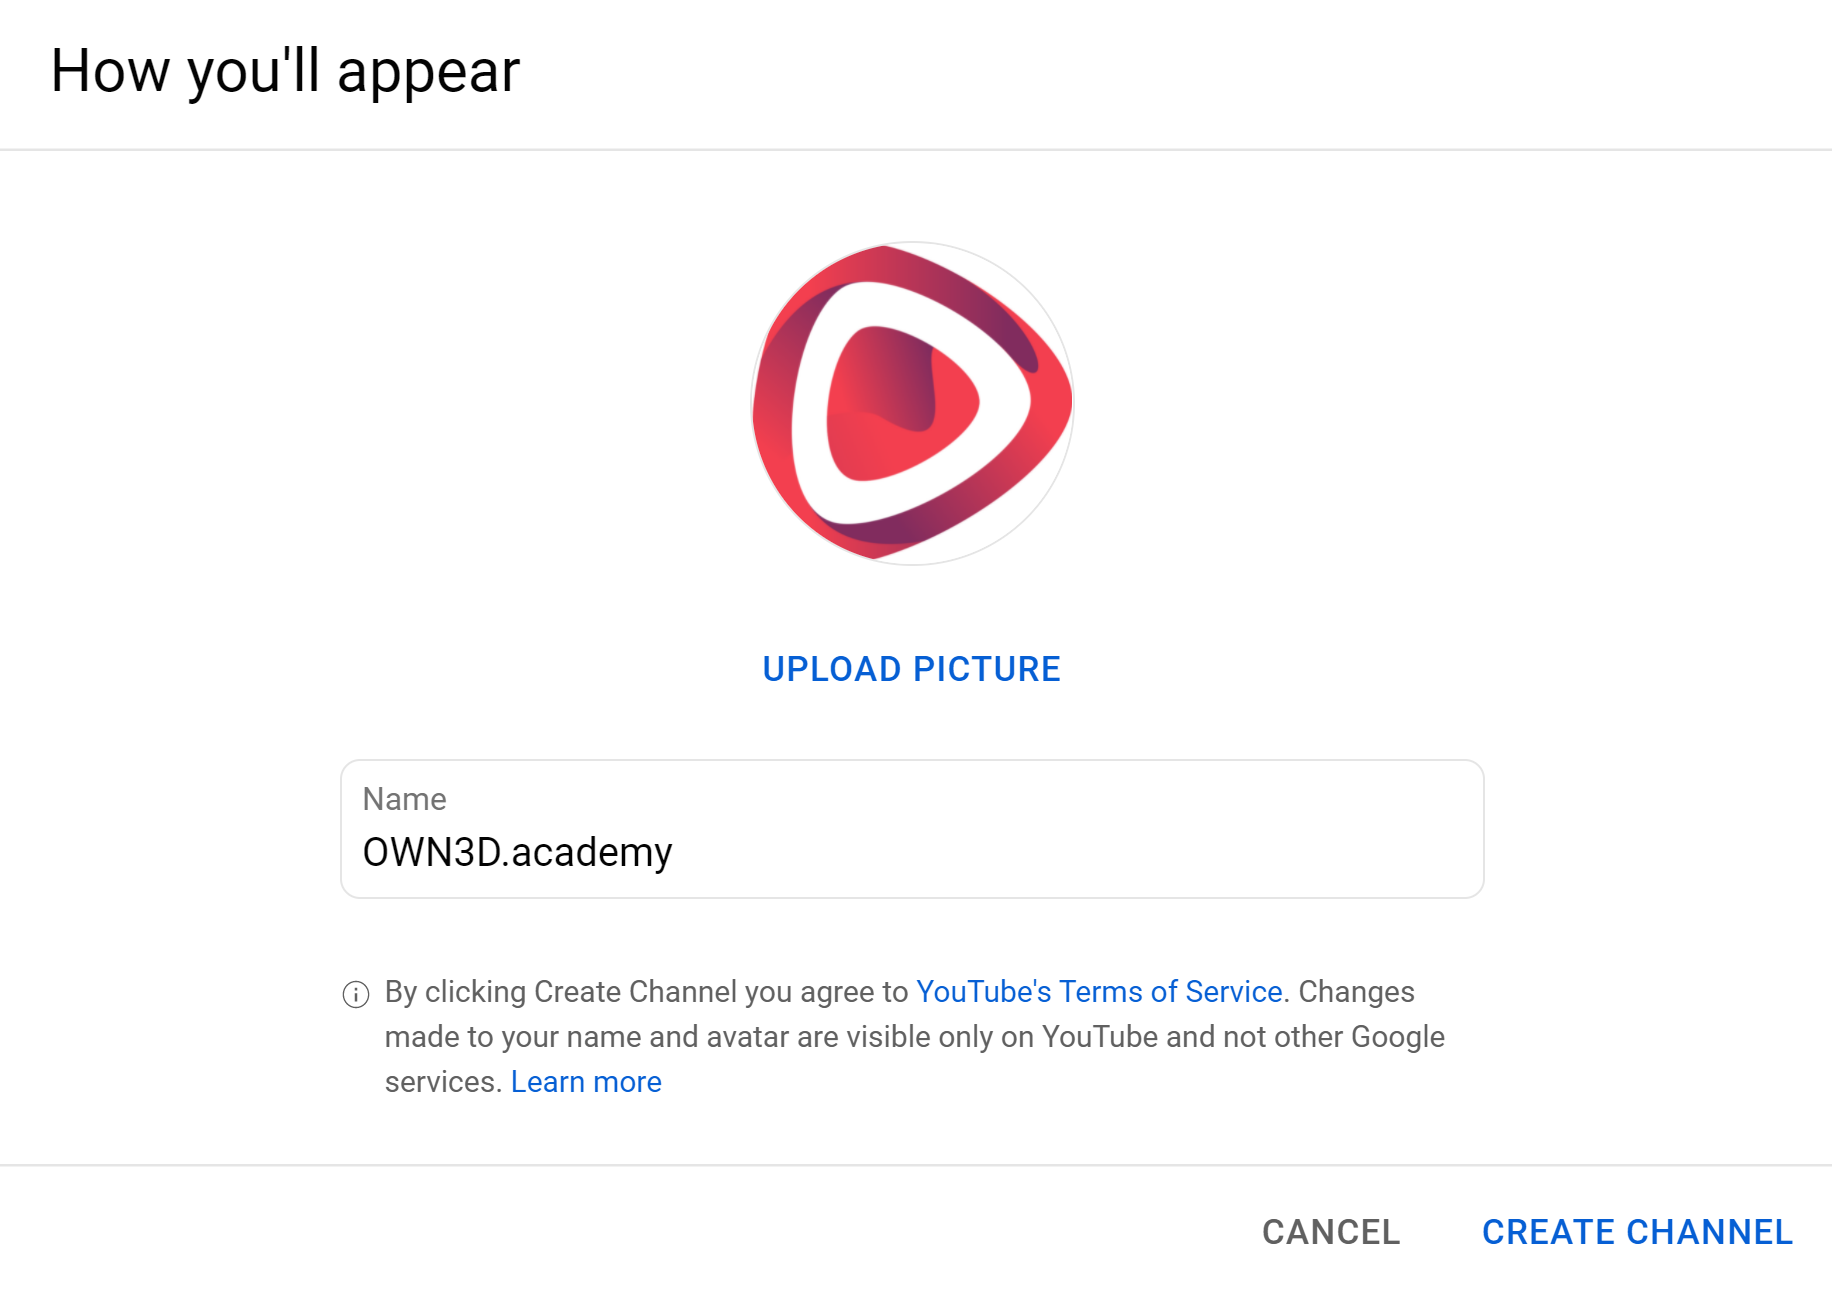
- Now enter your channel name and upload your profile picture if necessary. Confirm your entry by clicking on "Create channel" in the pop-up window in the bottom right-hand corner.
- Done - your YouTube channel, including your Google account, has been created.
Layout and branding
When it comes to customising your channel, you have three ways to do it: The layout, your channel branding, and the general information. All these items can be found in YouTube Studio in the menu on the left at "Customise". We will now go into more detail about these three items - with those three, and you can finalise your channel and make it interesting for visitors!
Layout
When you click on the Layout tab, you have the option to define highlighted videos or create a channel trailer for new viewers.
The channel trailer is customisable - you can show your viewers what they can expect on your channel. This way, you make viewers interested and want to see more. What exactly you want to show is, of course, entirely up to you. The only thing that matters is that you follow YouTube's guidelines.
Next, you can post a highlighted video for subscribers. This video will be shown on the homepage exclusively for your subscribers. The same rule applies here for the channel trailer: You can deliver whatever you'd like to offer to pick up your subscribers!
In the last item on this page, you can customise the layout of your channel homepage. Depending on what you want to highlight, you can show your latest uploads, highlight an upcoming Livestream, add your playlists, and more. You can arrange your sections the way you like them. Up to 12 sections are possible to define here!
Branding
In the channel branding tab, you can design your channel, i.e. update your profile picture, including the banner image and add a watermark to the video.
Uploading banner or profile image works similarly:
- Click on "Change" in the branding section and select an image you want to upload. If you are still looking for YouTube banners or profile pictures, look at OWN3D.tv!
- Adjust the image according to your wishes and click on "Publish".
Upload watermark:
- Click on "Change" and select an image.
- Then you can set the display point and the display duration
- At the end of the video (fades in during the last 15 seconds)
- Custom (you select time)
- Entire video (remains in the complete video)
Once you have set the time, click "Publish".
The watermark is visible on computers and mobile devices in landscape format!
General informations
General Information
In the last tab, as the name suggests, you can add more information about yourself. Change your channel name or channel description, add up to five links to your other social media channels or add an email address here for people or companies to contact you.
In the General Information, you will also see the channel URL, and you can copy it to link elsewhere (for example, Linkspree) or share it (for instance, on social media). This is ID-based, to begin with, and consists of numbers and letters.
Custom URL
It is also possible to create a Custom URL. This can be based on your name, your old username or a linked and confirmed web doma
in. But you need to meet some requirements:
- At least 100 subscribers
- Channel exists for at least 30 days
- Profile & banner image must have been uploaded
Once you meet these requirements, you can select a custom URL under the existing channel URL and save it as the new channel URL.

